Wig Installment: How to Rock That Wig Without a Hitch!
Ever grabbed a brand new wig, super pumped to try it out, only to find it sliding around on your head? Or maybe you’ve seen those celebs rocking flawless wigs and wondered, “How do they get it to look so real?” Well, today’s your lucky day because I’m diving into the secrets of wig installment. This isn’t just about slapping a wig on your head; it’s about making sure it fits snug, looks natural, and stays put no matter what you’re up to.

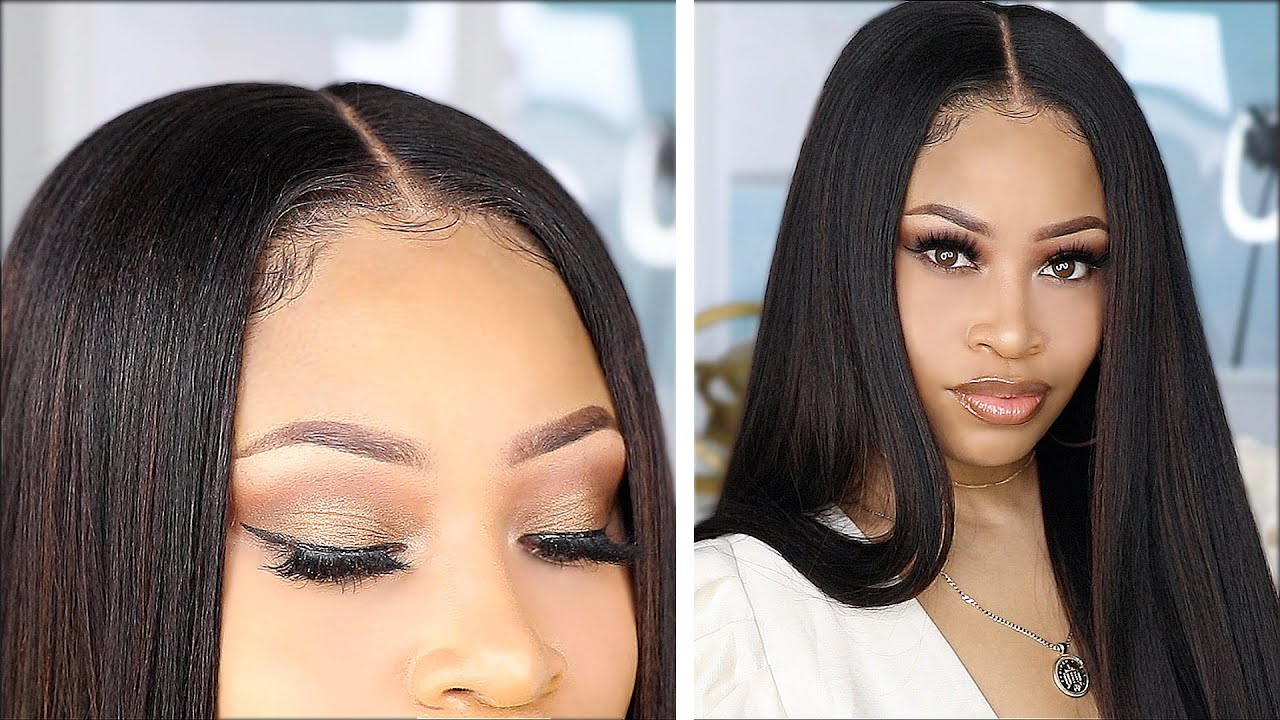
What’s the Big Deal About Wig Installment?
So, wig installment is basically the art of putting on your wig so it looks and feels like it’s part of you. It means getting it to stay right where it should be, blending perfectly with your natural hairline, and not bailing on you when you’re having fun.
Why Proper Wig Installment Rocks
Okay, story time! The first time I wore a wig to a party, I thought I looked pretty cool… until I started dancing. Mid-move, I felt it creeping up my head. Yep, it almost fell off! Talk about a party foul. That’s when I learned the hard way: a good wig fit isn’t just nice to have; it’s a must if you want to avoid wig disasters and really feel confident in your look.

Confidence Is Key
When your wig is snug and styled right, you feel on top of the world. You can laugh, dance, and live it up without worrying about wig mishaps. It’s all about stepping out the door feeling great.
A Step-by-Step Guide to Nailing Wig Installment
Let’s break it down into simple steps so you can get that wig to sit just right.
-
Prep Your Natural Hair: Flatten your hair against your head with braids or a tight bun. This makes a smooth base for the wig.
-
Wig Cap to the Rescue: Slip on a wig cap that matches your skin tone. It helps keep everything in place and protects your hair too.
-
Put That Wig On: Start by setting the wig a bit forward on your forehead, then slide it back into place, lining it up with your natural hairline.
-
Secure It: Snap the wig’s clips into your hair beneath the cap. For extra hold, a bit of wig glue or tape along the hairline works wonders.
-
Make It Yours: Now style that wig. Brush it, add some curls, whatever you like. Make it feel like it’s really yours.
Tips for That Natural Look
- Trim the Lace: If your wig has a lace front, trim the lace so it matches your hairline just right.
- Concealer Tricks: Dabbing a bit of concealer on the wig part can make it blend in with your scalp.
- Baby Hairs: Styling a few baby hairs can seriously up the natural factor.
Taking Care of Your Wig
Keep your wig looking awesome with these quick tips:
- Clean It Regularly: Like your own hair, keep it clean, especially if you wear it a lot.
- Store It Right: When you’re not wearing it, keep it on a wig stand to maintain its shape and avoid tangles.
Wrapping It Up
Getting your wig installment down is a game-changer. It might take a few tries to perfect it, but once you do, you’ll feel like a new person. And hey, who doesn’t want to strut their stuff feeling totally confident in their wig?
So, go ahead, grab that wig, follow these steps, and start turning heads with your fabulous new look!
Leave your comment
Related posts