Introduction
Welcome to the definitive guide on dyeing wigs! Are you tired of mundane, uninspired wigs and yearn to infuse some character into your hair game? Well, you’ve landed on the perfect blog post. Here, we delve into the art of wig dyeing, covering everything from the plethora of dye options available to the intricate process of achieving your desired color. Buckle up as we walk you through step-by-step instructions, shed light on common pitfalls to avoid, and glean insights from industry aficionados to ensure you emerge with that flawless hue. So, if you’re primed to elevate your wig into a masterpiece, kick back, relax, and let’s delve into the realm of wig dyeing!
Essential Insights into Wig Dyeing
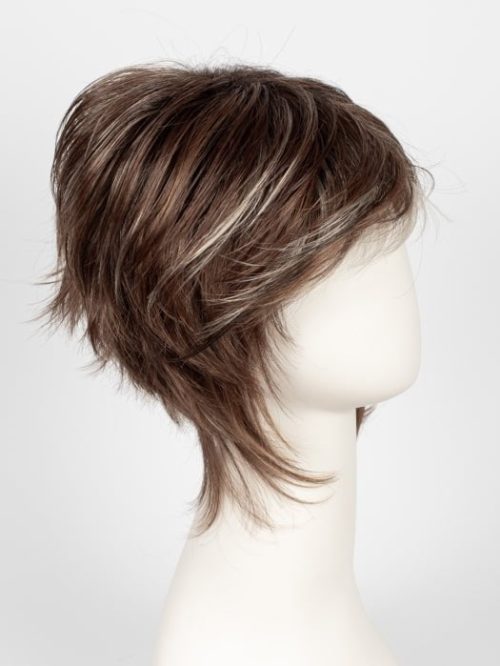
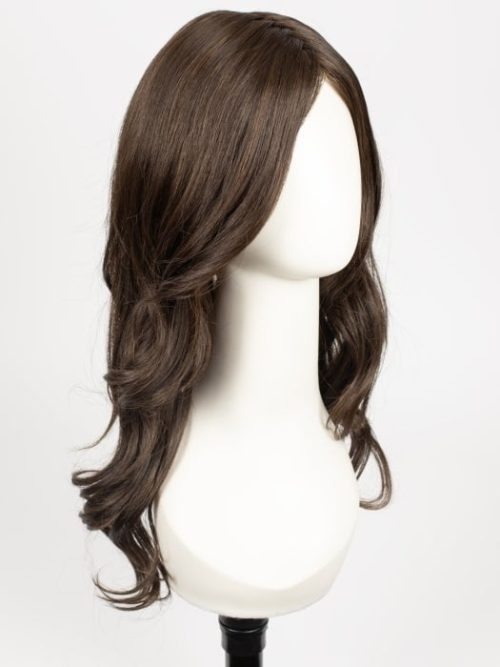
Compatible Wig Types for Dyeing
Not all wigs are created equal when it comes to dye compatibility. Before embarking on a dyeing escapade, it’s imperative to scrutinize the wig’s label or seek counsel from the manufacturer. However, certain wig categories typically lend themselves to dyeing, such as those crafted from authentic human hair or select synthetics. Human hair wigs readily embrace conventional hair dye, whereas synthetic counterparts may necessitate specialized fabric dyes tailored to synthetic fibers. Following meticulous instructions and conducting a patch test are paramount to circumvent any potential wig wreckage or adverse skin reactions.
Optimal Dye Selection for Your Wig
When venturing into the realm of wig dyeing, an array of dye varieties awaits, contingent upon the wig material. Acid dyes, leveraging acid as a fixing agent, thrive on animal-derived fibers like wool and silk, while basic dyes flourish on proteinaceous strands such as human hair, boasting vivid hues. Direct dyes, devoid of supplementary chemicals, prove effortless to wield and are ideal for natural hair, whereas eco-conscious individuals may opt for vegetable dyes, crafted from natural constituents, for a subtle, earth-friendly allure. Adhering rigorously to manufacturer directives and enlisting a seasoned stylist’s expertise are instrumental in ensuring optimal dyeing outcomes.
Preliminary Considerations Before Dyeing
A myriad of factors warrants contemplation prior to embarking on your dyeing odyssey to safeguard against undesirable outcomes. Primarily, evaluating the current hue of your wig is imperative, considering its potential impact on the final tint. Pre-existing colors may temper the vibrancy of the new dye. Secondly, assessing the wig’s condition is pivotal; dyeing a dilapidated wig risks exacerbating its woes, underscoring the necessity of ensuring its pristine state beforehand. Lastly, defining your desired outcome and ascertaining the dye’s compatibility are pivotal. Entrusting the dyeing endeavor to a seasoned professional amplifies the prospects of a gratifying transformation. By heeding these nuances, you bolster the likelihood of realizing your envisioned wig transformation.
How to Dye Your Wig?
*Related: >*
* >*
#1 Pre-Dye Preparation of Your Wig
Before plunging into the realm of dyeing, meticulous preparation of your wig is paramount. Here’s the drill:
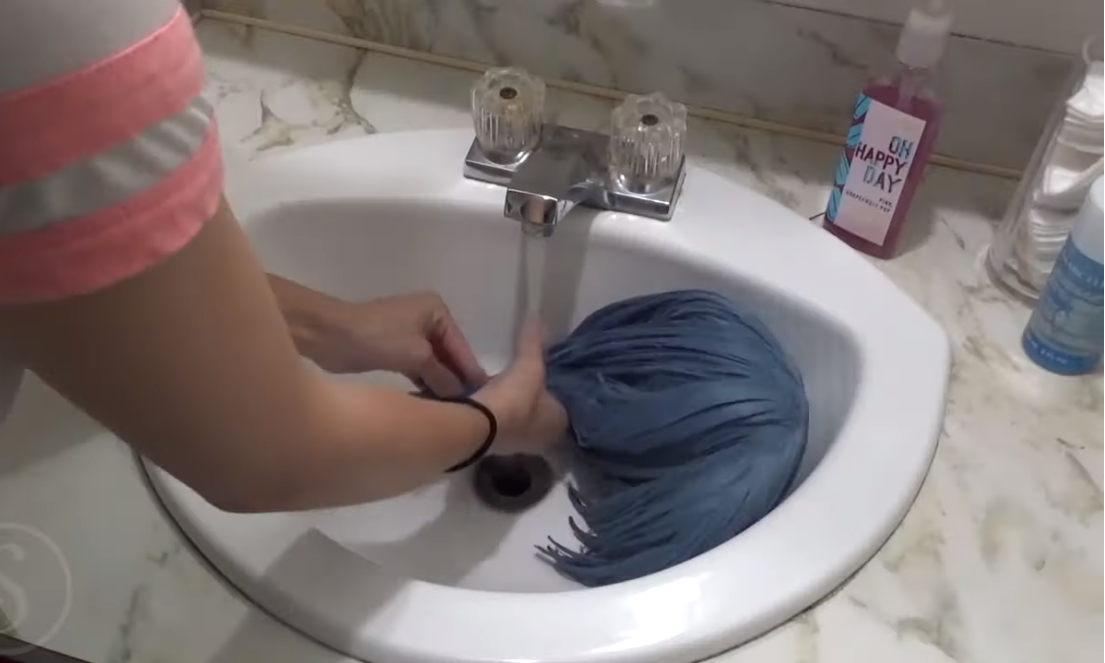
Step 1: Cleansing Ritual

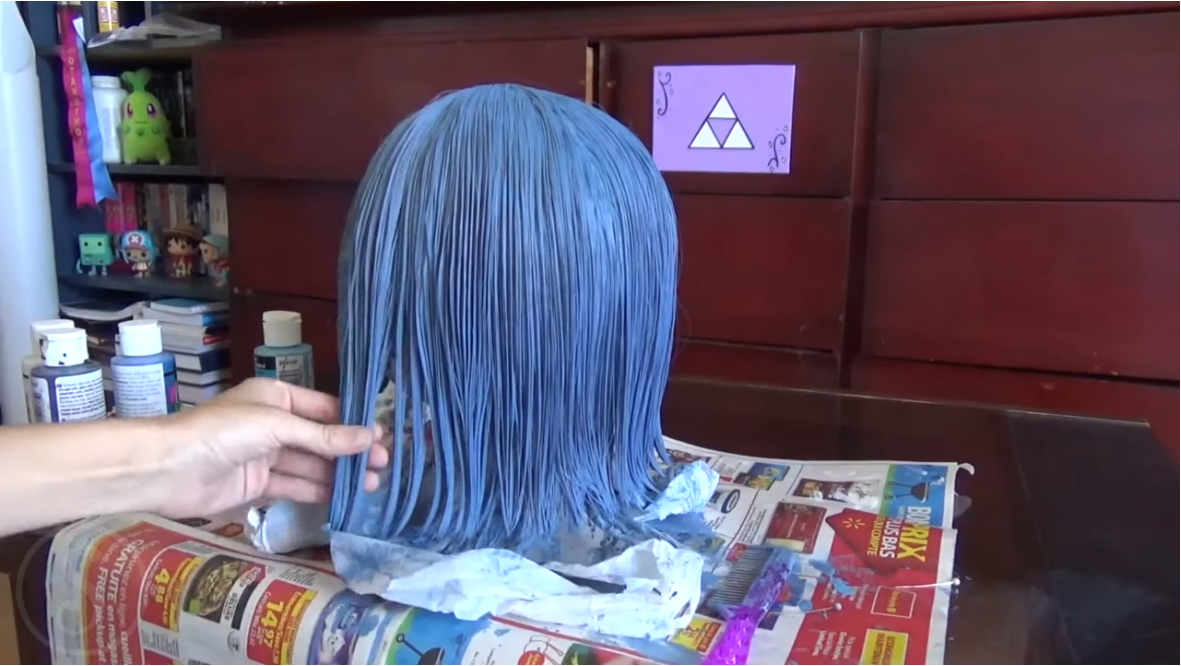
To cleanse your wig, commence by delicately detangling it using a wide-tooth comb or brush. Subsequently, immerse the wig in lukewarm water infused with a modicum of wig-specific shampoo, allowing it to soak for 5-10 minutes. Rinse the wig meticulously with lukewarm water, followed by a dab of conditioner, ensuring even distribution across the strands. After a brief interlude, rinse off the conditioner and gently expel excess water before patting the wig dry with a towel. Finally, affix the wig onto a stand or mannequin head, permitting it to air-dry completely before proceeding.
*Related: >*
Step 2: Mane Detangling
Detangling the wig mandates patience and tender handling to avert inadvertent damage or breakage. Upon ensuring the wig’s dryness, meticulously detangle it deploying a wide-tooth comb or brush. Commence by gently untangling the hair ends before progressing towards the roots, tackling small sections at a time. Employ finesse in unraveling stubborn knots, resorting to finger manipulation if necessary. Eschew undue force to prevent hair damage. Following detangling, consider employing a leave-in conditioner or detangling spray for added manageability.
*Related: >*
Step 3: Shielding the Scalp Area
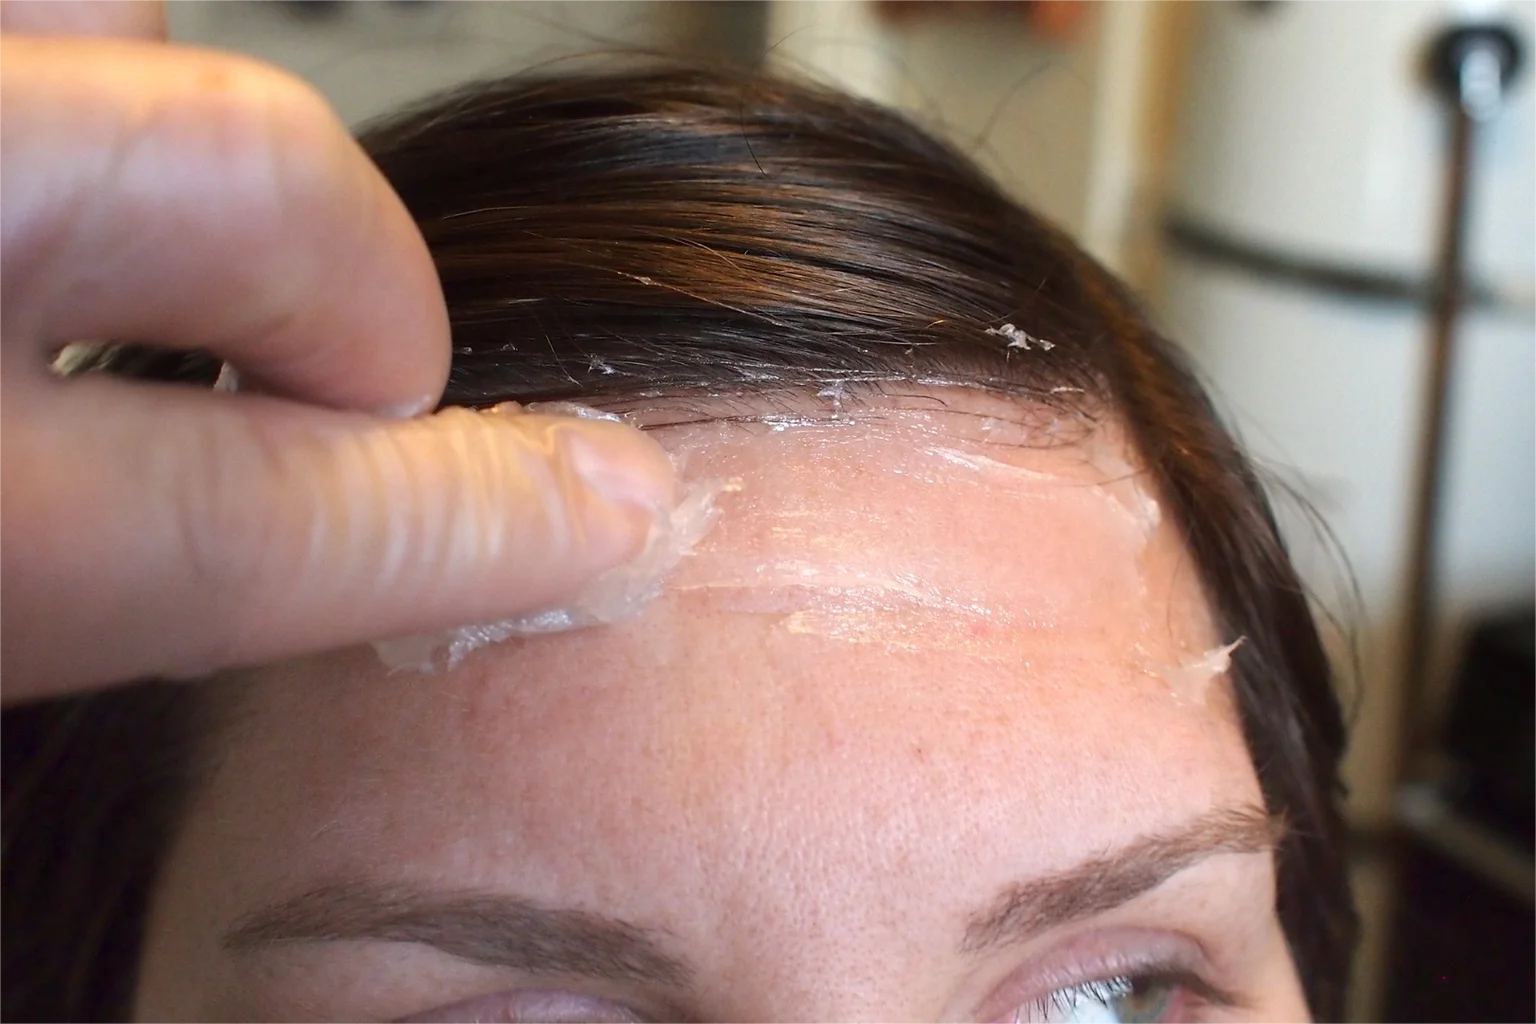
Safeguarding the scalp area entails a series of precautionary measures. Firstly, apply petroleum jelly or an equivalent barrier product along your hairline, ears, and neck to forestall dye seepage onto the skin. Optionally, deploy disposable shower caps or plastic wraps to further shield these regions post-application. Alternatively, leverage a hair color applicator bottle furnished with a precision tip to administer the dye judiciously, minimizing scalp contact. Segmenting the hair into smaller sections for targeted dye application proves efficacious, obviating the need for a wholesale approach. Optionally, don a wig cap to shield your hair during the dye application process. Adherence to these protocols ensures optimal scalp protection during dye application.
#2 Executing the Dyeing Process
With your wig primed for the dyeing spectacle, it’s time to delve into the following steps:
Step 1: Prudent Dye Selection
Navigating the labyrinth of dye options necessitates discernment. Opt for dyes explicitly formulated for human hair to avert fiber damage and textural alterations. Contemplate the wig’s current color and envisaged outcome; semi-permanent dyes suffice for subtle transformations, while permanent variants are indispensable for drastic metamorphoses. Steer clear of box dyes laden with abrasive chemicals potentially detrimental to wig fibers. Undertake a patch test on a diminutive wig section to gauge color consistency and preempt any inadvertent damage or discoloration.
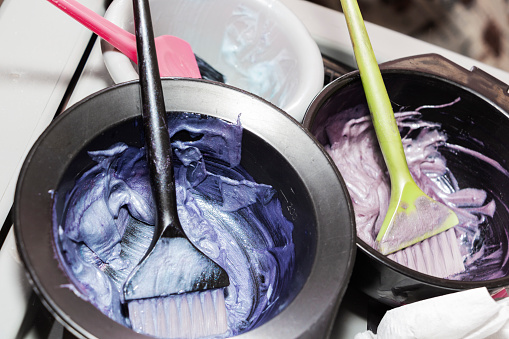
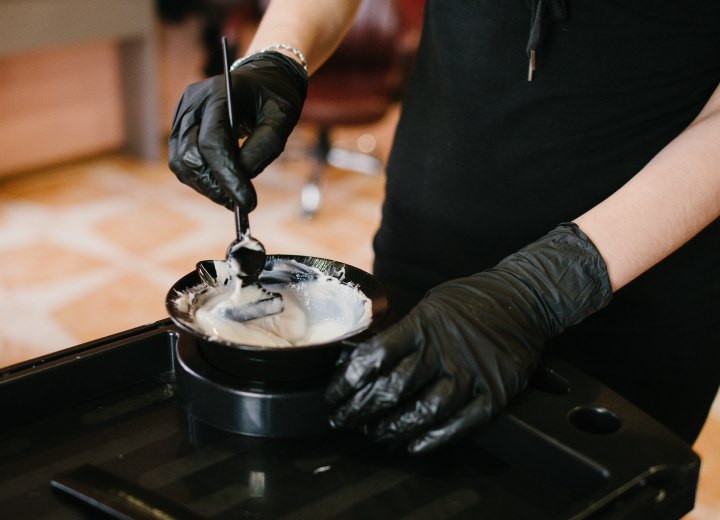
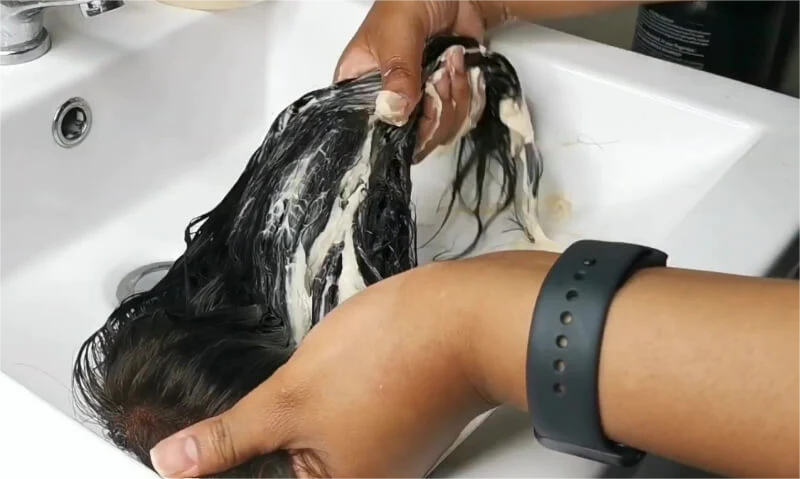
Step 2: Prepare the Dye Mixture
Before delving into the dyeing process for wigs, it’s crucial to meticulously follow the instructions provided on the dye package. Select the appropriate developer strength based on your desired lift level and the wig’s natural color. In a plastic bowl, blend the hair dye and developer using a tint brush until they amalgamate seamlessly, adhering to the specified ratio outlined in the instructions. Employ gloves to shield your hands from staining. Prior to applying the dye to the entire wig, conduct a patch test on a small hair section to preempt any allergic reactions or adverse outcomes.
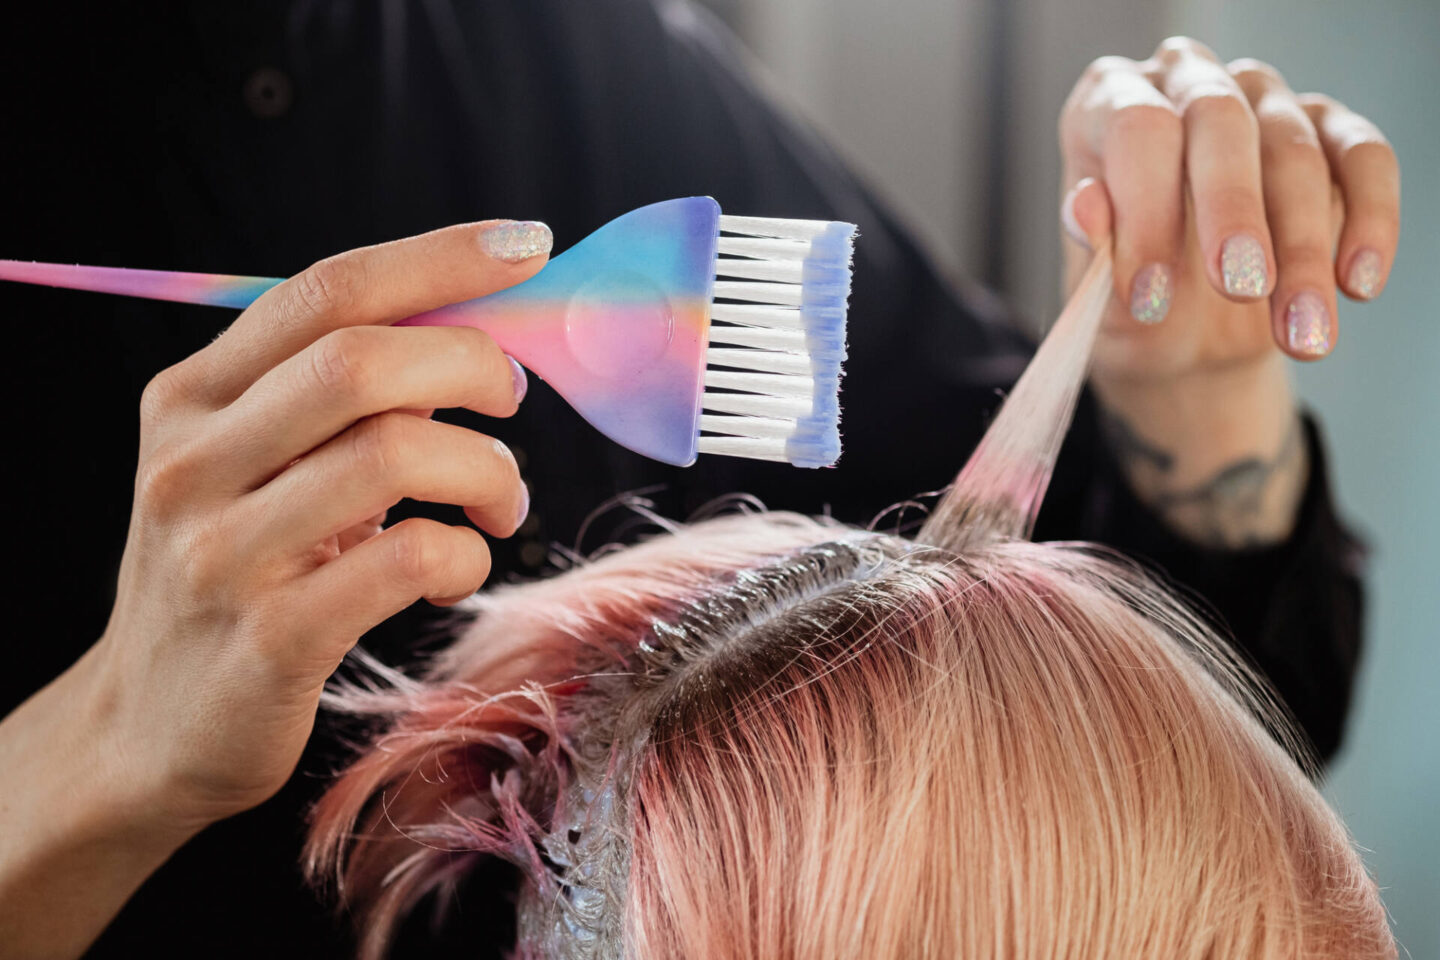
Step 3: Application of the Dye
Upon ensuring the wig’s dryness, affix it onto a mannequin head or wig stand for stability during the dye application process. Opt for a sturdy stand capable of supporting the wig’s weight without toppling over. Optionally, safeguard the stand with plastic wrap or a towel to shield it from potential dye splatters. Utilizing a brush or applicator, administer the hair dye onto the wig in incremental sections, commencing from the roots and traversing to the ends. Initiate at the nape of the neck, progressing methodically towards the crown and frontal areas of the wig. Thoroughly saturate each section with the dye, ensuring comprehensive coverage while evading any oversights. Employ a wide-tooth comb to facilitate even dye distribution and eliminate any entanglements.
Step 4: Allow the Dye to Set
Upon dye application, it’s imperative to allow sufficient time for the dye to set before rinsing. Adhere to these general guidelines:
- Refer to the instructions on your hair dye package for prescribed waiting durations, as waiting times can fluctuate depending on the brand and dye type.
- Typically, most hair dyes necessitate a setting period ranging from 30 minutes to an hour. However, for semi-permanent or temporary dyes, a waiting period of 10-15 minutes may suffice.
- Following the designated waiting time, delicately rinse the wig with warm water until the water runs clear. Eschew hot water to avert potential harm to the hair fibers.
- Employ a mild shampoo and conditioner formulated explicitly for wigs, adhering to the manufacturer’s instructions for cleansing and conditioning.
- Permit the wig to air dry naturally on a wig stand or mannequin head, refraining from using a blow dryer to prevent fiber damage. Adhering to these steps optimizes the dye setting process, fostering prolonged color retention.
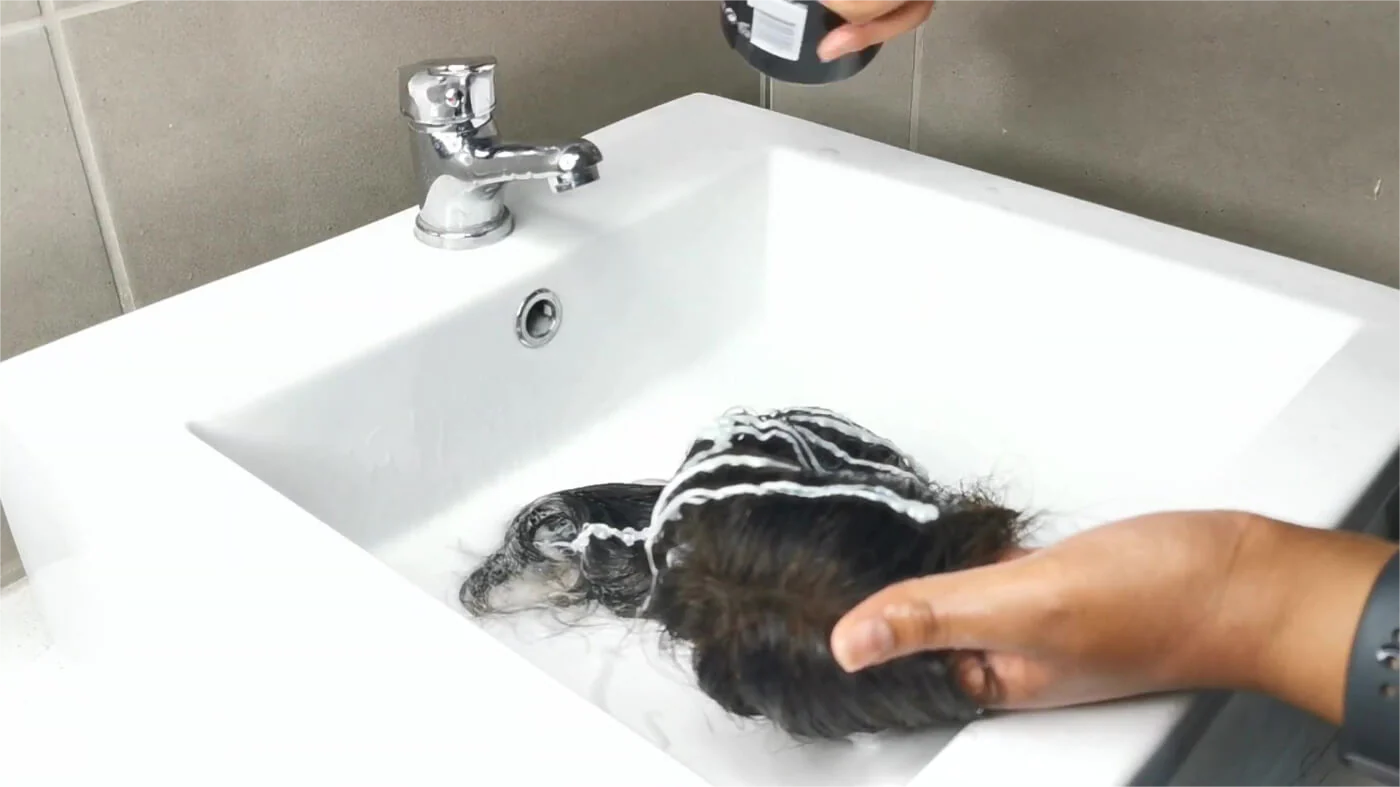
Step 5: Rinse and Cleanse the Wig

Subsequent to the dye setting phase, commence the rinsing process by filling a basin or sink with cool water, supplementing it with a modest quantity of mild shampoo. Gently immerse the wig in the soapy water for approximately 1-2 minutes, exercising caution to avoid vigorous rubbing or scrubbing, which may compromise the hair fibers. Discard the soapy water and replenish the basin with fresh, cool water. Thoroughly rinse the wig until all remnants of shampoo and dye dissipate. Iteratively repeat this procedure until the water runs clear. Following rinsing, delicately expel any residual water from the wig by gently squeezing, refraining from wringing or twisting the hair. Position the wig on a wig stand or mannequin head, allowing it to air dry completely before embarking on styling endeavors. Forgo the application of heat during the drying process to preserve the integrity of the fibers.
Step 6: Facilitate Drying
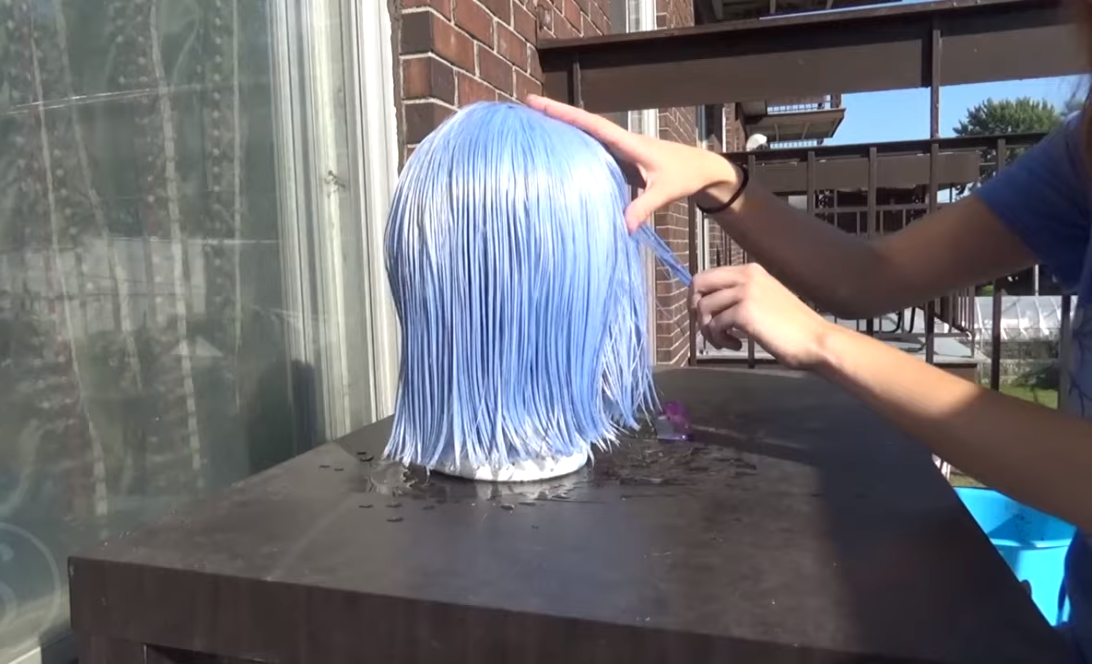
Post-rinsing, cautiously eliminate any excess water from the wig by gentle squeezing and patting with a soft towel, eschewing any vigorous rubbing or wringing actions. Subsequently, situate the wig on a pristine, dry towel, gently blotting to eradicate residual moisture. Abstain from employing heat during the drying phase to forestall fiber damage, allowing the wig to air dry thoroughly prior to styling or donning. Expedite the drying process by situating the wig on a wig stand or mannequin head within a well-ventilated locale, away from direct sunlight. Refrain from brushing or combing the wig while damp to circumvent fiber damage. Once fully dried, style the wig to your preference utilizing a wig brush or comb. Storage on a wig stand or mannequin head when not in use is recommended to preserve the wig’s structure and deter tangling.
Tip 2: Harness the Power of Heat to Set the Dye
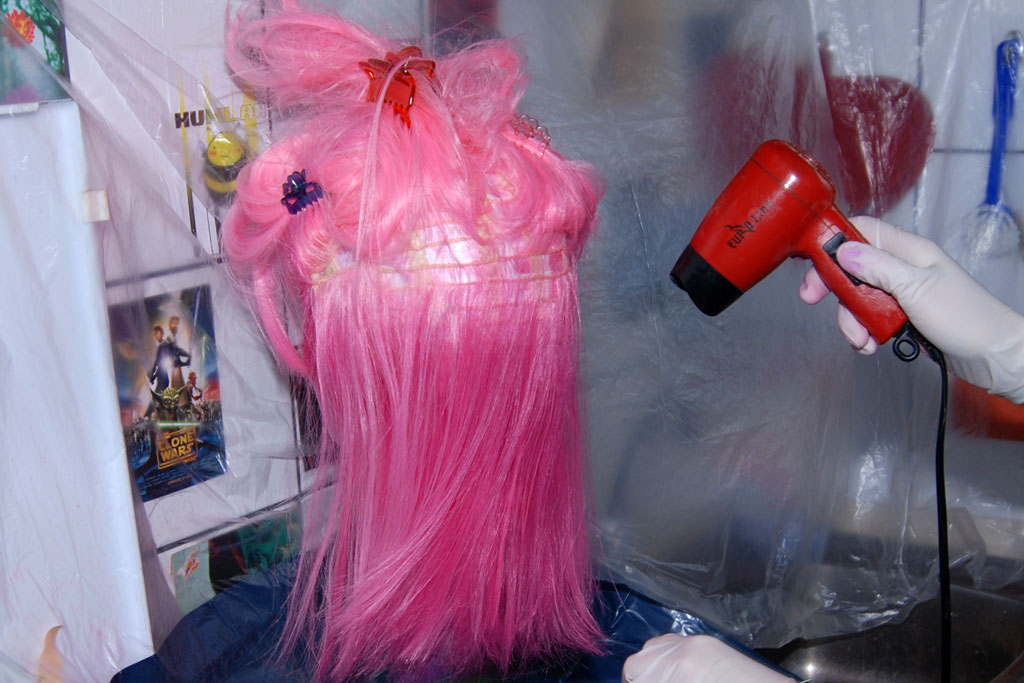
Utilizing heat to aid in setting wig dye is a widely recognized technique that can significantly enhance color adherence to the hair fibers. However, exercising caution during the application of heat is paramount, as excessive temperatures can wreak havoc on synthetic fibers.
- Verify Wig’s Heat Resistance: Before embarking on the heat-assisted dye setting journey, ascertain that your wig comprises heat-resistant fibers. While most contemporary synthetic wigs boast some degree of heat resistance, consult the manufacturer’s instructions or website to determine the safe temperature range for your specific wig.
- Select Appropriate Heat Source: Various methods can be employed to administer heat to a wig, including employing a hair dryer, electric blanket, or space heater. Opt for a method affording temperature control, ensuring it remains sufficiently low to prevent fiber damage. The cool setting on a hair dryer may be the safest option, as it generates minimal heat. Alternatively, a low setting on a space heater or electric blanket can also be employed.
- Shield the Wig: Post-dye application, encase the wig in a plastic cap or wrap to impede premature drying of the dye. This affords the dye ample time to penetrate the fibers thoroughly, facilitating the creation of a uniform color.
- Monitor Closely: When subjecting the wig to heat, vigilantly monitor the temperature and conduct frequent inspections to prevent overheating. If the wig feels excessively warm to the touch or emits unusual odors, cease heat application promptly, allowing the wig to cool before proceeding.
- Thorough Rinse: Following a minimum of 30 minutes under heat, thoroughly rinse the wig with cool water until all traces of dye are eradicated. Handle the wig delicately to evade tangling or fiber damage.
By adhering to these guidelines, you can harness heat safely to aid in setting your wig dye, thereby enhancing color longevity without compromising synthetic fiber integrity.
Tip 3: Steer Clear of Overprocessing Your Wig
Overprocessing poses a significant threat to the hair fibers of your wig, rendering them brittle and susceptible to breakage. Meticulous adherence to manufacturer instructions is paramount. Here are some pointers to prevent overprocessing during the dyeing process:
- Opt for Gentle Dyes: When selecting a dye, opt for a gentle formulation explicitly designed for synthetic or human hair wigs. Typically semi-permanent, these dyes gradually fade over time, minimizing damage to the fibers compared to permanent dyes. Ensure compatibility with your wig type; for instance, synthetic wigs necessitate dyes formulated for synthetic hair.
- Dye Quantity: Precise dye measurement is imperative. Insufficient dye can yield uneven color distribution, while excess saturation may render the fibers prone to breakage. Follow the dye package instructions meticulously, considering the wig’s length and thickness.
- Time Management: Adhere strictly to the recommended processing time stipulated on the dye package. Prolonged exposure can saturate the hair fibers excessively, rendering them brittle and susceptible to breakage. Monitor the processing time vigilantly, refraining from exceeding the stipulated duration.
- Thorough Rinsing: Post-processing, thoroughly rinse the wig with cool water to eliminate residual dye. Commence with gentle rinsing under running water, progressively transitioning to submerging the wig in a basin to swish out lingering dye. Continue rinsing until the water runs clear.
- Conditioning Ritual: Following thorough rinsing, apply a high-quality wig conditioner to replenish moisture and fortify the hair fibers against damage. Massage the conditioner into the wig, allowing it to sit for several minutes before rinsing thoroughly with cool water.
By meticulously adhering to these steps, you can safeguard your wig from overprocessing, ensuring its longevity and maintaining its aesthetic appeal. If uncertain about executing the dyeing process independently, consider enlisting the expertise of a professional stylist experienced in wig treatment.
Final Remarks
In summation, wig dyeing may initially appear daunting, but armed with strategic steps and professional insights, achieving your desired color is well within reach. Whether aiming for a dramatic transformation or subtle refinement, settling for anything less than perfection is simply unacceptable. And when faced with a hair crisis, remember the age-old wisdom: when life hands you a bad hair day, dye it away! Armed with these invaluable tips and tricks, you’ll be capable of transforming any wig into a breathtaking masterpiece, leaving onlookers envious. So, forge ahead with confidence, fellow wig enthusiasts, and let your creativity shine through!
Image Credits: Google, Pinterest, YouTube.
Leave your comment
Related posts