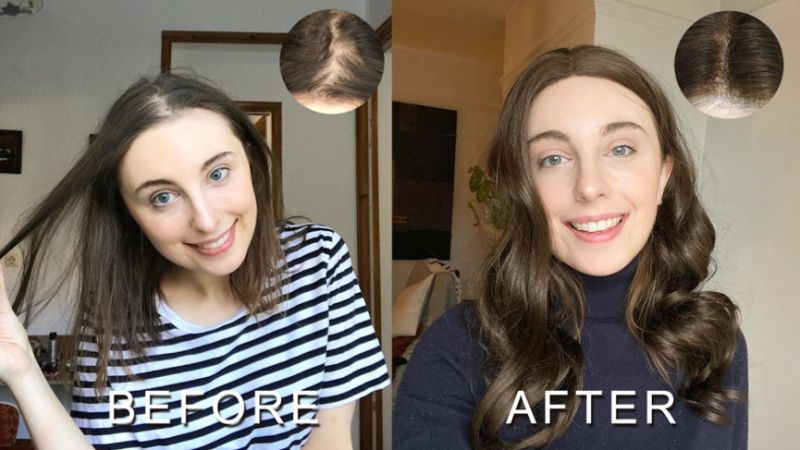
Introduction to Hair Transformation
Welcome to our exciting journey of hair transformation! If you’re craving a pop of color to revamp your style, dyeing your hair can be a total game-changer.
In this blog post, we’re diving deep into the realm of color magic, sharing insider tips, expert tricks, and a foolproof guide on achieving salon-worthy results right at home. Get ready to rock a stunning new look that’ll have heads turning wherever you go!
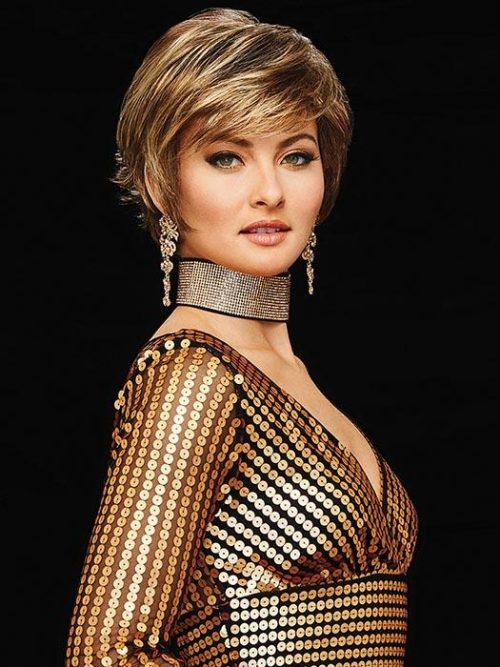
Coloring Hair Toppers: What You Need to Know
Not all hair toppers are created equal when it comes to coloring. The ability to dye a hair topper largely depends on its material—whether it’s made of synthetic fibers or natural human hair. Synthetic hair toppers typically don’t take well to dyeing due to the limitations of synthetic materials, which can’t withstand chemical processes like bleaching without risking damage. On the flip side, human hair toppers offer more flexibility for coloring, allowing you to experiment with different hues, highlights, and lowlights. However, it’s crucial to consult with the manufacturer or a professional colorist for specific guidelines and recommendations tailored to your topper.
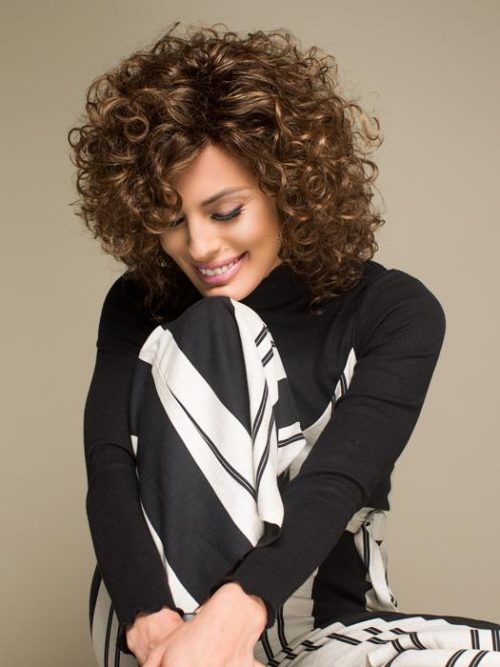
What to Expect When Coloring Your Hair Topper
Dyeing your hair topper opens up a world of possibilities. Not only does it change the color of the topper, but it also grants you the freedom to match it seamlessly with your natural hair or explore vibrant new shades. Plus, with your freshly colored locks, you’ll have endless styling options—from chic updos to playful waves. Embrace the transformation and step into a new realm of confidence and self-expression. And fret not—hair dye won’t harm your topper. If you’re aiming for extra radiance, opt for a lighter shade. If you’re ready to revert to your original color, simply halt the coloring process and let your natural hair shine through. By following proper techniques and seeking professional advice, you can achieve stunning results with ease.
Related:
Mastering the Art of Hair Color
Embarking on a journey to achieve flawless hair color is an exhilarating adventure that promises to elevate your style game. Here’s a step-by-step guide to help you unlock the secrets to gorgeous, salon-worthy hair color.
Related:
Step #1: Choose Your Perfect Shade

Selecting the ideal hair dye shade requires careful consideration to ensure a seamless blend with your natural locks. Here’s how to nail the perfect match:
- Assess Your Base Color: Take stock of your natural hair color and its undertones to find a topper shade that harmonizes effortlessly.
- Consider Texture: Factor in your hair’s texture when choosing a topper shade for a flawless blend.
- Define Your Desired Look: Decide whether you want a precise match or crave subtle variations for added depth and dimension.
- Mind Your Skin Tone: Opt for a topper shade that complements your skin tone for a flattering finish.
- Consult a Pro: Seek guidance from a hair topper specialist to tailor your color selection to perfection.
- Test It Out: Don’t skip the swatch test! Experiment with sample shades to find your perfect match under various lighting conditions.
By following these steps, you’ll achieve a seamless, natural-looking blend between your topper and natural hair.
Step #2: Set Up Your Workspace

Creating the perfect environment for dyeing your hair topper is key to achieving flawless results. Here’s how to set the stage for success:
Find a Well-Ventilated Space:
– Choose a room with ample airflow to avoid inhaling fumes.
– Opt for natural light but steer clear of direct sunlight to prevent uneven dyeing.
– Ensure you have enough space to work comfortably.
– Shield surfaces with protective coverings to catch any spills or splatters.
– Supplement with additional lighting as needed.
– Follow safety precautions and conduct patch tests as recommended.
Protect Your Workspace:
– Cover your workspace with a towel or plastic sheet to catch drips.
– Extend the covering beyond your immediate work area to safeguard surrounding surfaces.
– Secure edges to prevent shifting.
– Consider extra protection for nearby items.
– Clean up spills promptly with a damp cloth to prevent staining.
Step #3: Prep Your Hair Topper
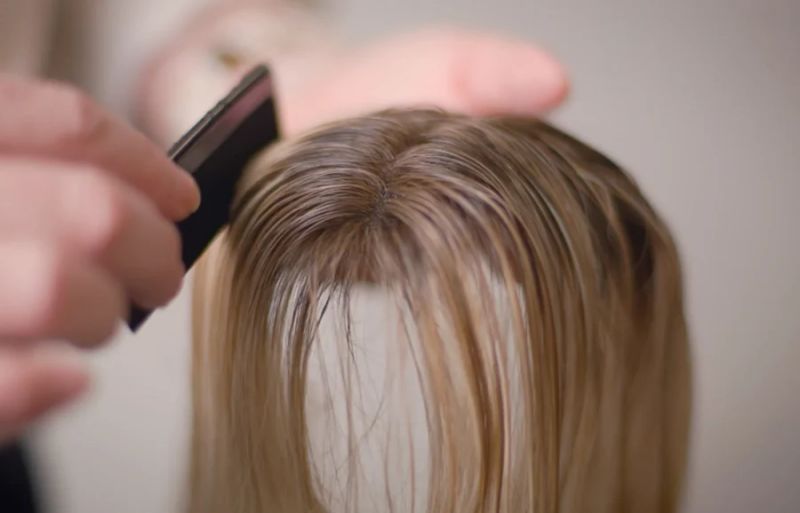
Before diving into the dyeing process, ensure your hair topper is tangle-free and squeaky clean. Follow these simple steps for prepping your topper:
Remove Tangles:
– Use a wide-tooth comb to gently detangle, starting from the ends and working your way up.
– Handle with care to avoid breakage.
– Take your time, especially with stubborn tangles.
– Once tangle-free, you’re ready to proceed.
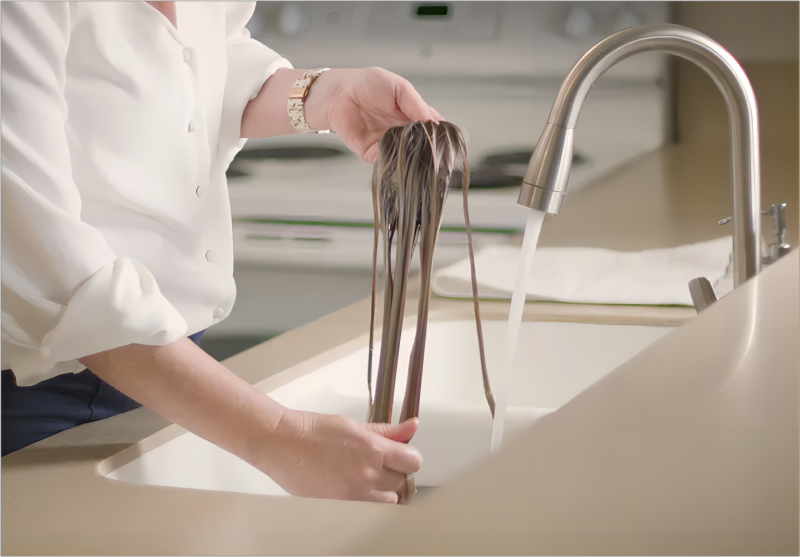
Wash Your Hair Topper:
– Use a gentle shampoo to cleanse the topper thoroughly.
– Rinse well to remove any residue.
– Pat dry with a towel, avoiding vigorous rubbing.
– Your topper is now primed and ready for its stunning makeover.
By following these steps, you’re well on your way to achieving hair color perfection and unleashing your inner hair goddess!
- Thoroughly wet the hair topper with lukewarm water.
- Use a small amount of mild shampoo, lathering it into the hair gently in a downward motion.
- Avoid aggressive rubbing or tangling, as this can lead to damage.
- Rinse the topper under running water until all shampoo is rinsed out completely.
- Ensure thorough rinsing to prevent any residue from lingering.
Air Drying Process
- Gently squeeze out excess water without twisting or wringing the hair.
- Place the topper on a drying rack in a well-ventilated area.
- Allow the topper to air dry naturally, avoiding the use of heat tools.
- Minimize touching or manipulating the hair during drying to prevent frizz or tangling.
- Wait until the topper is completely dry before proceeding with further steps.
Step #4: Conducting a Strand Test
Conducting a strand test is essential before dyeing your hair topper. This test helps determine the final color outcome and ensures compatibility with the topper’s fibers. Here’s how to perform a strand test:
- Choose a small hair section representative of the overall color and texture.
- Prepare the dye mixture according to product instructions.
- Apply the dye evenly to the selected strand.
- Follow recommended processing time and rinse thoroughly.
- Assess the color result and compare it to your desired outcome.
- Check for any damage or adverse effects.
This step is crucial for avoiding potential issues and ensuring satisfactory results.
Step #5: Mixing the Hair Dye
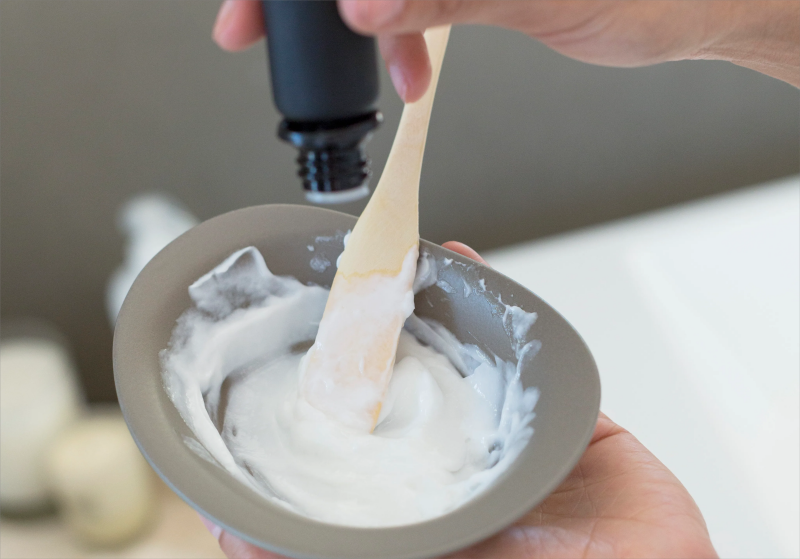
To mix hair dye for your topper, follow these steps:
- Gather necessary materials: hair dye, mixing bowl, gloves, applicator brush.
- Prepare the dye according to package instructions.
- Thoroughly mix dye and developer until smooth and consistent.
Always follow specific product instructions for accurate mixing and application.
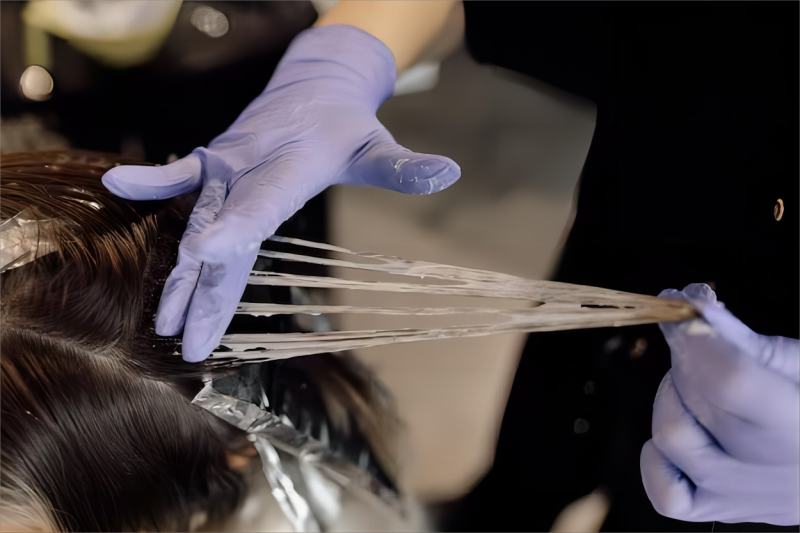
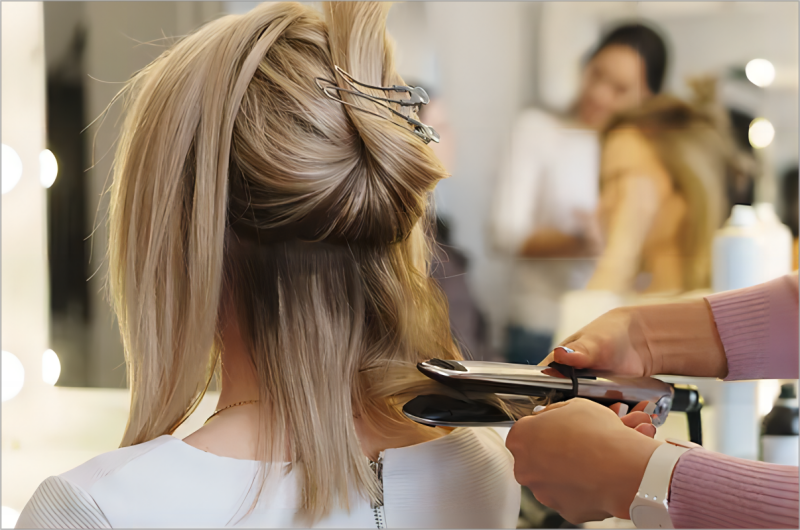
Step #6: Applying the Dye to the Hair Topper
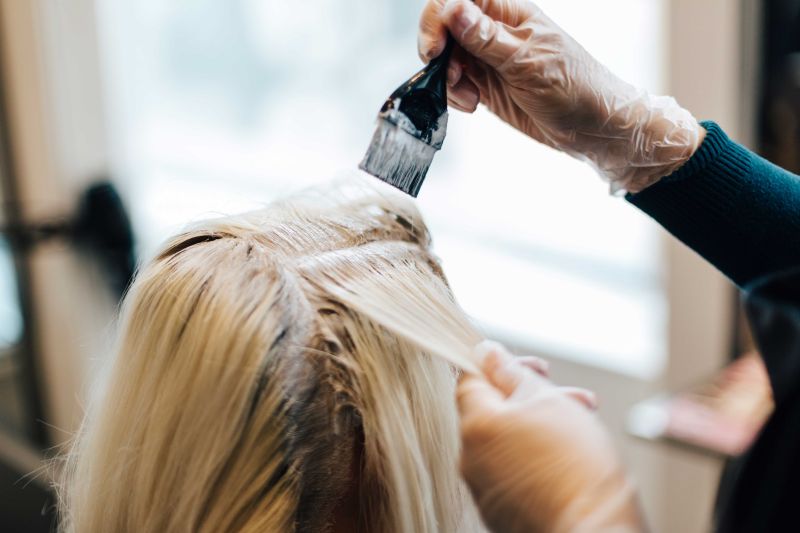
When applying dye to your hair topper, follow these guidelines:
- Divide hair into manageable sections, removing tangles.
- Start from the bottom layer, working upwards for even coverage.
- Secure unsectioned hair out of the way.
-
Wear protective gloves throughout the application process.
-
Begin at the roots, using the nozzle of an applicator bottle to apply the hair dye mixture evenly.
- Gently comb the dye through the length of the hair section, ensuring even distribution from roots to ends.
- Repeat this process for each section, taking care to saturate the hair thoroughly.
- Check for any missed spots and touch up as needed, blending the dye for uniform coverage.
Handle the hair topper delicately during dyeing to prevent damage or tangling.
Step #7: Allow for Processing Time

To enhance color development, you can cover the hair topper with a plastic or shower cap. Here’s how:
Cover the Hair Topper
- After dye application, gently gather the hair on the topper.
- Carefully place a plastic or shower cap over the entire topper, ensuring full coverage.
Allow for Processing
- Refer to the dye manufacturer’s instructions for recommended processing time.
- Use a timer to track processing time accurately and avoid overexposure.
- Minimize disturbance to the topper during processing to ensure even color distribution.
Step #8: Rinse and Condition
Proper rinsing and conditioning are crucial post-dyeing. Follow these steps:
- Thoroughly rinse out the dye from the topper.
- Apply conditioner, focusing on mid-lengths and ends.
- Gently detangle with a wide-toothed comb and allow the conditioner to penetrate.
- Rinse thoroughly with lukewarm water, pat dry, and air dry.
These steps maintain the vibrancy and quality of your dyed topper.
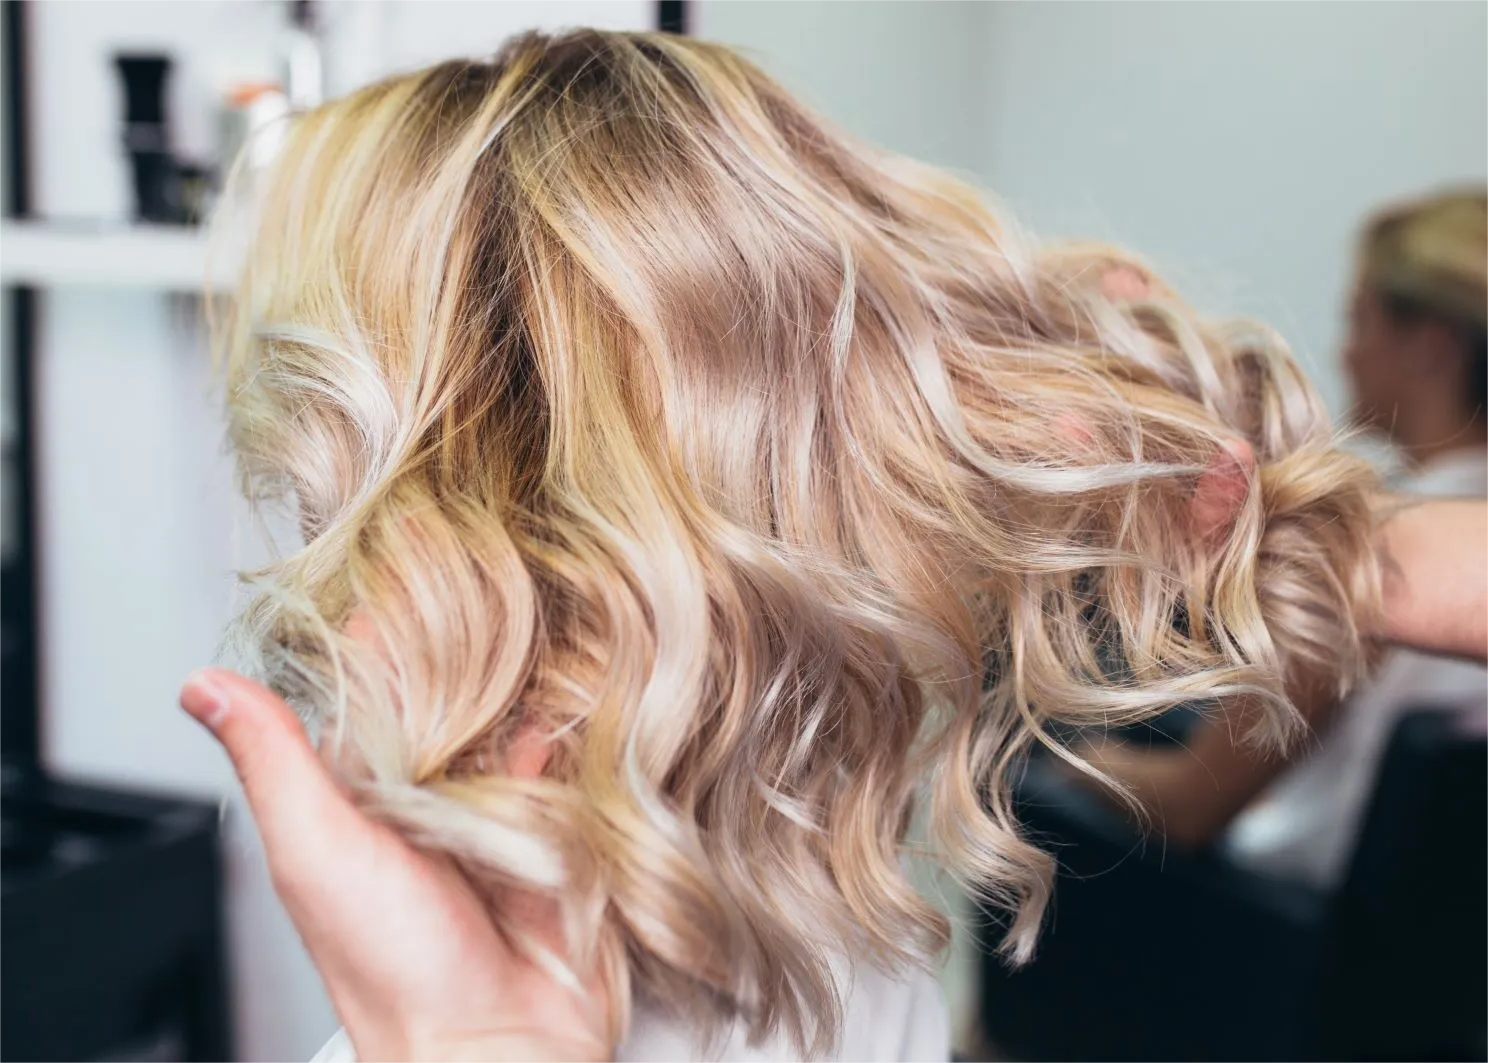
Step 9: Style and Maintain
Styling and maintenance are key to keeping your topper looking its best:
- Style as desired once the topper is dry, using appropriate tools and brushes.
- Regularly brush or comb to prevent tangling and matting.
- Store properly on a wig stand or in a breathable bag.
- Clean as needed with specialized products for hair toppers.
Following these steps ensures a beautiful, long-lasting topper that enhances your style and confidence.
Related:
How Long Does Hair Topper Color Last?
The longevity of hair topper color varies based on factors like dye quality and maintenance:
- Synthetic toppers maintain color unless exposed to heat or sunlight.
- Human hair toppers typically last 4-8 weeks, with darker shades lasting longer.
- Lighter shades may require more frequent touch-ups.
- Results vary based on individual factors and dye quality.
Related:
Final Thoughts
With careful color selection and application, transform your hair topper into a bold fashion statement. Whether long or short, thick or thin, embrace your unique style and let your hair reflect your confidence.
So, rock your dream hair with pride, knowing you’ve mastered the art of vibrant, stylish hair transformation.
Image credits: Google, Pinterest, YouTube.
Leave your comment
Related posts