Synthetic wigs are an awesome way to change up your look, whether you want something subtle or totally dramatic. They’re more affordable than human hair wigs and often come pre-styled right out of the box. But sometimes, you might want to give your wig a personal touch to match your style perfectly. In this guide, we’ll go over everything from basic styling to creating amazing cosplay looks. Let’s get started!
Part 1: Creating Natural-Looking Styles
Step 1: Get the Right Setup
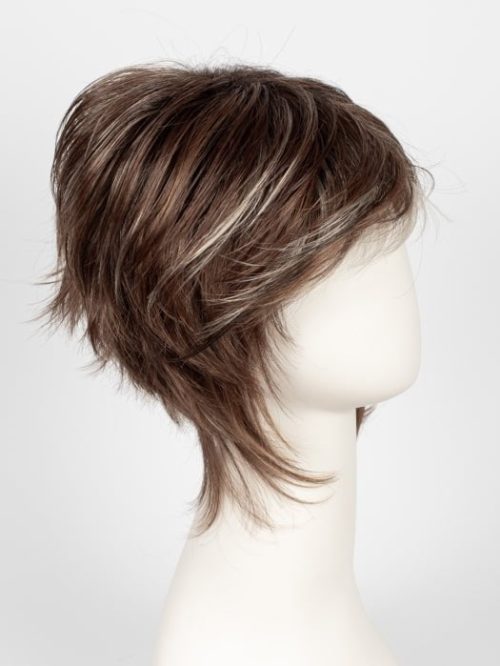
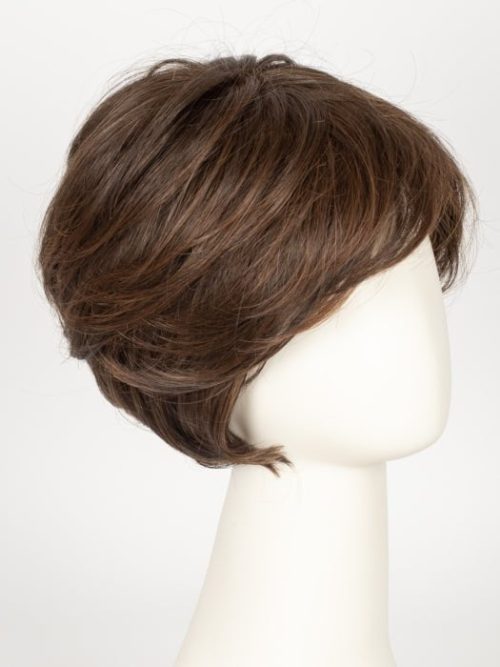
First things first, place your wig on a wig stand or head form. This makes it so much easier to style because you can see what you’re doing from all angles. Plus, it’s just like working on a real head, so you’ll get a better idea of how the wig will look on you.
Step 2: Comb It Out
Synthetic wigs can get tangled pretty easily, just like natural hair. Use a wide-toothed comb to gently detangle your wig, starting from the ends and working your way up to the roots. This prevents breakage and keeps your wig looking smooth.
Step 3: Trim to Fit
If the wig’s style doesn’t suit your face or the cut is too blunt, don’t be afraid to give it a trim. You can use thinning scissors for a softer, more natural look. If you’re not confident in your cutting skills, take it to a professional stylist.
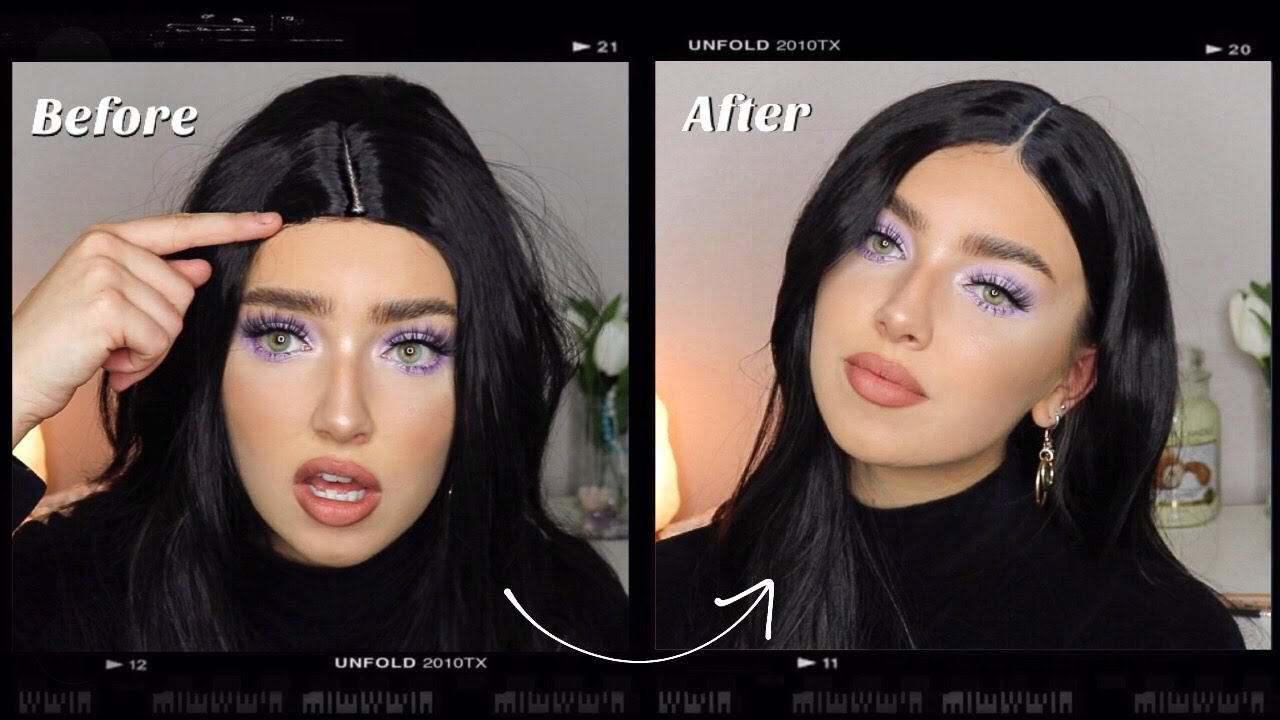
Step 4: Change the Part
Want to change up the part? Use a spray bottle to dampen the roots, then comb the hair into place. Use a hair dryer on a cool setting to dry the roots and set the part. For an even more natural look, tweeze a few hairs from the part.
Step 5: Loosen the Curls
Sometimes, wigs come with super tight curls that can look a bit too perfect. To loosen them up, use a garment steamer and a paddle brush. Brush the curls while you steam them to get a softer, more natural wave.
Step 6: Prep Your Natural Hair
Before you put on your wig, braid your natural hair so it lays flat against your head. Cornrows or French braids work great for this. The flatter your hair, the better your wig will look.
Step 7: Secure the Wig
Use wig glue or bobby pins to keep your wig in place. Apply glue just in front of your hairline to avoid damaging your natural hair. If you prefer bobby pins, make sure to pin both sides evenly and through the lace for extra security.
Step 8: Reduce Shine
Synthetic wigs can sometimes look too shiny, making them appear less natural. Use dry shampoo to reduce the shine and add texture. If you don’t have dry shampoo, root touch-up spray works too.
Step 9: Blend with Makeup
To make the lace front of your wig blend seamlessly with your skin, use concealer that matches your skin tone. Apply it to the lace and part to make it look like your scalp. This little trick can make a huge difference!
Part 2: Putting a Wig in an Updo
Step 1: Start with a Ponytail
Begin by putting your wig into a ponytail. Take a small amount of hair from the back, loop it behind the lace, and pull it back around. Repeat this around the entire edge to cover the lace, then secure the hair in a regular ponytail.
Step 2: Use Clip-In Extensions
For a quick and easy half-up, half-down style, use clip-in extensions that match your wig color. Clip them in for instant volume and length. You can also wrap the ponytail around itself to create a bun.
Step 3: Prep for an Updo
If you want a more dramatic updo, start by curling and teasing the hair. Use foam curlers and a steamer to set the curls, then backcomb for volume. Separate the hair into top and bottom sections.
Step 4: Create a French Twist
For a classic French twist, gather the bottom section of hair and pin it to one side. Fold the hair back towards the center, tuck the ends in, and secure with pins. For a beehive style, pull the top section back and pin it into place.
Step 5: Go for High Volume
For a gravity-defying style, use hairspray to sculpt each curl and build volume. Pile the curls on top of each other so they support each other. Don’t be afraid to use lots of hairspray—synthetic wigs can handle it!
Step 6: Secure Everything
Once your updo is styled, secure it with bobby pins that match your wig color. Finish with another generous coat of hairspray to keep everything in place.
Part 3: Styling Cosplay Looks
Step 1: Dye Your Wig
If you need a specific color that’s hard to find, buy a white or blonde wig and use fabric dye to color it. Mix the dye with water in a bowl and let the wig soak for at least 30 minutes. This is a fun way to get vibrant, custom colors.
Step 2: Create Anime Bangs
For that full, fluffy anime look, section off the front portion of hair, tease it, and backcomb with hairspray. Use your hand or a round brush to shape the bangs and keep them away from your face.
Step 3: Spike Your Wig
To create spikes, section off the hair with bobby pins. Cut each section to the desired length, shape it into a spike, and spray with hairspray. Use a bit of wig glue to hold the shape, then dry with a hair dryer on low heat.
Step 4: Make Extra-Full Ponytails
For a dramatic, full ponytail, use a styrofoam mold as a base. Glue ponytail extensions around the mold until it’s fully covered. Attach the ponytail to your wig with a pin through the lace. You can make one or two for double pigtails.
Personal Story
The first time I styled my synthetic wig for a cosplay event, I was so nervous it wouldn’t look right. I spent hours tweaking and perfecting the look. When I finally walked into the event, the compliments I received made all the effort worth it. Now, I love experimenting with new styles and techniques. It’s all about having fun and expressing yourself!
Conclusion
Styling a synthetic wig can be a fun and creative process. Whether you’re aiming for a natural look or an over-the-top cosplay style, these tips and tricks will help you achieve the look you want. Remember, practice makes perfect, so don’t be afraid to experiment and find what works best for you. Happy styling!
How to Style a Synthetic Wig: 7 Essential FAQs
1. Can I use heat tools on my synthetic wig?
Not really. Most synthetic wigs can’t handle the heat from tools like flat irons or curling irons—they’ll melt! But don’t worry, you can still style your wig using steam. A garment steamer and some foam curlers can work wonders without damaging your wig.
2. How do I make my synthetic wig look less shiny?
Oh, that synthetic shine can be a dead giveaway! A quick fix is to spray some dry shampoo on your wig. It’ll reduce the shine and add a bit of texture, making your wig look more natural. If you don’t have dry shampoo, a bit of root touch-up spray works too.
3. What’s the best way to detangle my synthetic wig?
Synthetic wigs can get super tangled, especially if you wear them a lot. Use a wide-toothed comb and start from the ends, working your way up to the roots. Be gentle to avoid breaking the fibers. A little patience goes a long way in keeping your wig smooth and tangle-free.
4. Can I cut my synthetic wig to style it?
Absolutely! Trimming your wig can make a big difference. If the style doesn’t quite suit you, grab some thinning scissors and give it a go. If you’re nervous about cutting it yourself, take it to a professional stylist. They can shape it to flatter your face perfectly.
5. How do I change the part on my wig?
Changing the part is a great way to switch up your look. Dampen the roots with a spray bottle, then comb the hair into place. Use a hair dryer on a cool setting to set the part. For an extra natural look, use tweezers to pluck a few hairs around the part.
6. How can I secure my wig so it doesn’t slip?
Wig slipping is the worst! To keep it in place, you can use wig glue or bobby pins. Apply the glue just in front of your hairline and wait until it gets tacky before putting on your wig. If you prefer bobby pins, make sure to pin both sides evenly and through the lace for extra hold.
7. What’s the best way to store my synthetic wig?
When you’re not wearing your wig, store it on a wig stand to help it keep its shape. This prevents tangles and keeps it looking good longer. If you don’t have a wig stand, a clean, dry place where it won’t get crushed will do. Just avoid direct sunlight, as it can fade the color.
Leave your comment
Related posts