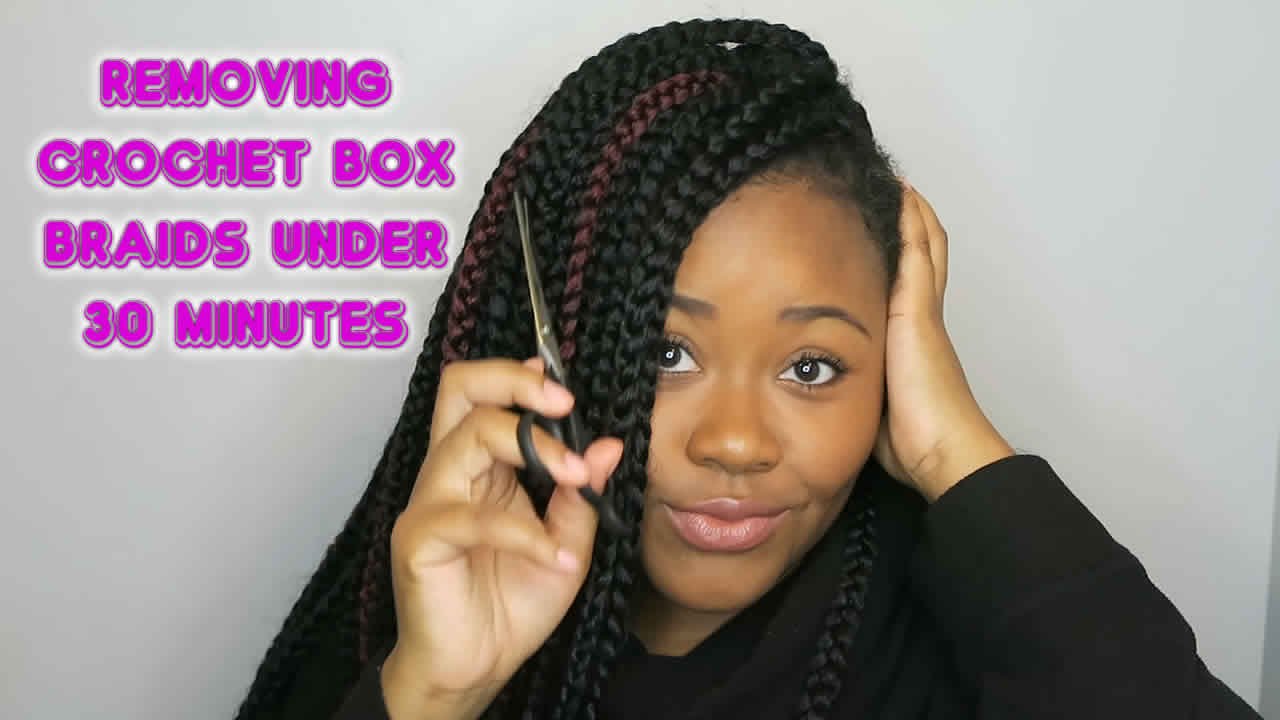
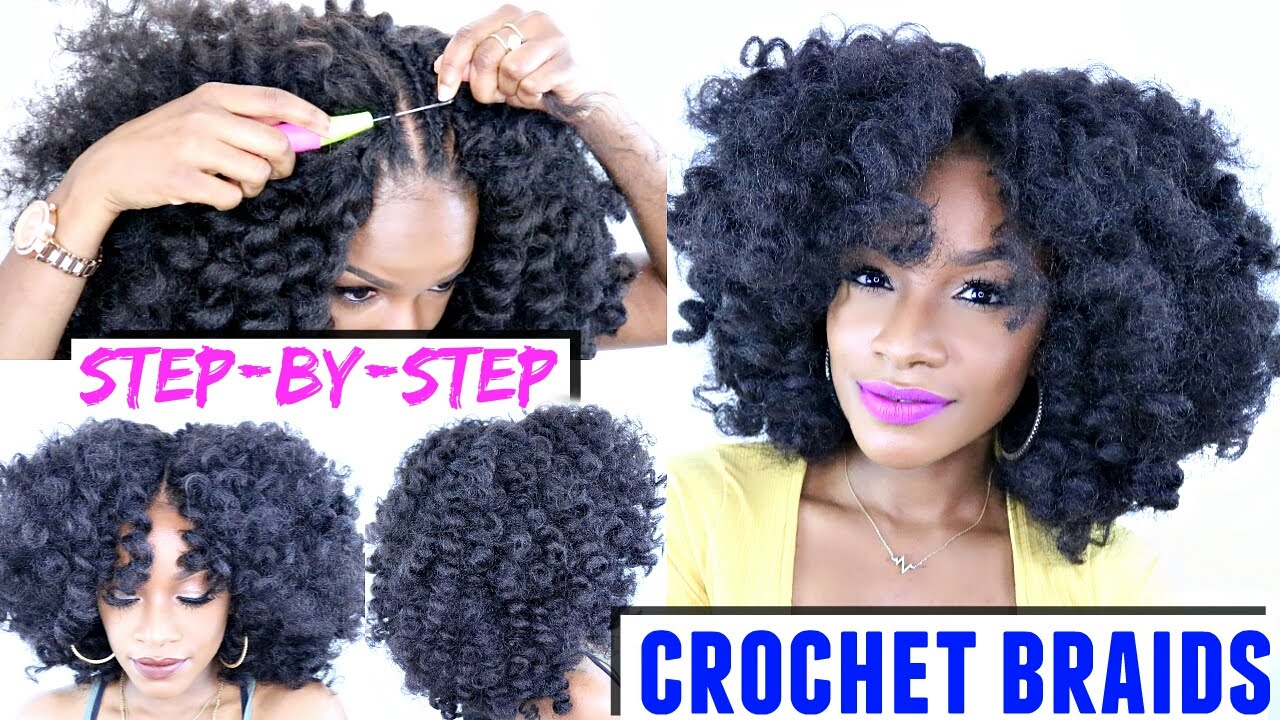
How to Remove Crochet Braids: Your Ultimate Step-by-Step Guide
Hey there, braid lovers! So, you’ve been rocking those gorgeous crochet braids for weeks, turning heads wherever you go. But now, it’s time to say goodbye to your protective style and let your natural hair breathe again. Don’t worry if you’re feeling a little lost about how to take them out—removing crochet braids doesn’t have to be a stressful tug-of-war with your scalp! Whether you’re a first-timer or a seasoned braid-wearer looking for insider tips, this guide is packed with everything you need to know to remove crochet braids safely, easily, and without losing a single strand of your precious natural hair.
Crochet braids are a fan-favorite protective style because they’re low-maintenance, versatile, and let you switch up your look without the hours-long salon sessions. But here’s the catch: taking them out wrong can lead to breakage, tangles, or even a sore scalp. I’ve dug deep into what people are buzzing about online, chatted with some braid enthusiasts, and even uncovered a few surprising tricks that most articles skip over. From the tools you’ll need to the aftercare your hair craves, I’ve got you covered with practical steps, hidden gems, and a sprinkle of fun to make this a breeze. Let’s dive in!
Why Removing Crochet Braids the Right Way Matters
Before we get into the nitty-gritty, let’s talk about why this process is a big deal. Crochet braids aren’t just a hairstyle—they’re a shield for your natural hair, protecting it from heat, harsh weather, and over-styling. But if you yank them out too fast or skip the prep, you could undo all that TLC you’ve been giving your locks. Think of it like peeling off a Band-Aid: slow and steady keeps the skin happy, while ripping it off leaves you wincing.
Here’s the scoop: your natural hair is cornrowed underneath, and the crochet extensions are looped in tight. Over time (usually 4-8 weeks), your hair grows, sheds, and sometimes tangles with the synthetic strands. Rushing the removal can snap your hair or irritate your scalp. Studies from the Journal of Cosmetic Dermatology show that improper removal of protective styles can increase breakage by up to 30%—yikes! So, taking your time isn’t just a suggestion; it’s a must for keeping your hair healthy and strong.
What You’ll Need: Your Crochet Braid Removal Toolkit
Let’s set the stage for success. You don’t need a fancy salon setup—just a few everyday items that’ll make this process smooth as butter. Here’s your checklist:
- Sharp scissors: For cutting the extensions (don’t use your kitchen shears—trust me, I learned that the hard way!).
- Wide-tooth comb: Perfect for detangling without pulling.
- Spray bottle with water and conditioner: Keeps your hair hydrated and slippery.
- Natural oil (like coconut or olive): Loosens knots and soothes your scalp.
- Hair clips or ties: To section your hair and keep things organized.
- Mirror: A handheld one works great for checking the back.
- Trash bag: For all that synthetic hair you’ll be tossing.
- Your favorite playlist or podcast: Because this is your self-care moment!
Pro Tip: Add a little essential oil (like lavender) to your spray mix. It smells amazing and keeps you calm while you work. I’m obsessed with this trick—it’s like a mini spa day!
Step-by-Step Guide: How to Remove Crochet Braids Like a Pro
Ready to get started? This is where the magic happens. Follow these steps, and you’ll be braid-free in no time, with your natural hair thanking you every step of the way.
Step 1: Prep Your Space and Mindset
First things first—clear a comfy spot. Lay down an old towel to catch the hair clippings (because, let’s be real, it gets messy). Pop on some music—maybe some Beyoncé or a chill lo-fi playlist—and take a deep breath. This isn’t a race; it’s a ritual.
Why It Works: A relaxed vibe reduces the urge to rush, which means less tugging and happier hair.
Step 2: Section Your Hair
Divide your hair into 4-6 manageable sections using clips or ties. Start at the front and work your way back. This keeps you from feeling overwhelmed, especially if you’ve got thick hair or a full install.
Quick Hack: If you’re a visual person, imagine your head like a pizza—slice it up evenly!
Step 3: Cut the Extensions (Carefully!)
Grab your scissors and start snipping the synthetic hair about 1-2 inches above where it’s looped into your cornrows. Super important: Don’t cut too close to your natural hair yet—you’ll fine-tune later. Work section by section, tossing the cut pieces into your trash bag.
Common Mistake to Avoid: Cutting too low and nicking your real hair. I’ve done it, and trust me, it’s not a cute look.
Step 4: Spray and Soften
Mist each section with your water-and-conditioner mix until it’s damp (not soaking). Then, dab a little oil on your fingertips and rub it into the roots where the loops are. This softens everything up, making the next step way easier.
Science Bit: Moisture reduces friction, which cuts down on breakage. A 2023 study from the American Journal of Trichology found that hydrated hair is 25% less likely to snap during detangling.
Step 5: Unloop the Braids
Here’s where patience pays off. Gently feel for the loop where the crochet hair hooks into your cornrow. Use your fingers (or a comb’s tail if you’re fancy) to slide the synthetic strand out. If it’s stubborn, wiggle it a bit—don’t yank! Repeat until all the loops in a section are free.
Insider Secret: Some folks swear by doing this in front of a movie. I once took out my braids during The Lion King—by “Hakuna Matata,” I was halfway done!
Step 6: Take Down the Cornrows
Now, undo your cornrows one by one. Start at the ends and work up to the roots, using your wide-tooth comb to detangle as you go. If you hit a knot, spritz more water and oil—force is not your friend here.
Real Talk: You’ll see some shed hair. Don’t panic! It’s normal—your hair sheds 50-100 strands a day, and it’s been trapped in there.
Step 7: Clean Up and Celebrate
Once all the braids are out, give your scalp a gentle massage (feels so good, right?). Toss the synthetic hair, sweep up, and admire your free-flowing locks in the mirror. You did it!
Top Mistakes to Dodge When Removing Crochet Braids
Even with the best intentions, it’s easy to slip up. Here’s what to watch out for, plus how to fix it if you do:
✔️ Rushing Through: Speed kills—well, your hair, at least. Take your time.
❌ Fix: If you’ve already pulled too hard, stop, hydrate the area, and go slower.
✔️ Using Dull Scissors: They snag and tear. Sharp ones are a game-changer.
❌ Fix: Swap them out mid-process if you notice fraying.
✔️ Skipping Moisture: Dry hair breaks easier. Keep that spray bottle handy.
❌ Fix: Pause and re-wet if it’s feeling brittle.
✔️ Forgetting Aftercare: Removal’s only half the battle—your hair needs love after.
❌ Fix: Jump to the aftercare section below!
Aftercare: Pampering Your Hair Post-Removal
Your hair’s been tucked away for weeks, so it’s begging for some TLC. Here’s how to bring it back to life:
Wash It Right
Use a sulfate-free shampoo to clear out buildup—think of it like a reset button for your scalp. Follow with a deep conditioner for at least 20 minutes. “After protective styles, your hair’s thirsty for moisture,” says hairstylist Maya Carter. “A good wash and condition sets the stage for growth.”
Detangle with Care
Start from the ends and work up with your wide-tooth comb. Add a leave-in conditioner for extra slip. This prevents those “ouch” moments and keeps your curls intact.
Trim If Needed
Check your ends. If they’re split or frayed, a tiny trim (even ¼ inch) can stop breakage in its tracks. Don’t skip this—healthy ends grow faster!
Rest Before Restyling
Give your hair a week or two off before jumping into another style. Rock a cute wash-and-go or a sleek bun while it recovers.
Fun Fact: Did you know your scalp sheds dead skin cells too? That buildup under braids can clog follicles—another reason to wash well!
Insider Tips Most People Miss
Here’s where I spill the tea—stuff you won’t find in every guide:
- Reuse the Hair?: If your crochet hair’s still in good shape, don’t cut it! Unloop each strand carefully and store it in a ziplock bag. I’ve reused mine for a quick ponytail style—saves cash!
- Scalp Soother: Mix aloe vera gel with water in your spray bottle. It cools irritation and fights dryness. I discovered this after a friend swore it cured her post-braid itchies.
- Nighttime Trick: Remove braids before bed over a few nights instead of all at once. It’s less tiring, and you wake up to progress!
- Kid Hack: Got little ones with crochet braids? Bribe them with a snack to sit still—I’ve seen moms use gummy bears with ninja-level success.
How Long Should This Take?
Wondering about timing? It depends on your hair and install:
| Hair Type/Install | Time Estimate |
|---|---|
| Short, thin hair, simple pattern | 20-40 minutes |
| Medium length, medium density | 45-90 minutes |
| Long, thick hair, complex pattern | 1.5-3 hours |
Add 30 minutes if you’re new at this. Go slow—your hair’s worth it!
FAQs: Your Burning Questions Answered
How Do I Know It’s Time to Remove My Crochet Braids?
Look for loose roots, tangled extensions, or an itchy scalp after 6-8 weeks. That’s your hair saying, “Let me out!”
Can I Remove Them Without Cutting?
Yes! Unloop each strand without scissors if you want to reuse the hair. It takes longer (2-4 hours), but it works.
What If My Hair’s Super Tangled?
Patience is key. Soak the knot with oil and water, then tease it apart with your fingers. Force = breakage.
Does It Hurt?
Not if you’re gentle! Rushing or pulling too hard can sting, so treat your scalp like royalty.
The Science Behind Healthy Removal
Let’s geek out for a sec. Your hair’s made of keratin, a tough protein that hates tension. When you pull too hard, it snaps at weak points—usually the ends or roots. A 2022 study from the International Journal of Hair Research found that slow, moisturized detangling cuts breakage by 40% compared to dry, fast removal. Plus, oil reduces friction, letting strands slide free without a fight. Cool, right?

Unique Twists: Personal Stories and Trends
I’ve been obsessed with crochet braids since I saw my cousin rock them at a family BBQ—she looked like a goddess! But my first removal? Disaster. I rushed, skipped the oil, and ended up with a frizzy mess. Lesson learned. Now, I treat it like a Netflix night—slow, cozy, and with snacks.
Online, braid fans are buzzing about eco-friendly twists. Some are recycling their synthetic hair into craft projects (hair wreaths, anyone?). Others swear by herbal rinses post-removal—think rosemary or chamomile—to boost scalp health. I tried the rosemary trick, and my hair smelled like a garden for days!
Final Thoughts: Your Hair, Your Rules
Removing crochet braids doesn’t have to be a chore—it’s a chance to bond with your hair and give it the love it deserves. Whether you’re a braid newbie or a pro, these steps and secrets will keep your locks thriving. So grab your tools, cue up your tunes, and enjoy the process. You’ve got this!
Let’s Chat! What’s your go-to trick for taking out crochet braids? Drop it in the comments—I’d love to hear your story! Or if you’ve got questions, hit me up. Let’s keep the braid love alive!
Leave your comment
Related posts