How to Measure Your Head for a Wig: A Step-by-Step Guide
Finding the perfect fit for a wig is crucial for both comfort and natural appearance. Measuring your head for a wig might seem challenging, but with the right instructions, it can be a simple and straightforward process. This comprehensive guide will explain how to accurately measure your head to ensure you select the right wig size.

A well-fitted wig not only looks more natural but also feels more comfortable and secure. Incorrect measurements can lead to a wig that is too tight, causing discomfort, or too loose, leading to slippage. Understanding how to measure your head properly is the first step towards finding your ideal wig.
Tools Required for Measuring
Before you start the measurement process, you will need a few simple tools:
- Flexible measuring tape (cloth or soft plastic)
- Mirror (full length is ideal, but any size that allows you to see your head clearly will work)
- Pen and paper to record measurements
Preparing to Measure
Hair Preparation
If you have hair, ensure it is as flat as possible against your head. You can achieve this by:
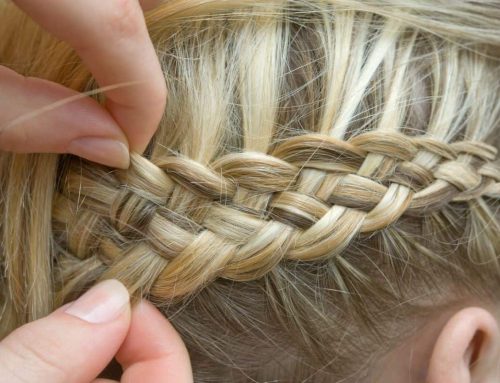
- Braiding long hair in a flat braid or cornrows.
- Using a wig cap to compress shorter styles.
Positioning the Mirror
Set up your mirror so that you can easily see your entire head without having to move around. This ensures that you can focus on accurate measuring without having to adjust your position frequently.
Step-by-Step Measuring Guide
Step 1: Measure the Circumference
- Position the Tape: Start at your natural hairline in front, follow just above your ears, and run the tape around the back at the nape of your neck.
- Record the Measurement: Ensure the tape is snug but not tight. This is your circumference and is the primary measurement used for determining wig size.
Step 2: Measure Front to Back
- Position the Tape: Place the end of the tape at the middle of your front hairline.
- Extend the Tape: Stretch the tape over the top of your head to the exact point on your nape where your skull meets your neck.
- Record the Measurement: This front-to-back length is crucial for the wig cap’s depth.
Step 3: Measure Ear to Ear
- Position the Tape: Start at one ear, bringing the tape across the top of your head to the other ear.
- Record the Measurement: This measurement ensures the wig will cover your entire hairline width and helps align the temples of the wig naturally.

Additional Measurements for Custom Wigs
If you’re considering a custom wig, additional measurements might be required:
- Temple to temple around the back of the head
- Nape width
These measurements provide a more tailored fit, especially important if your head shape is non-standard or if you desire a very precise fit.
Understanding Wig Sizes
Most wigs come in standard sizes—petite, average, and large. Here’s a quick guide on how these sizes generally correspond to head circumferences:
- Petite: 21″ or smaller
- Average: 21.5″ to 22.5″
- Large: Over 23″

Tips for a Successful Measurement
- Double-check your measurements: It’s a good idea to measure at least twice to ensure accuracy.
- Use a friend’s help: If possible, have someone assist you to make sure the tape measure is level and correctly positioned.
- Consult with professionals: If in doubt, consult with a wig specialist. They can provide guidance and ensure your measurements are accurate.
Ready to Find Your Perfect Wig
By following these detailed steps, you can accurately measure your head for a wig and ensure a comfortable, secure, and natural-looking fit. Whether you are buying a ready-made or custom wig, these measurements will help you find or create a wig that enhances your style and fits seamlessly into your life.
