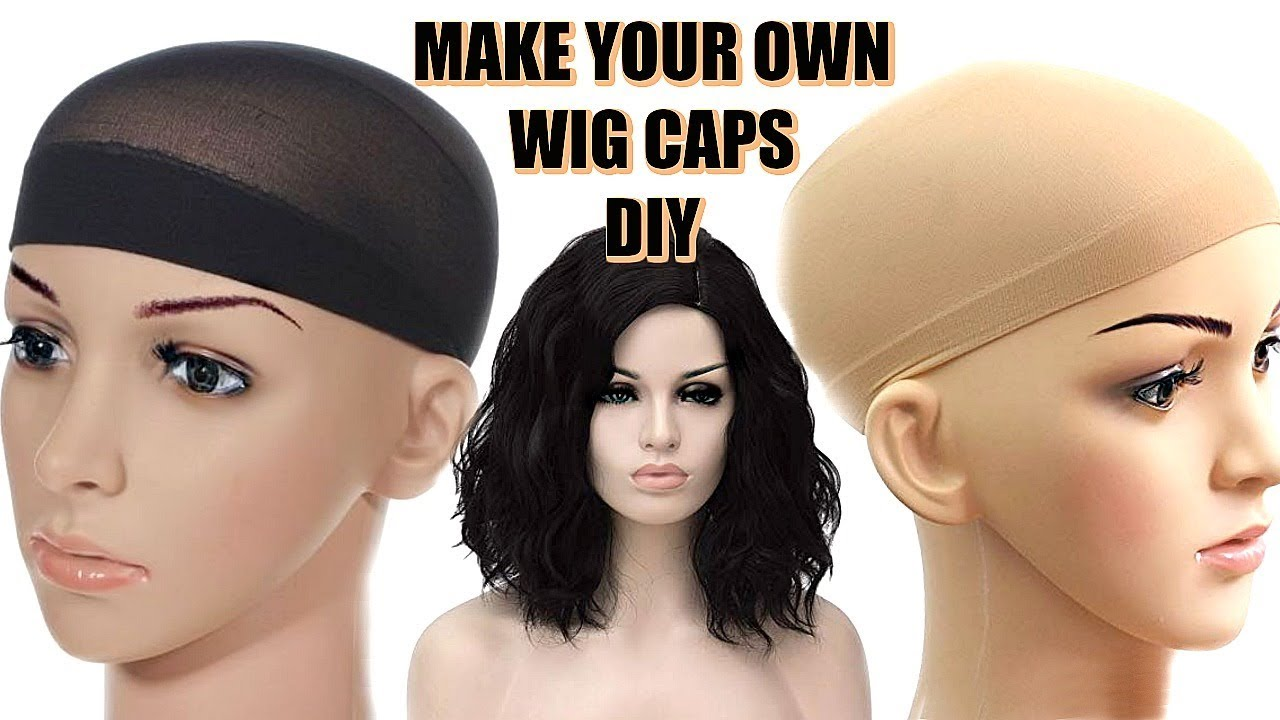
Crafting the Perfect Wig Cap: A Personal Guide
Creating your own wig cap might seem like a daunting task, but trust me, it’s worth every minute you invest. I remember my first attempt—it felt like a mix between an art project and a science experiment. But in the end, I had a wig cap that fit me perfectly, unlike any store-bought one. So, let’s dive in and make a wig cap that’s just right for you.
Step 1: Prepping Your Hair and Head
Pull Back Your Hair
First things first, you need to prepare your hair. This step is crucial because how you style your hair now will impact the size and fit of your wig cap. Some people prefer to create one or two French braids, while others might opt for cornrows. Personally, I find that cornrows work best for a flat and smooth base.
Cover Your Hair with Plastic Wrap
Next, cover your hair with plastic wrap. Make sure it extends past your hairline, including your ears, forehead, and nape. This helps prevent the tape from sticking to your hair later. I remember my first time—my wrap kept slipping, so I secured it with a bit of scotch tape on my forehead.
Layer on the Tape
Now, cover the plastic wrap with two layers of clear packaging tape. Start by wrapping it around your hairline and then cover the rest of the wrap in overlapping rows. Ensure there are no soft spots left. If you feel any, just add more tape!
Trace Your Hairline
With a permanent marker, trace your hairline and ears. If you have a helper, this step will be much easier, especially for the back of your head. If not, use two mirrors to see the back. Don’t worry about marking your skin; that’s what the plastic wrap is for!
Remove and Trim the Mold
Carefully remove the tape-covered plastic wrap. If it’s stuck, use a damp finger to loosen it. Once off, use scissors to trim off the excess tape and plastic wrap, following the marker lines but leaving a small border.
Reinforce the Mold
Finally, reinforce the inside of the mold with more tape, especially if you cut a slit to remove it. This will ensure your mold is sturdy and keeps its shape.
Step 2: Modifying the Mannequin Head
Get a Styrofoam Wig Head
Grab a Styrofoam wig head from an arts and crafts shop, wig store, or online. This will serve as your base.
Place the Wig Head on a Stand
Mount the wig head on a stand. If you don’t have a wig stand, get creative! I once used a Christmas tree stand and it worked perfectly. For a DIY tabletop stand, a paper towel holder can do the trick.
Pad the Inside of Your Mold
Stuff the inside of your mold with polyester stuffing, paper towels, or cotton pads until it fits snugly over the Styrofoam head. This padding ensures the mold holds its shape and fits your head dimensions accurately.
Secure the Mold
Slip the padded mold onto the wig head and secure it with pins along the edges, just below the drawn hairline. Use simple, all-metal pins for the best results.
Step 3: Pinning the Wig Cap
Choose Your Weaving Net
Buy a weaving net from a wig-making supply store, or use netting from a fabric store. If you want a sturdy base, stack two nets together.
Secure the Netting
Drape the netting over the wig head, pulling it taut across the forehead and securing it with pins. Repeat for the back of the head, ensuring the netting is snug.
Create Darts for a Tighter Fit
Pinch the netting to create darts in front of and behind each ear, securing them with pins. This helps the netting lay smoothly against the wig head.
Step 4: Sewing and Finishing the Wig Cap
Remove and Sew the Darts
Carefully remove the wig cap from the wig head and sew the darts using a sewing machine, serger, or by hand. Trim the seams for a clean finish.
Optional Finishing Touches
You can go over the raw edges with a zigzag stitch for a nicer finish. Trim any loose threads and consider tacking down the seams by hand for a flat look.
Final Thoughts
Creating your own wig cap is a rewarding experience. Not only does it ensure a perfect fit, but it also allows you to customize the base for your wig-making projects. Remember, practice makes perfect. My first cap was far from flawless, but with each attempt, I got better. So, grab your materials, set aside some time, and start crafting your perfect wig cap today!
FAQs for How to Make a Cap for Wigs
1. Why should I make my own wig cap instead of buying one?
Making your own wig cap ensures a perfect fit, unlike store-bought ones. When I first tried a store-bought cap, it was either too tight or too loose. Creating your own gives you control over the fit, ensuring comfort and a natural look.
2. What materials do I need to make a wig cap?
You’ll need a few essentials: clear plastic wrap, packaging tape, a permanent marker, a Styrofoam wig head, pins, and a weaving net or lace. It might sound like a lot, but once you have everything, it’s pretty straightforward. I remember feeling a bit overwhelmed at first, but gathering the materials is half the fun!
3. How do I prepare my hair for making a wig cap?
Start by braiding your hair the way you’ll wear it under the wig. I usually go for cornrows because they lay flat against my head. Once your hair is braided, cover it with plastic wrap, extending it past your hairline. This step is crucial for getting the right shape for your cap.
4. How do I make a mold of my head?
Cover your plastic-wrapped hair with two layers of clear packaging tape, wrapping around your hairline first. Then, trace your hairline and ears with a permanent marker. Carefully remove the tape-covered plastic wrap, and you’ve got your mold! The first time I did this, I felt like a mummy, but it’s a key step.
5. How do I modify the wig head to match my measurements?
Stuff the inside of your head mold with padding (like polyester stuffing or paper towels) until it fits snugly over the Styrofoam head. Secure the mold with pins along the edges, just below the drawn hairline. This customizes the wig head to match your exact measurements.
6. How do I pin the netting to the wig head?
Drape the netting over the wig head, pulling it taut across the forehead, and secure it with pins. Repeat for the back, making sure it’s snug. Create darts by pinching the netting around the ears and securing them. This step ensures the netting fits smoothly and stays in place.
7. How do I sew and finish the wig cap?
Remove the pins and the wig cap from the wig head. Sew the darts using a sewing machine, serger, or by hand, then trim the seams. For a polished look, you can go over the raw edges with a zigzag stitch. Finally, trim any loose threads and consider tacking down the seams by hand.
Leave your comment
Related posts