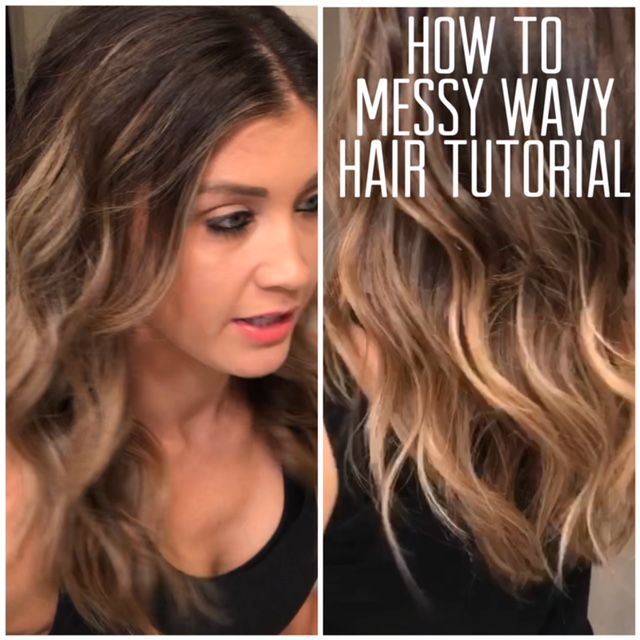
How to Get Wavy Hair with Braids: Your Ultimate Guide to Effortless Waves
Ever dreamed of waking up with those perfect, beachy waves that look like you just stepped off a surfboard? You’re not alone! Wavy hair is a vibe—effortless, fun, and totally versatile. And guess what? You don’t need a curling iron or a fancy salon appointment to make it happen. Braiding your hair is one of the easiest, most natural ways to get those waves, and it’s been a go-to trick for ages. But here’s the thing: there’s way more to it than just twisting your hair into a braid and hoping for the best.
In this guide, I’m spilling all the secrets—stuff you won’t find in every basic tutorial. We’re talking hidden tips from hair enthusiasts, the science behind why braids work, and even some quirky hacks I’ve picked up from my own wavy-hair obsession (spoiler: I’ve got a thing for experimenting with weird hair products). Whether you’ve got straight hair that refuses to hold a curl or thick locks that turn into a frizzy mess, I’ve got you covered with practical, step-by-step advice. Plus, I’ll throw in some fresh ideas that most articles skip—like how your pillowcase can secretly sabotage your waves or why a spritz of something unexpected might be your new best friend.
Ready to transform your hair into wavy perfection? Let’s dive in!
Why Braids Are the Secret Weapon for Wavy Hair
Braids aren’t just a cute hairstyle—they’re a game-changer for creating waves without heat. The magic happens when your hair dries or sets in that twisted shape, locking in a natural curve. It’s low-effort, protects your hair from damage, and works for almost every hair type. But why do braids beat out other methods like sleeping with a bun or using rollers? Let’s break it down.
The Science Behind Braids and Waves
When you braid your hair, you’re bending it into a pattern. As it dries (or even just sits there overnight), the hair strands adapt to that shape. According to a 2019 study from the Journal of Cosmetic Science, hair’s hydrogen bonds—tiny connections in the strand—shift when exposed to moisture and pressure. Braiding wet hair and letting it dry locks those bonds into a wavy form. Cool, right? That’s why damp hair often gives you the best results.
Why Fans Love This Method
Hair lovers swear by braids because it’s a no-heat hack. Heat tools can fry your ends (I’ve been there—split ends are the worst), but braiding keeps your hair healthy while still delivering that wavy look. Plus, it’s a total time-saver. Braid it, sleep on it, and bam—waves in the morning!
Practical Tip
- ✔️ Start with slightly damp hair for defined waves. Too wet, and it won’t dry fully; too dry, and the waves might not stick.
- ❌ Don’t overdo the products right away—sticky gels can make your hair stiff instead of flowy.
Pre-Braid Prep: Setting the Stage for Perfect Waves
Before you even touch a strand, prep is everything. A lot of tutorials skip this part, but trust me—it’s the difference between meh waves and wow waves. Here’s how to get your hair ready.
Wash and Condition Like a Pro
Start with clean hair—it’s like a fresh canvas. Use a sulfate-free shampoo to avoid stripping natural oils, and follow with a lightweight conditioner. Heavy conditioners can weigh your hair down, flattening those waves before they even start.
- Pro Tip: Rinse with cool water. It seals the hair cuticle, making waves smoother and shinier.
Detangle for Drama-Free Braiding
Knots are the enemy of good waves. Grab a wide-tooth comb and gently work through your hair from ends to roots. Wet hair’s more fragile, so be patient—yanking will just break it.
Add the Right Moisture
Damp hair is key, but how damp depends on your hair type:
- Fine/Thin Hair: Lightly mist with a spray bottle. Too much water, and it’ll take forever to dry.
- Thick/Coarse Hair: Go wetter—towel-dry after washing, leaving it about 70% damp.
Secret Hack: The Pillowcase Trick
Cotton pillowcases can suck moisture out of your hair overnight, leaving your waves frizzy. Switch to a satin or silk one instead. It’s a small change, but it keeps your hair hydrated and smooth while you sleep. I started doing this after noticing my waves looked way better on my satin pillow days—total game-changer!
Choosing the Right Braid Style for Your Wavy Hair Goals
Not all braids are created equal. The type you pick decides how tight, loose, or wild your waves turn out. Let’s explore the best options and match them to your vibe.
Classic French Braid: Tight, Defined Waves
This is the OG braid—perfect if you want sharp, uniform waves. It starts at your scalp and hugs tight all the way down.
- How to Do It:
- Split your hair into three even sections at the top.
- Cross the right section over the middle, then the left over the new middle.
- Add small chunks of hair from each side as you go, working down to the ends.
- Secure with a soft scrunchie (no tight elastics—they dent your waves!).
- Wave Result: Think crimped, bouncy waves that last all day.
- Best For: Medium to thick hair that holds shape well.
Dutch Braid: Bold, Voluminous Waves
Like a French braid but flipped—sections go under instead of over. It sits on top of your hair, giving waves extra lift.
- Wave Result: Big, loose waves with tons of volume.
- Best For: Fine hair that needs a boost.
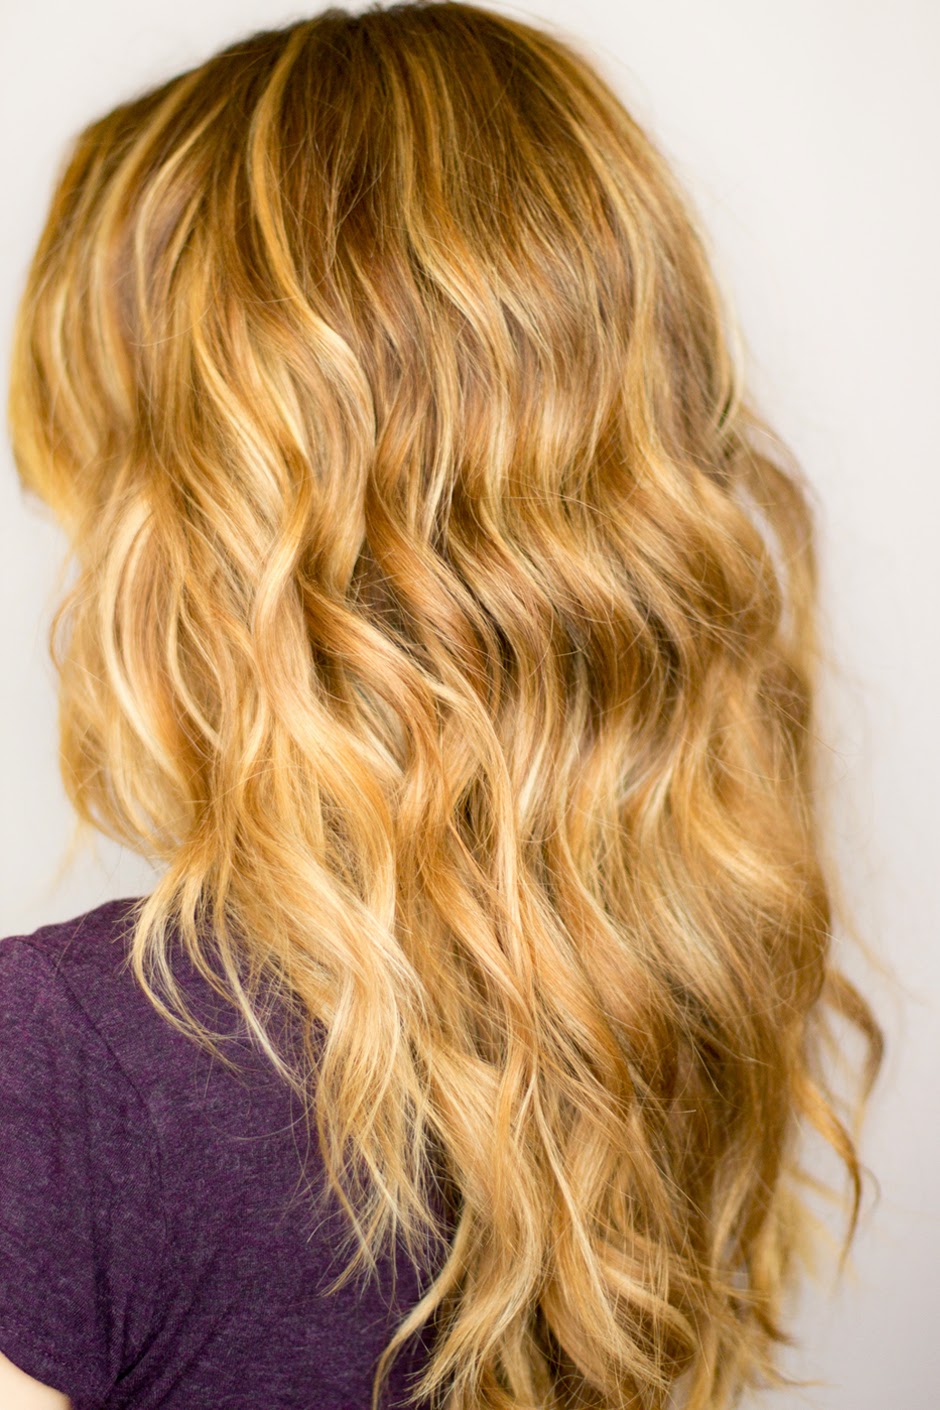
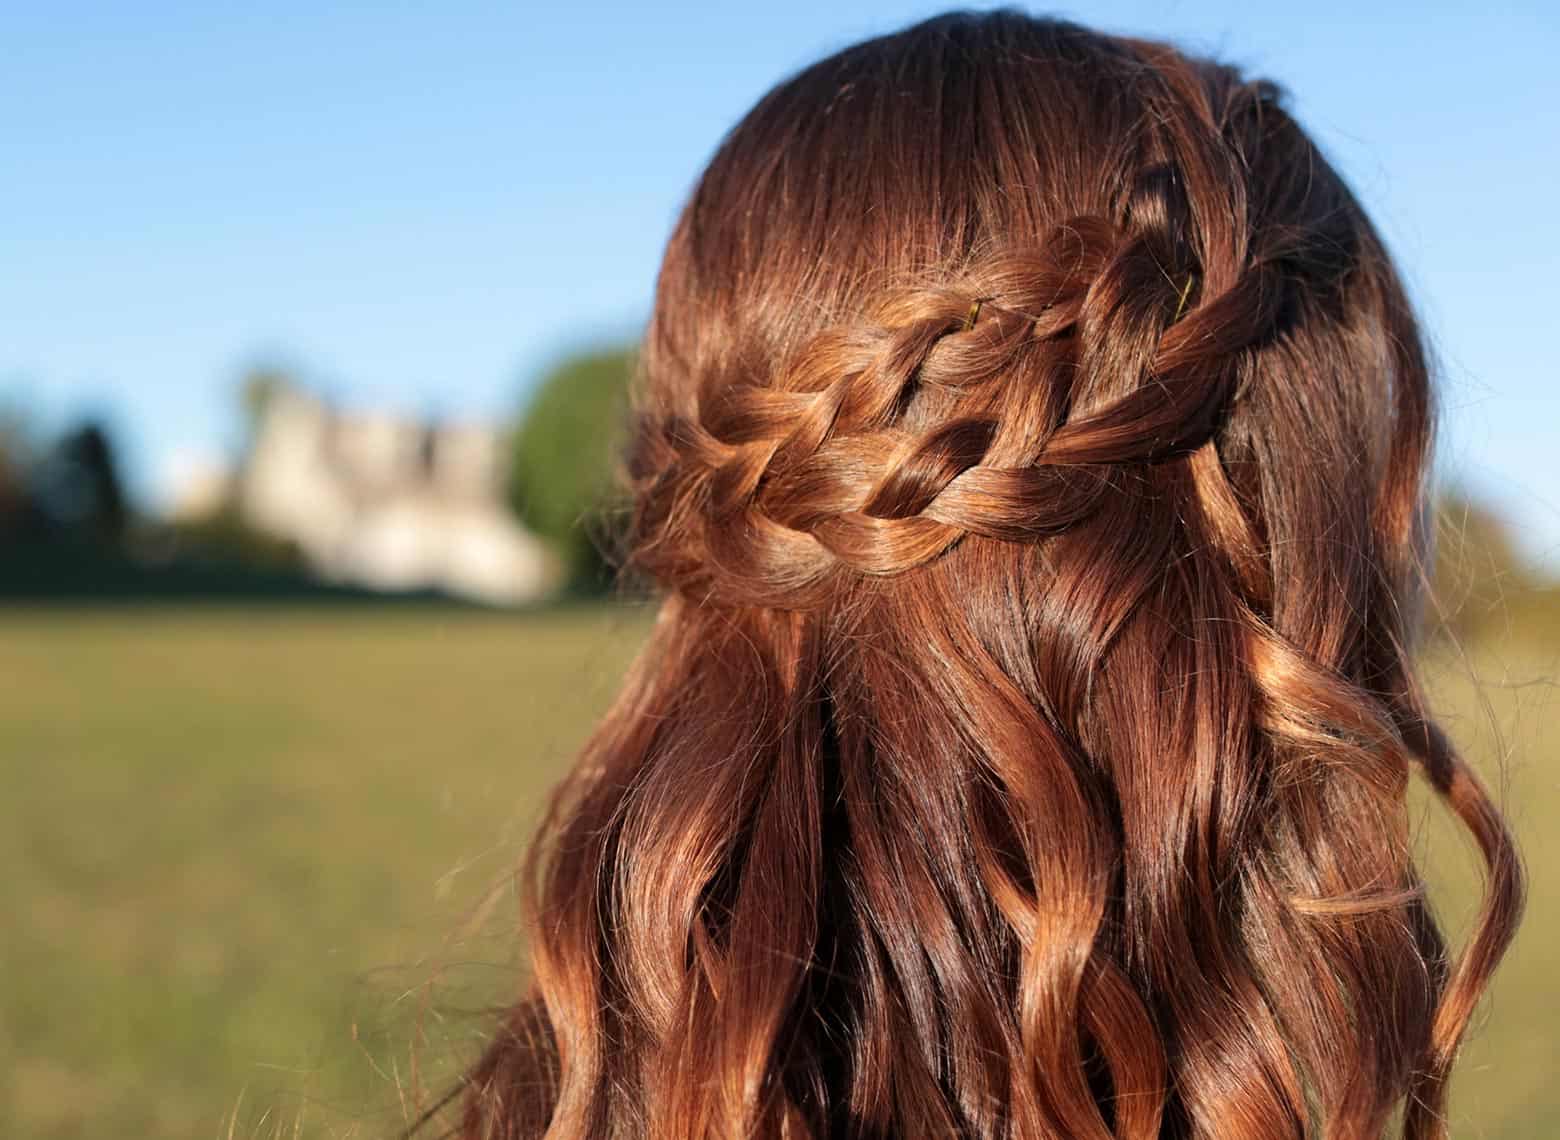
Two-Strand Braids: Soft, Beachy Waves
Split your hair in half and braid each side. Simple, quick, and perfect for that laid-back surfer look.
- Wave Result: Relaxed, flowy waves.
- Best For: Anyone who wants low-key vibes.
Micro Braids: Tiny Waves with Texture
Lots of little braids (think 10-20) create a crimpy, textured wave pattern. It takes time but delivers a unique look.
- Wave Result: Tight, zigzag waves.
- Best For: Thick hair or anyone craving something different.
Hidden Gem: The Rope Twist
Not technically a braid, but twisting two sections around each other gives soft, spiral waves. I love this for lazy days—it’s fast and still looks amazing.
- How to Do It:
- Split a section into two.
- Twist each piece clockwise, then wrap them around each other counterclockwise.
- Repeat all over your head.
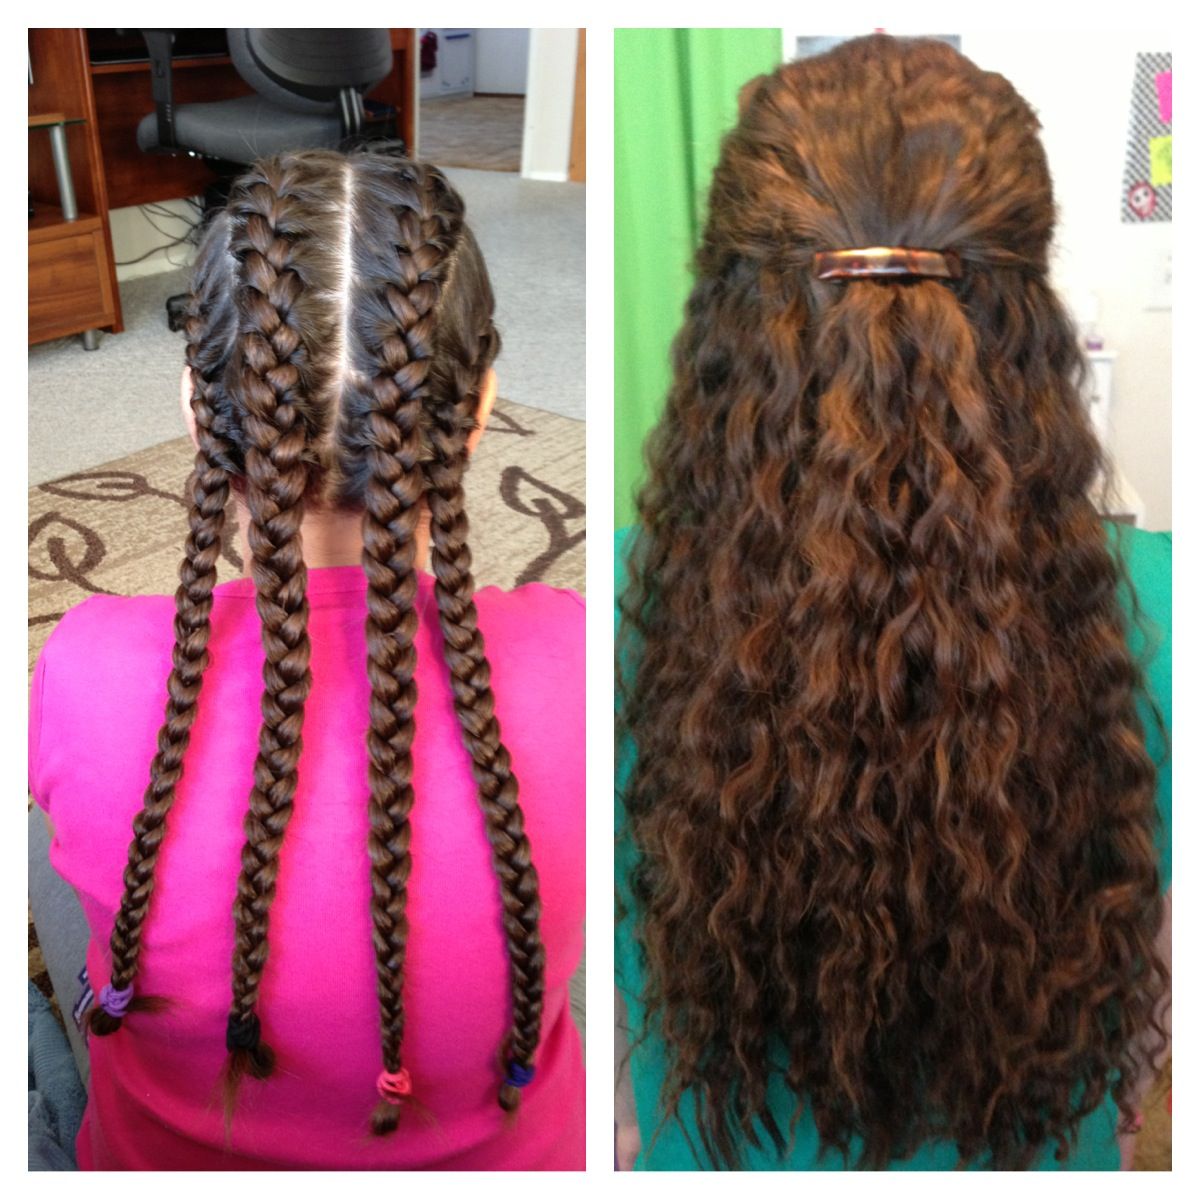
Step-by-Step: How to Braid for Wavy Hair (with Pictures in Your Mind)
Okay, let’s get hands-on. Imagine you’re sitting in front of your mirror, hair damp, ready to roll. Here’s the foolproof way to braid for waves.
Step 1: Section Your Hair
- For one big braid: Gather it all together.
- For multiple braids: Part it evenly (use a comb for precision). Two, four, or six braids work great—more braids = tighter waves.
Step 2: Apply a Wave-Boosting Product
A lightweight mousse or sea salt spray adds grip and definition. I’m obsessed with this DIY trick: mix a teaspoon of salt with water in a spray bottle. It mimics pricey beach sprays for pennies!
- ✔️ Use a pea-sized amount of product per section—less is more.
- ❌ Skip heavy oils—they’ll flatten your waves.
Step 3: Braid It Up
- Start tight at the scalp for waves that begin higher.
- Loosen up toward the ends for a natural taper.
- Secure with a scrunchie or loose tie—tight bands leave creases.
Step 4: Let It Set
- Overnight: Sleep on it (satin pillowcase, remember?).
- Daytime: Leave it in for 4-6 hours if you’re air-drying.
Step 5: Take It Down
- Gently unravel from the bottom up.
- Finger-comb—brushing can turn waves into a frizz bomb.
Bonus Tip
Spritz with a tiny bit of hairspray to hold the shape without crunchiness. I once used my mom’s old-school aerosol stuff by mistake—my waves lasted three days!
Timing Is Everything: How Long Should You Keep Braids In?
How long you leave your braids in can make or break your waves. Too short, and they’re barely there; too long, and you might get weird kinks. Here’s the scoop.
Hair Type Matters
- Fine Hair: 4-6 hours. It dries fast and holds shape easily.
- Thick Hair: 6-8 hours (or overnight). It needs more time to set.
- Curly Hair: 3-5 hours. You’re just enhancing what’s already there.
Wet vs. Dry Braiding
- Damp Hair: Needs at least 6 hours to dry and set fully. Overnight’s ideal.
- Dry Hair: 2-4 hours can work, but the waves won’t be as strong.
Real-Life Test
I’ve got medium-thick hair, and I once left a braid in for 12 hours after a shower. The waves were chef’s kiss—but when I tried just 3 hours on dry hair, they fell flat by lunch. Experiment to find your sweet spot!
Products That Amp Up Your Wavy Hair Game
You don’t need a million products, but a few smart picks can take your waves from good to great. Here’s what works—and what doesn’t.
Must-Haves
- Sea Salt Spray: Adds texture and that beachy grit. Try Not Your Mother’s Beach Babe ($6 at drugstores).
- Mousse: Lightweight hold without stiffness. I love Garnier Fructis Style Curl Construct ($4).
- Leave-In Conditioner: Keeps waves soft, not crunchy. SheaMoisture’s Coconut & Hibiscus one smells amazing ($10).
Skip These
- Heavy Gels: They glue your hair together—zero flow.
- Oily Serums: Great for shine, bad for volume.
Weird But Awesome Hack
Ever tried aloe vera gel? A dime-sized dab mixed with water gives my waves a natural bounce. It’s cheap, and I feel like a plant-loving hair wizard using it.
Hair Type Hacks: Customizing Braids for You
Not everyone’s hair plays by the same rules. Here’s how to tweak your braiding game based on what you’re working with.
Fine or Thin Hair
- Challenge: Waves vanish fast.
- Fix: Use smaller braids (4-6) and a volumizing mousse. Sleep with a loose bun on top after unbraiding for extra lift.
Thick or Coarse Hair
- Challenge: Takes forever to dry.
- Fix: Braid when 50-70% damp, and try bigger, looser braids for softer waves. A blow dryer on low heat can speed things up.
Curly Hair
- Challenge: Waves can get lost in natural texture.
- Fix: Stick to two big braids and stretch them slightly while damp to elongate the pattern.
Short Hair
- Challenge: Hard to braid.
- Fix: Do mini French braids along the top and sides. Pin the ends with bobby pins—they’ll still wave up!
Fixing Common Wavy Hair Fails
Even the best braiders mess up sometimes. Here’s how to troubleshoot when your waves go wrong.
Problem: Flat Waves
- Why: Hair was too dry or braids were too loose.
- Fix: Next time, dampen more and braid tighter at the roots.
Problem: Frizz City
- Why: Dry ends or a rough pillowcase.
- Fix: Add a drop of leave-in conditioner before braiding, and switch to satin.
Problem: Uneven Waves
- Why: Unequal braid sizes.
- Fix: Use a mirror to check sections, or get a friend to help.
Expert Insight
Hairstylist Jenna Michaels says, “Most wave fails come from rushing the process. Give your hair time to set, and don’t skip the prep—it’s half the battle!”
Leveling Up: Advanced Tricks for Next-Level Waves
Ready to go beyond the basics? These insider tips will make your waves stand out.
Heatless Crimp Boost
After unbraiding, twist small sections and pin them up for an hour. It adds extra definition without a curling iron.
The Vinegar Rinse
Sounds crazy, but a diluted apple cider vinegar rinse (1 tablespoon to 1 cup water) before braiding smooths the cuticle. I tried it after reading about it in a hair forum—shinier waves, zero frizz.
Layered Braids
Braid smaller sections over bigger ones (like a French braid over a loose base braid). You’ll get waves with depth and movement.
Keeping Your Waves Fresh All Day
Waves looking droopy by noon? Here’s how to make them last.
Morning Refresh
- Mist with water or sea salt spray, then scrunch. It revives the shape without starting over.
Nighttime Care
- Pineapple your hair (loose bun on top) or re-braid loosely to keep waves intact for day two.
Expert Tip
Celebrity stylist Mark Townsend shares, “A little dry shampoo at the roots keeps waves bouncy and oil-free—don’t sleep on it!”
The Health Bonus: Why Braiding’s Good for Your Hair
Braiding isn’t just about looks—it’s a win for hair health too. It reduces breakage from tossing in your sleep and cuts down on heat damage. A 2021 study in the International Journal of Trichology found that protective styles like braids can lower split ends by up to 30% over six weeks. So, you’re getting waves and stronger hair? Yes, please!
Your Wave Personality: Matching Waves to Your Vibe
Waves say something about you. Here’s how to pick a style that fits your personality:
- Chill Beach Babe: Two loose braids, sea salt spray, done.
- Bold and Edgy: Micro braids or Dutch braids for sharp texture.
- Romantic Dreamer: Rope twists for soft, flowy waves.
I’m a mix of chill and edgy—two Dutch braids are my go-to for that effortlessly cool look.
Let’s Talk: Your Turn to Shine
Wavy hair is all about experimenting and having fun. What’s your favorite braid trick? Tried something wild that worked (or didn’t)? Drop a comment below—I’d love to hear your stories! And if you’re feeling stuck, ask me anything—I’m here to help you nail those waves. Let’s keep the convo going!
Leave your comment
Related posts