How to Do Box Braids on Natural Hair: Your Ultimate DIY Guide
Hey there, braid lovers! If you’ve ever wanted to rock box braids on your natural hair but didn’t know where to start, you’re in the right place. Box braids are more than just a hairstyle—they’re a vibe, a statement, and a way to protect your curls while looking fly. Whether you’re a newbie or someone who’s tried braiding before and ended up with a hot mess (we’ve all been there!), this guide is packed with everything you need to know. From prepping your hair to sealing those ends, I’m spilling all the tea—plus some secrets you won’t find in your average tutorial. Let’s dive in!
Why Box Braids Are a Game-Changer for Natural Hair
Box braids aren’t just cute; they’re a lifesaver for natural hair. They tuck your ends away, shield your strands from damage, and give you a break from daily styling. Plus, they’re super versatile—you can rock them long, short, thick, or tiny, depending on your mood. But here’s the kicker: doing them yourself saves you tons of cash and lets you flex your creative muscles. Imagine braiding while binge-watching your favorite show or vibing to a playlist—way more fun than sitting in a salon chair for hours, right?
The Hidden Perks Fans Love
- Low-Key Confidence Boost: There’s something about finishing your own braids that makes you feel like a boss.
- Customization Obsession: Add beads, colors, or even mix in some glittery extensions—fans go wild for that personal touch.
- Secret Time-Saver: Once they’re in, you’re set for weeks. More time for Netflix or TikTok scrolling? Yes, please!
What You’ll Need Before You Start
Before you grab your comb and hair, let’s talk supplies. A lot of tutorials skim over this, but having the right tools makes or breaks your braiding game. Here’s your must-have list, plus some insider faves you might not have thought of.
Essential Tools
- Rat-Tail Comb: For those crisp, clean parts—trust me, messy parts scream “DIY gone wrong.”
- Hair Clips: Keeps unbraided hair out of your face. Pro tip: grab the colorful ones for a little joy while you work.
- Braiding Hair (Optional): Kanekalon is the go-to synthetic pick, but human hair works if you want a luxe feel.
- Edge Control or Gel: Smooths your roots and keeps flyaways in check.
- Scissors: For trimming stray ends.
- Boiling Water: To seal the braid tips (more on that later!).
Fan-Favorite Extras
- Pre-Stretched Hair: Saves time and reduces tangles—huge win if you’re a beginner.
- Spray Bottle: A mix of water and leave-in conditioner keeps your hair moist while you braid.
- Mirror Setup: Two mirrors (one in front, one behind) let you see every angle like a pro.
How Much Hair Do You Need?
For medium-sized braids, 5-6 packs of braiding hair usually do the trick. Got thick, long natural hair? Bump it up to 7-8. Short hair? You can get away with 4-5. Play around and see what works for you!
Step 1: Prep Your Hair Like a Pro
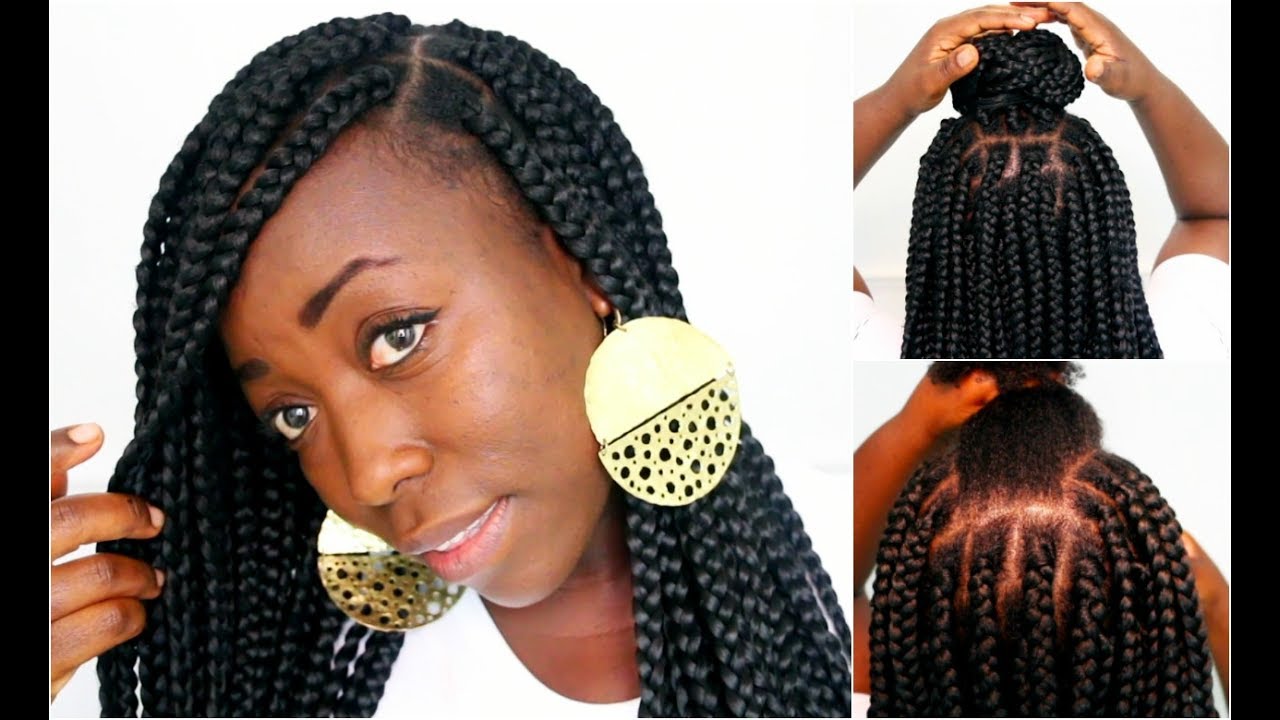
Okay, let’s get real—prepping your hair is the secret sauce to bomb box braids. Skip this, and you’re setting yourself up for frizz, breakage, or braids that unravel faster than a cheap sweater. Here’s how to do it right.
Wash and Condition
Start with clean hair. Use a sulfate-free shampoo to avoid stripping your natural oils, then follow up with a deep conditioner. Why deep? Because your hair’s about to be locked away for weeks—it deserves some TLC first.
- ✔️ Do: Leave conditioner in for 10-15 minutes under a shower cap for max moisture.
- ❌ Don’t: Rush this step. Dry, brittle hair hates braids.
Detangle with Love
Grab a wide-tooth comb and gently work through knots, starting at the ends and moving up to the roots. Wet hair with a little conditioner makes this easier—less tugging, less tears (for you and your strands!).
Stretch It Out
Natural hair shrinks like crazy, right? Stretching it before braiding keeps your parts neat and your braids even. You’ve got options:
- Blow-Dry: Use a heat protectant and low heat. Takes 20-30 minutes.
- Banding: Section your hair, tie small ponytails with bands, and let it air-dry overnight. No heat, all chill.
Fun Fact: A 2021 study from the International Journal of Cosmetic Science found that stretching natural hair reduces tension during braiding, cutting breakage by up to 30%. Science says: stretch it, sis!
Step 2: Sectioning—Your Blueprint for Perfect Braids
Sectioning is where the magic starts. Mess this up, and your braids will look like a jigsaw puzzle gone wrong. Here’s how to nail it.
Divide and Conquer
- Split your hair into four big sections—front left, front right, back left, back right. Clip each one up.
- Take one section and part it into smaller squares or “boxes” with your rat-tail comb. Aim for 1-inch boxes for medium braids, smaller for micro, bigger for jumbo.
- Secure each mini-section with a clip or twist it loosely.
Insider Tip Fans Swear By
- Mirror Trick: Use a handheld mirror to check the back—saves you from crooked parts.
- Zigzag Parts: Feeling artsy? Switch up straight lines for zigzag patterns. Fans love this for a funky twist!
How Long Does This Take?
For a full head, sectioning takes about 30-60 minutes, depending on your hair’s thickness. Put on some music—Beyoncé’s Renaissance album is my go-to—and it’ll fly by.
Step 3: Braiding Basics—Let’s Get to Work
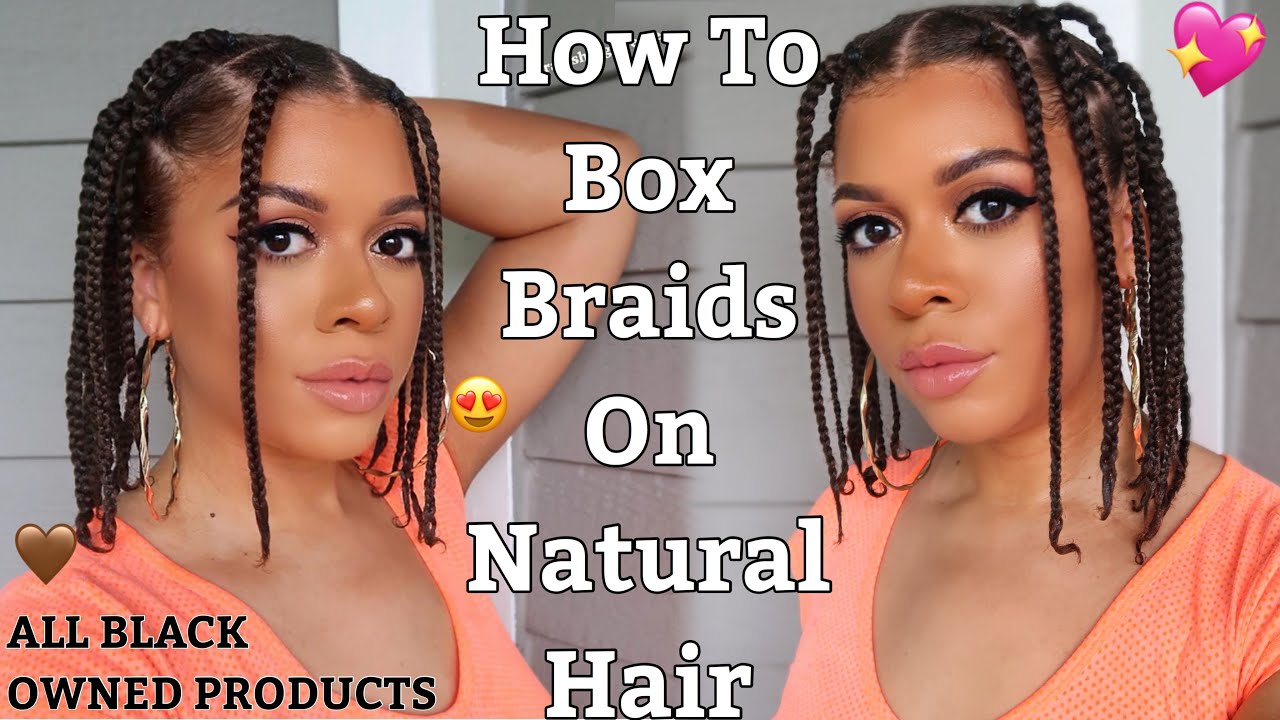
Now, the fun part: braiding! Don’t worry if your hands feel clumsy at first—practice makes perfect. Here’s the step-by-step.
If You’re Using Just Your Natural Hair
- Take a small section (about 1 inch).
- Split it into three equal strands.
- Cross the right strand over the middle, then the left over the new middle. Keep going until you reach the end.
- Secure with a tiny elastic if your hair’s short (optional).
Adding Extensions (Most Popular Method)
- Grab a piece of braiding hair—about the thickness of a pencil for medium braids.
- Fold it in half, creating a loop at the top.
- Hook the loop over your natural hair section, close to the scalp. Now you’ve got three strands: two from the extension, one from your hair.
- Braid tight at the root (but not scalp-pulling tight!), then keep going down. Add a dab of gel to blend your hair with the extension smoothly.
Knotless vs. Traditional—Which Is Better?
- Traditional: Starts with a knot at the root. Quicker but can tug more.
- Knotless: Feeds in hair gradually. Gentler on your scalp, but takes longer. Fans rave about this for less tension—worth the extra time if breakage’s your enemy.
Expert Quote: “Knotless braids are a game-changer for minimizing traction alopecia,” says hairstylist Niani B, creator of virtual braiding classes. “They’re my top pick for beginners.”
Step 4: Sealing the Ends—Lock It In
You’ve braided your heart out—now let’s seal those ends so they don’t unravel. This step’s a fan fave because it’s oddly satisfying.
Hot Water Dip Method
- Boil water in a pot (careful, it’s hot!).
- Pour it into a bowl and let it cool slightly—scalding hair isn’t the goal.
- Dip the braid ends in for 5-10 seconds. The heat melts synthetic hair into a neat seal.
- Pat dry with a towel.
Alternative: Burn It (Safely!)
- Light a candle and quickly run the braid ends near (not in!) the flame. Takes practice—do this only if you’re confident.
- ✔️ Do: Keep a wet cloth nearby for safety.
- ❌ Don’t: Try this on human hair extensions; it’ll frizz up.
Why Fans Love This Step
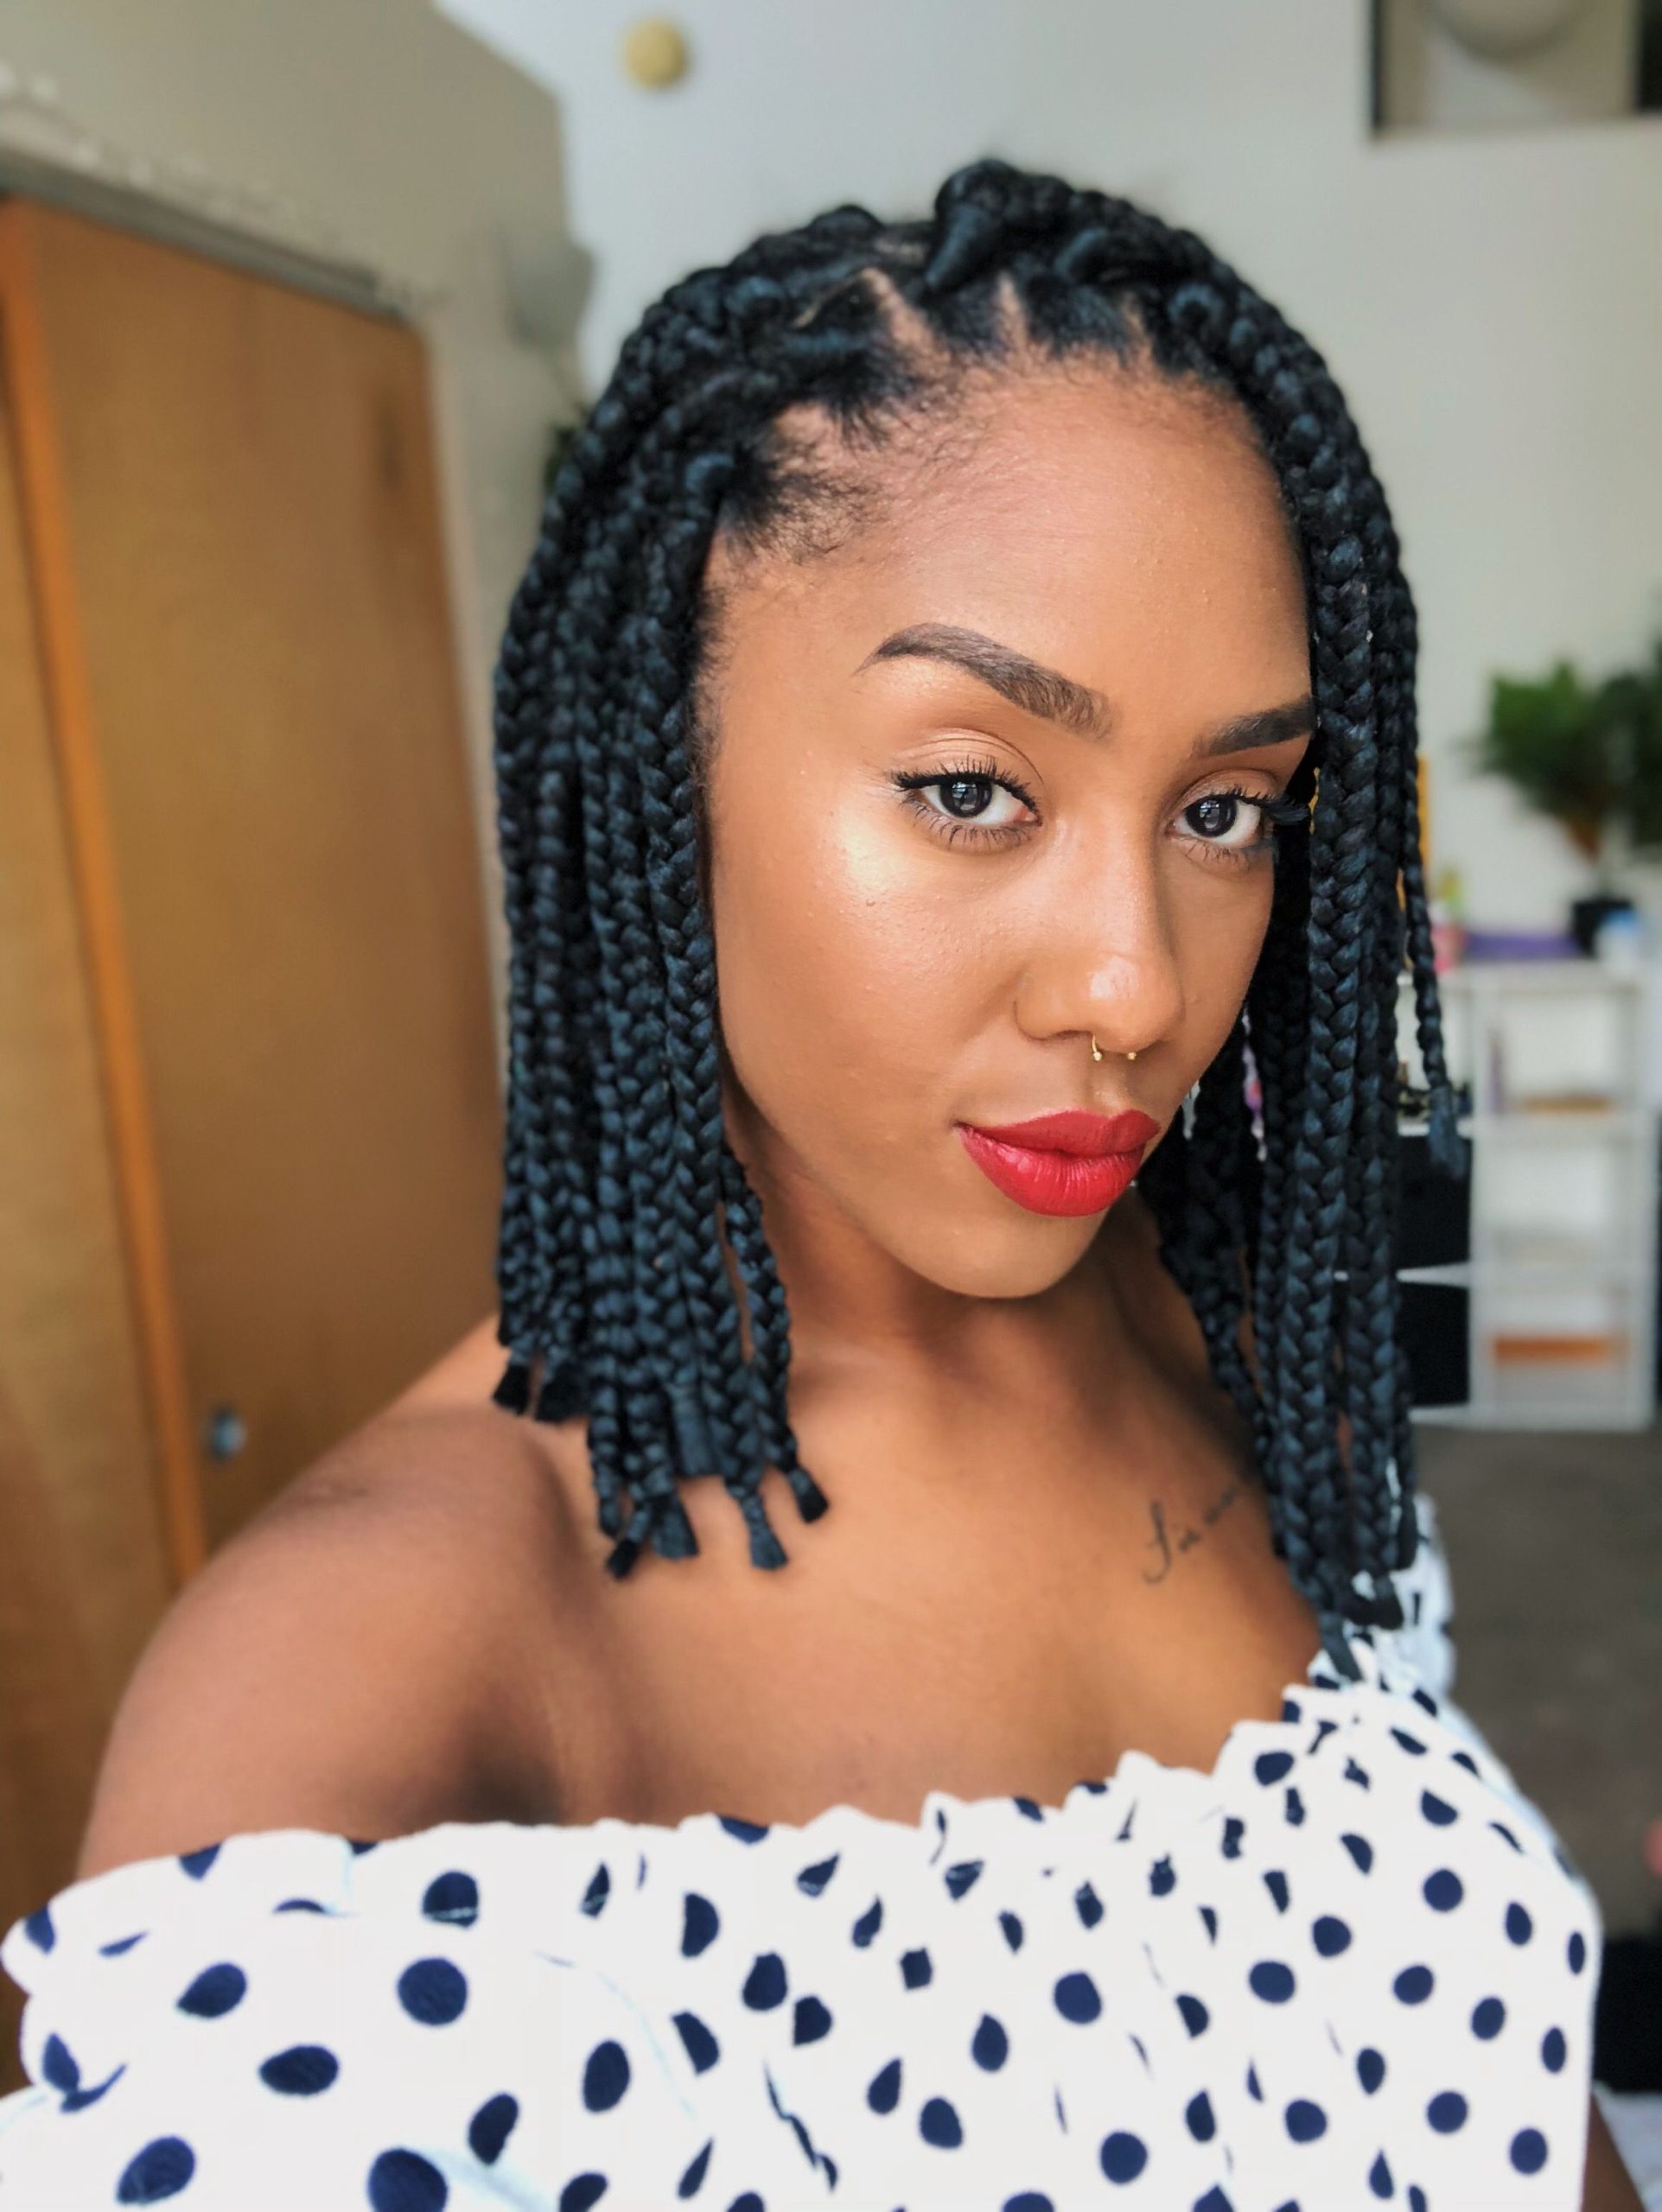
It’s like the grand finale—your braids go from “meh” to “whoa” in seconds. Plus, sealed ends last longer—up to 6-8 weeks with good care.
Step 5: Maintenance—Keep Your Braids Fresh
Congrats, you’ve got box braids! But don’t sleep on maintenance—your hair and scalp will thank you. Here’s how to keep them looking fire.
Scalp Care 101
- Moisturize: Spritz your scalp with a water-and-oil mix (like coconut or jojoba) every 3-5 days. Dry scalp = itchy nightmare.
- Cleanse: Wash every 2-3 weeks with a diluted shampoo in a spray bottle. Focus on the scalp, rinse well, and air-dry.
Braid TLC
- Night Routine: Wrap your braids in a satin scarf or use a silk pillowcase. Cuts frizz and keeps them neat.
- Flyaway Fix: Dab edge control on stray hairs with your fingers or an old toothbrush.
How Long Should They Stay In?
Most pros say 6-8 weeks max. Longer than that, and you risk matting or breakage. A 2023 study in the Journal of Dermatological Research found that leaving braids in past 8 weeks increases scalp stress by 25%. Time to take ’em out when you hit that mark!
Troubleshooting: Common Problems and Fixes
Even pros hit snags. Here’s what fans ask about most—and how to fix it.
“My Scalp Hurts!”
- Why: Braids are too tight.
- Fix: Massage with warm oil (like peppermint) to ease tension. Next time, go lighter on the pull.
“They’re Frizzy Already!”
- Why: Dry hair or rough extensions.
- Fix: Smooth with a lightweight mousse or oil sheen spray. Pre-stretched hair helps prevent this too.
“My Parts Look Uneven!”
- Why: Rushing the sectioning.
- Fix: Take your time upfront. Redo a few if needed—better now than later.
Unique Hacks Fans Can’t Get Enough Of
Here’s where we get spicy—stuff you won’t find in every tutorial. These hacks come straight from braid obsessives (aka me and my crew!).
Glitter Roots
Dip your comb in glitter gel and trace your parts before braiding. Instant sparkle—perfect for festivals or just because.
Bead Mania
Slide colorful beads onto your braids before sealing. Shake your head, and they clack like a mini percussion section—fans live for this vibe.
Scalp Soother Recipe
Mix 1 cup water, 1 tbsp witch hazel, and 5 drops tea tree oil in a spray bottle. Mist your scalp for a cooling, itch-free feel. Smells amazing too!
Expert Quote: “Little tweaks like beads or glitter make box braids your own,” says trichologist Bridgette Hill. “It’s about personality, not just protection.”
Styling Ideas to Switch It Up
Box braids are a blank canvas—don’t let them get boring! Here are fan-favorite looks to try.
High Bun
Gather your braids into a top knot with a scrunchie. Takes 5 minutes and screams “effortless chic.”
Half-Up, Half-Down
Pull the top half into a mini ponytail, leave the rest loose. Cute and flirty—perfect for Zoom calls or date night.
Side Braid
Twist all your braids into one giant side braid. Bold, simple, and a total head-turner.
How Long Does It Really Take?
Let’s break it down:
- Prepping: 1-2 hours (wash, detangle, stretch).
- Sectioning: 30-60 minutes.
- Braiding: 6-12 hours, depending on size and speed. Beginners, give yourself a weekend.
- Total: 8-15 hours. Split it over two days if your arms start begging for mercy!
Fan Tip: Bribe a friend with snacks to help. Cuts time in half and makes it a party.
The Emotional Side of Braiding
Here’s something you won’t see in most guides: braiding is a journey. Your hands might cramp, you might doubt yourself, but when you’re done? Pure pride. Fans say it’s like a rite of passage—connecting to culture, patience, and self-love. Ever cried happy tears over a finished braid? You’re not alone!
Latest Trends and Research (2025 Edition)
Box braids evolve every year. Here’s what’s hot now:
- Eco-Friendly Extensions: Brands are dropping biodegradable synthetic hair. Good for your head and the planet.
- Scalp Health Focus: New studies (like one from Cosmetic Science Review, 2024) show tea tree oil in scalp sprays cuts irritation by 40%. Try it!
- Micro Braids Are Back: Tiny braids are trending again—longer-lasting but trickier to DIY.
Your FAQs Answered
Can I Braid Short Hair?
Yes! At least 2-3 inches works. Extensions help if you want length.
How Do I Sleep Comfortably?
Pineapple your braids (loose high pony) and use a satin bonnet. No more waking up with a squashed ’do.
What If I Mess Up?
Unbraid and redo it. No shame—every pro started somewhere.
Expert Quote: “Mistakes are how you learn,” says stylist Maria Antoinette. “Keep going—you’ll get it.”
