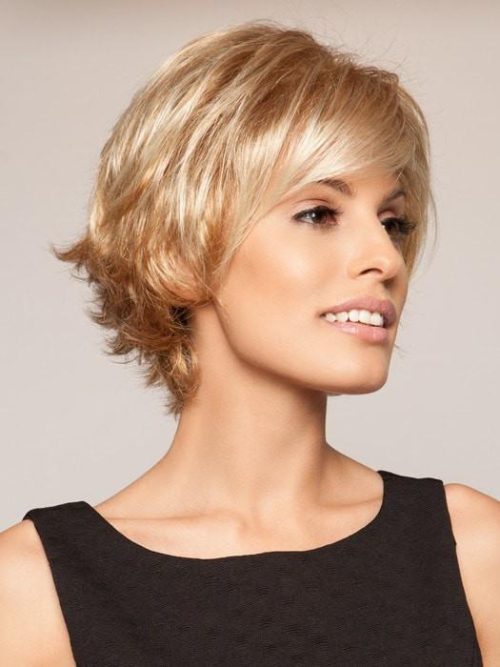
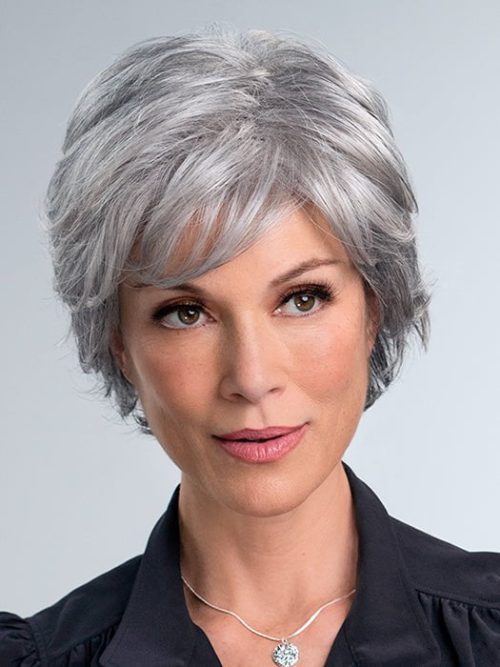
So, you want to give your wig some bouncy, beautiful curls but are worried about damaging it? Don’t stress! I’ve been there, and I’ve learned some fantastic methods to curl wigs without causing harm. Whether you’re using sponge rollers, a curling iron, dowel rods, or a flat iron, I’ve got you covered. Let’s dive in and make your wig look fabulous!
Method 1: Curling a Wig with Sponge Rollers
Step 1: Brush Out the Tangles
Before you start, make sure your wig is tangle-free. Use a wig brush designed to gently remove knots. Start at the ends and work your way up. If you don’t have a wig brush, a wide-tooth comb will work too.
Step 2: Section the Hair
Clip the wig’s hair into sections. Pull all the hair to the top of the mannequin’s head and leave a bottom layer to start curling. This makes it easier to curl each part thoroughly.
Step 3: Wrap Hair Around Rollers
Take small sections of hair, no bigger than 2 inches, and wrap them around the sponge rollers. Roll each section all the way up to the roots, keeping the hair neat. Secure each roller in place.
Step 4: Apply Heat (For Human Hair Wigs Only)
If your wig is made of human hair, use a blow dryer on a warm setting. Hold the dryer on each roller for about 60 seconds. Be careful not to overheat, as it can make the curls messy.
Step 5: Remove the Rollers
Gently unwind each roller instead of pulling it out. This gives the wig nice, bouncy ringlets. For a more natural look, run your fingers through the curls.
Method 2: Using a Curling Iron
Step 1: Prepare the Wig
Place your wig on your head or a mannequin head. It might be easier to style the back if it’s on a mannequin.
Step 2: Heat the Curling Iron
Set your curling iron to 180°F (82°C). Test it on a small, hidden patch of the wig to ensure it doesn’t cause damage.
Step 3: Comb the Wig
Comb out any tangles using a wig brush or wide-tooth comb. This makes the curling process smoother.
Step 4: Section the Hair
Use a rat-tail comb to section off the hair. Clip the top sections out of the way and start with the bottom layer.
Step 5: Curl the Hair
Wrap small sections of hair around the curling iron and hold for a few seconds. Pin the curls to your head to let them set. Spray with hairspray to keep the shape.
Step 6: Let the Curls Cool
Leave the curls pinned for at least a minute to set the shape. Once cooled, unpin them and gently brush through for a natural look.
Step 7: Continue Curling
Move onto the next section and repeat the process. For a more natural effect, curl the sections in different directions.
Step 8: Blend the Curls
Use your fingers to loosen the curls and blend them together. This makes them look softer and more natural.
Step 9: Set with Hairspray
Hold the hairspray about 8 inches away from the wig to avoid buildup. Spray each curl individually for tight curls, or all at once for looser curls.
Method 3: Using Hot Water and Rods
Step 1: Boil Water
Boil water and let it cool to about 170-180°F (77-82°C). This is hot enough to curl the wig without melting synthetic fibers.
Step 2: Detangle the Wig
Run your fingers or a wig brush through the wig to remove tangles. You can also soak the wig in cold water with conditioner.
Step 3: Curl with Dowel Rods
Wrap sections of hair around dowel rods or perm rods. Secure the ends with end papers.
Step 4: Pour Hot Water Over the Wig
Place the wig in a pan and pour the hot water over it. Let it sit for 5-10 minutes. For perm rods, just dunk the rods in hot water for a few seconds.
Step 5: Let the Wig Dry
Leave the rods in the wig and let it dry for about 3 hours. You can speed up the process with a blow dryer on the lowest setting.
Step 6: Remove the Rods
Once the wig is completely dry, carefully remove the rods. For springy curls, leave them as they are. For fluffier curls, use your fingers to separate them.
Method 4: Curling with a Flat Iron and Pins
Step 1: Detangle the Wig
Use a comb or your fingers to detangle the wig. Start from the bottom and work your way up.
Step 2: Straighten Sections
Straighten small sections of hair with a flat iron set to 250-300°F (121-149°C). This preps the hair for curling.
Step 3: Curl Around the Flat Iron
Wrap the hair around the flat iron and let it heat up. Release the strand and wrap it around your finger to form a curl.
Step 4: Pin the Curls
Pin each curl to the wig head with clips or bobby pins. Spray with hairspray to hold the shape.
Step 5: Repeat
Continue curling and pinning each section. Make sure no strands are left loose.
Step 6: Set the Curls
Leave the curls pinned for at least an hour. You can also leave them overnight for stronger curls.
Step 7: Remove Pins and Style
Unpin the curls and use your fingers to blend them together for a natural look. Your wig will have plenty of volume and movement.
Personal Story: My Wig Curling Journey
I remember the first time I tried curling my wig. I was so scared of ruining it! But once I learned the right techniques, it became much easier. One time, I was getting ready for a big party and decided to use sponge rollers overnight. The next morning, I had the most amazing, bouncy curls. It felt like magic! Since then, I’ve experimented with all sorts of methods, and it’s become a fun part of my routine.
Conclusion: Embrace the Curls
Curling your wig can give it new life and style. Whether you’re going for tight ringlets or loose waves, these methods will help you achieve the look you want without damaging your wig. So go ahead, grab your tools, and start curling!
Leave your comment
Related posts