How to Add Curly Hair to Box Braids: Your Ultimate Guide to a Stunning Twist
Box braids are a classic, protective hairstyle that’s been rocking the hair scene for decades. They’re versatile, low-maintenance, and let you switch up your look without much fuss. But here’s a little secret twist that’s been turning heads lately—adding curly hair to your box braids! It’s like giving your braids a fun, bouncy upgrade that screams personality. Whether you’re after a soft, romantic vibe or a bold, playful statement, curly ends can take your braids to the next level.
In this guide, we’re diving deep into everything you need to know about adding curly hair to box braids. From choosing the right hair to step-by-step tutorials, maintenance tricks, and even some surprising insider tips you won’t find anywhere else, we’ve got you covered. Let’s unlock the magic of curly box braids together!
Why Add Curly Hair to Box Braids?
Curly ends aren’t just a trend—they’re a game-changer. Here’s why people are obsessed:
- Extra Flair: Straight braids are cool, but curls add bounce and movement that catch the eye.
- Softer Look: Curls bring a feminine, carefree vibe that balances the structured feel of braids.
- Versatility: You can rock curly box braids in a high pony, half-up style, or let them flow loose—options galore!
- Personality Boost: It’s a sneaky way to show off your fun side without saying a word.
Fun fact: Did you know box braids date back over 5,000 years to ancient African cultures? Adding curls is just a modern twist on a timeless style. But here’s something fans are dying to know—curls can reflect your mood! Tight ringlets might say “I’m bold,” while loose waves whisper “I’m chill.” What’s your curl vibe?
What You’ll Need: Tools and Hair Prep
Before you dive in, let’s gather your braid squad—aka the essentials. You don’t need a fancy salon setup; just some basics will do.
Must-Have Tools
✔️ Braiding Hair: Synthetic or human hair (we’ll break this down soon).
✔️ Wide-Tooth Comb: For detangling without tears.
✔️ Rat-Tail Comb: Perfect for those crisp, clean parts.
✔️ Hair Clips: Keep sections neat and out of the way.
✔️ Flexi Rods or Perm Rods: For curling the ends.
✔️ Boiling Water: To seal and set those curls.
✔️ Gel or Edge Control: For sleek roots and flyaway control.
✔️ Scissors: To trim any stragglers.
Hair Prep 101
Your natural hair is the foundation, so treat it right:
- Wash It: Use a sulfate-free shampoo and conditioner to cleanse and hydrate. Try something like Shea Moisture Curl Enhancing Smoothie for extra moisture.
- Detangle: Wet or dry, gently comb through with a wide-tooth comb. Patience is key—don’t rip those curls!
- Moisturize: Slather on a leave-in conditioner. Dry scalps and braids don’t mix.
- Blow Dry (Optional): Stretch your hair a bit for easier braiding. Use a heat protectant to avoid damage.
Pro Tip: Braid on clean hair—it lasts longer and feels fresher. Ever wondered why your braids itch after a week? Dirty roots are the culprit!
Choosing the Right Hair for Curly Ends
The hair you pick makes or breaks your curly box braid game. Let’s break down your options.
Synthetic vs. Human Hair
| Type | Pros | Cons |
|---|---|---|
| Synthetic | Affordable, lots of colors, easy to find | Can frizz faster, less natural curl |
| Human | Blends better, lasts longer, natural bounce | Pricier, needs more care |
- Synthetic Pick: Kanekalon or Toyokalon hair is a fan favorite. Look for “pre-curled” packs like X-Pression Curly Braid—they save time.
- Human Hair Hack: Go for Remy hair if you want silky, realistic curls. It’s pricier but worth it for a luxe look.
Curl Type Matters
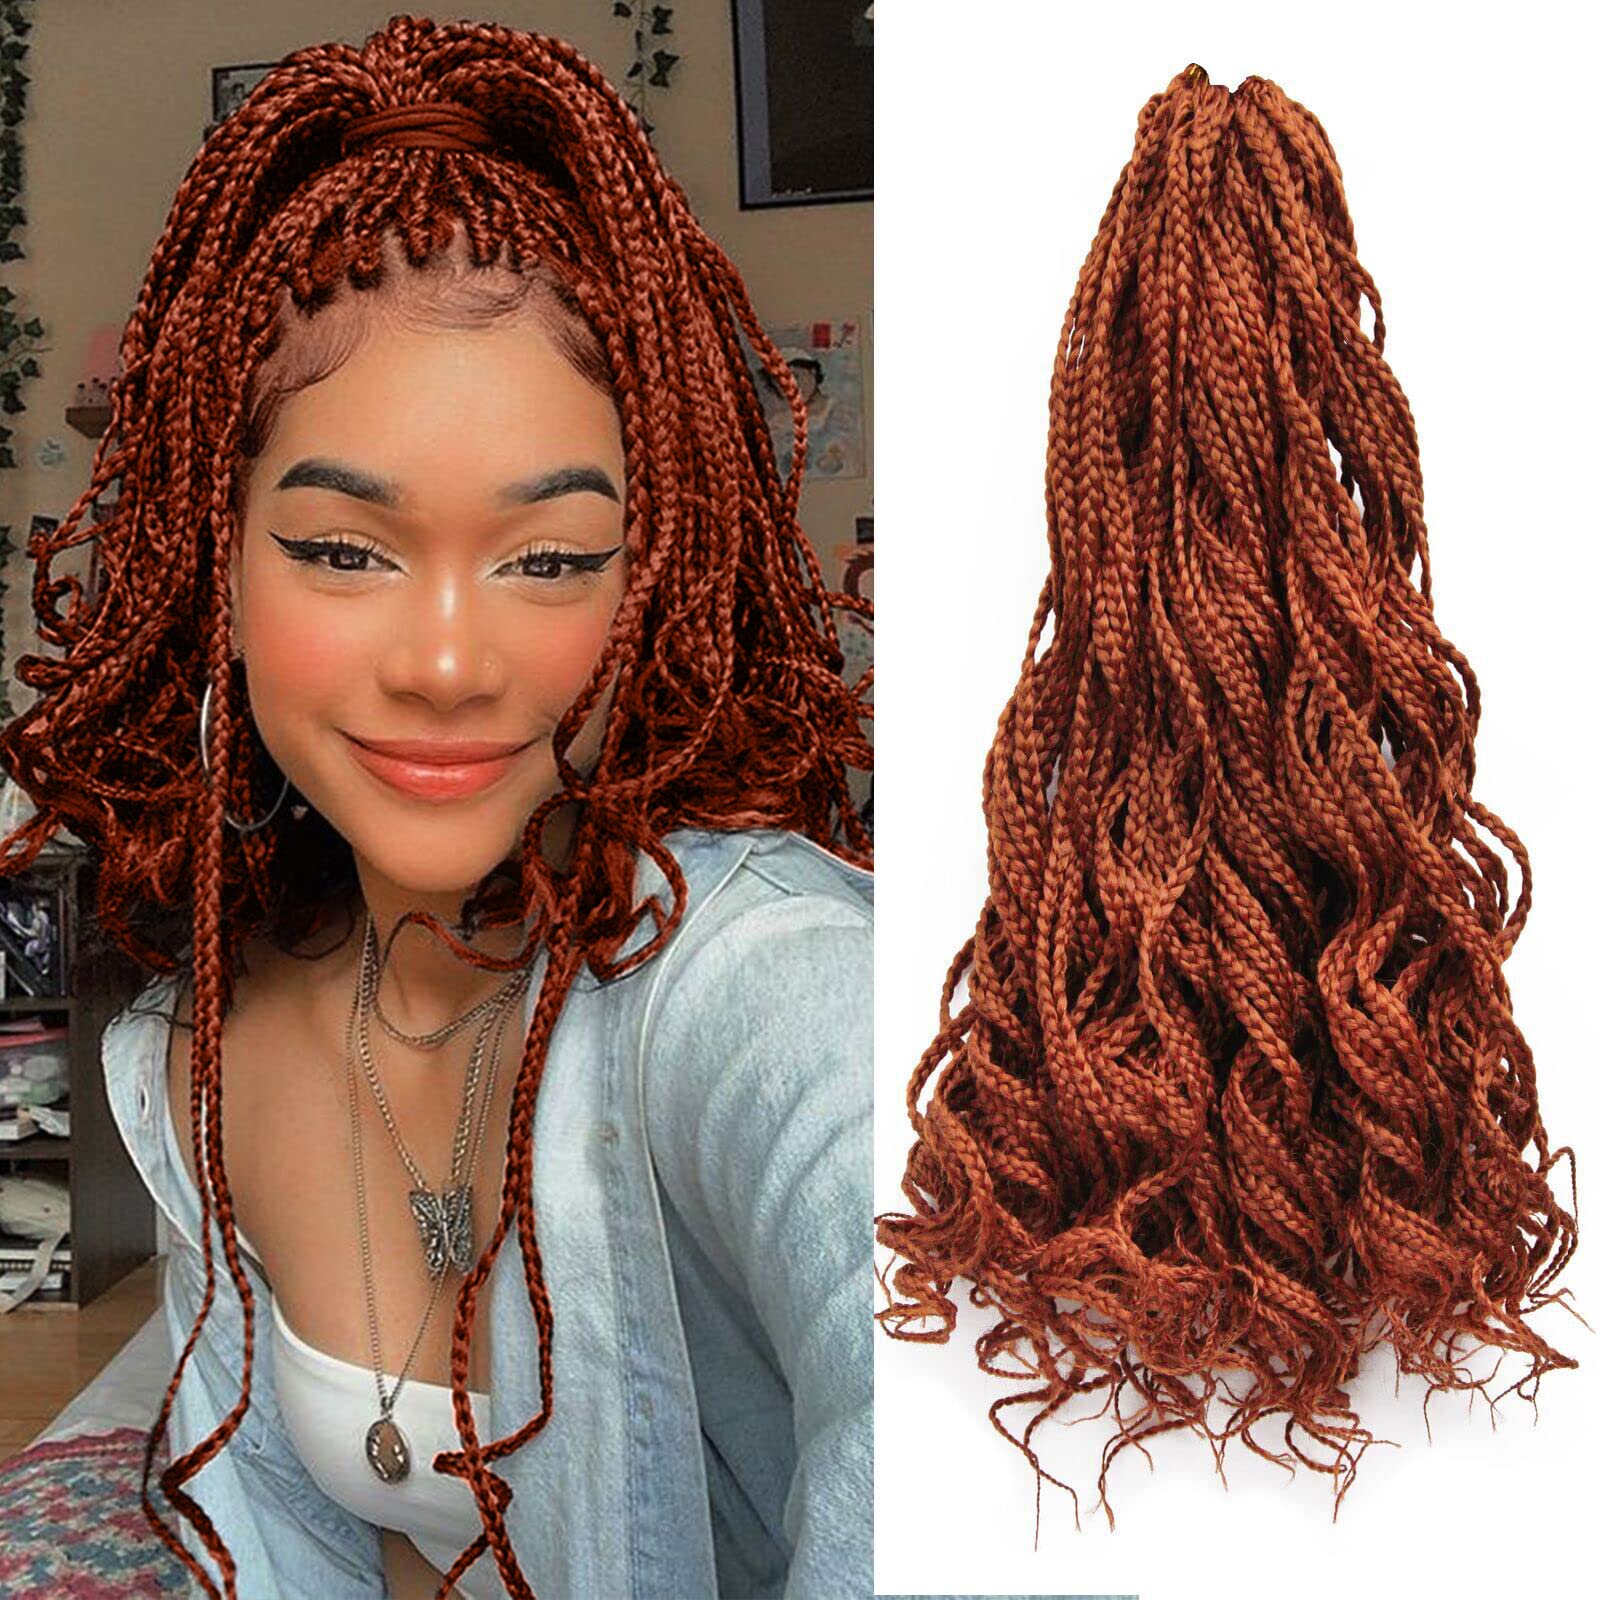
- Tight Ringlets: Small sections, tiny rods—think Shirley Temple vibes.
- Loose Waves: Bigger sections, larger rods—perfect for a beachy feel.
- Mix It Up: Combine curl sizes for a wild, boho twist.
Insider Scoop: Hairstylist Ndeye Anta Niang once said, “The right hair texture can make your braids grip better and hold curls longer.” She’s got 20+ years of braiding wisdom, so trust her on this!
Step-by-Step: How to Add Curly Hair to Box Braids
Ready to braid and curl? Here’s your foolproof guide. We’ll cover two methods—using pre-curled hair and curling straight braids after.
Method 1: Braiding with Pre-Curled Hair
This is the lazy girl’s dream—curls built right in!
- Section Your Hair: Part into small squares (½ inch to 1 inch) using your rat-tail comb. Clip away what you’re not braiding.
- Add the Hair: Take a piece of pre-curled synthetic hair, fold it in half, and place it over your natural section. You’ll have three strands now—two from the extension, one from your hair.
- Start Braiding: Braid tight at the root, then looser as you go. Stop when you hit the curly part—let it hang free.
- Seal the Ends: Dip the tips in boiling water (use tongs!) for 5-10 seconds to lock in the curl. Pat dry with a towel.
- Repeat: Work section by section until your head’s a curly masterpiece.
Time Check: About 6-8 hours for medium-sized braids. Grab a snack and a playlist!
Method 2: Curling Straight Braids
Got straight braiding hair? No problem—curl it yourself.
- Braid as Usual: Section, add straight synthetic hair, and braid all the way down. Leave 3-4 inches unbraided at the ends if you want shorter curls.
- Set Up Rods: Grab flexi rods (size depends on curl tightness). Wrap the unbraided ends around each rod, rolling up to where the braid stops.
- Hot Water Magic: Boil water, pour it into a bowl, and dip the rod-wrapped ends for 10-15 seconds. Let cool completely (20-30 minutes).
- Unwrap: Remove rods gently—hello, curls!
- Finish: Trim any uneven ends and add a dab of gel for shine.
Quick Hack: Sleep with rods overnight—no hot water needed. Wake up to curls!
Top Styles to Try with Curly Box Braids
Curly ends open up a world of styling fun. Here are some looks fans are buzzing about:
1. Half-Up, Half-Down
- How: Gather the top half into a messy bun or pony, let the curly ends cascade down.
- Vibe: Cute and casual—perfect for school or a coffee run.
2. High Ponytail
- How: Pull all braids into a sky-high pony. The curls bounce with every step.
- Vibe: Bold and sporty—great for a workout or a night out.
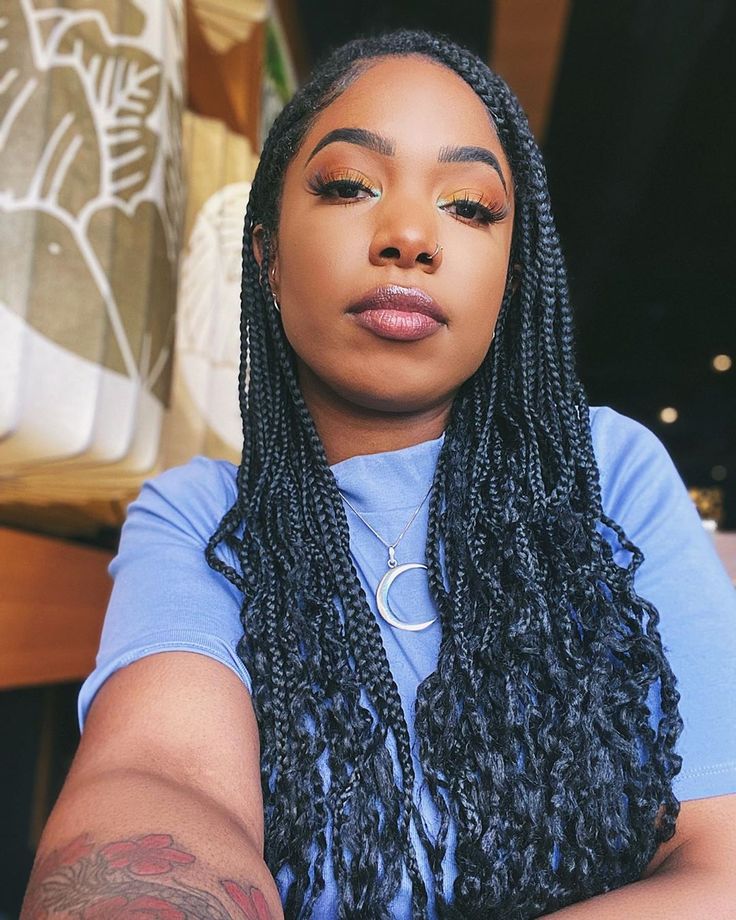
3. Boho Goddess Braids
- How: Mix in loose, wavy extensions with your braids for a tousled, free-spirit look.
- Vibe: Romantic and dreamy—wedding guest approved.
4. Side Part Drama
- How: Part braids to one side, letting curls frame your face.
- Vibe: Sleek yet playful—think red carpet ready.
Fan Confession: “I love how my curly box braids make me feel like a mermaid!”—heard that from a friend at a hair party. What’s your curly braid fantasy?
Maintenance: Keeping Your Curls Poppin’
Curly box braids need love to stay fresh. Here’s how to keep them on point for 6-8 weeks.
Daily Care
✔️ Scalp TLC: Massage with a light oil (like jojoba or coconut) twice a week. Keeps itchiness away.
✔️ Wrap It Up: Sleep with a silk scarf or bonnet—curls stay smooth, frizz stays gone.
❌ Don’t Overwash: Water can loosen braids and flatten curls. Spot-clean with a damp cloth instead.
Weekly Routine
- Scalp Cleanse: Mix water and apple cider vinegar (1:1) in a spray bottle. Spritz roots, wipe with a towel—bye, buildup!
- Moisturize Ends: Dab a curl cream (like Cantu Shea Butter Curl Activator) on the curly tips to revive bounce.
- Check Tension: Gently tug braids. Too tight? Loosen with your fingers to avoid breakage.
Science Bit
A 2023 study from the Journal of Cosmetic Dermatology found that hydrated scalps reduce breakage in protective styles by 30%. So, don’t skip that oil!
Common Mistakes to Avoid
Even pros mess up sometimes. Here’s what to watch out for:
❌ Too Tight Braids: Hurts your scalp and kills your edges. Keep it snug, not painful.
❌ Cheap Hair: Low-quality synthetic frizzes fast. Spend a little more for lasting curls.
❌ Skipping Prep: Dirty or dry hair = dull braids. Cleanse and moisturize first!
❌ Overdoing Water: Too much hot water can melt synthetic hair. Test a strand first.
Real Talk: I once skipped detangling and ended up with lumpy braids—lesson learned the hard way!
Insider Secrets Fans Will Love
Here’s where we get juicy—tips you won’t find in every braid tutorial:
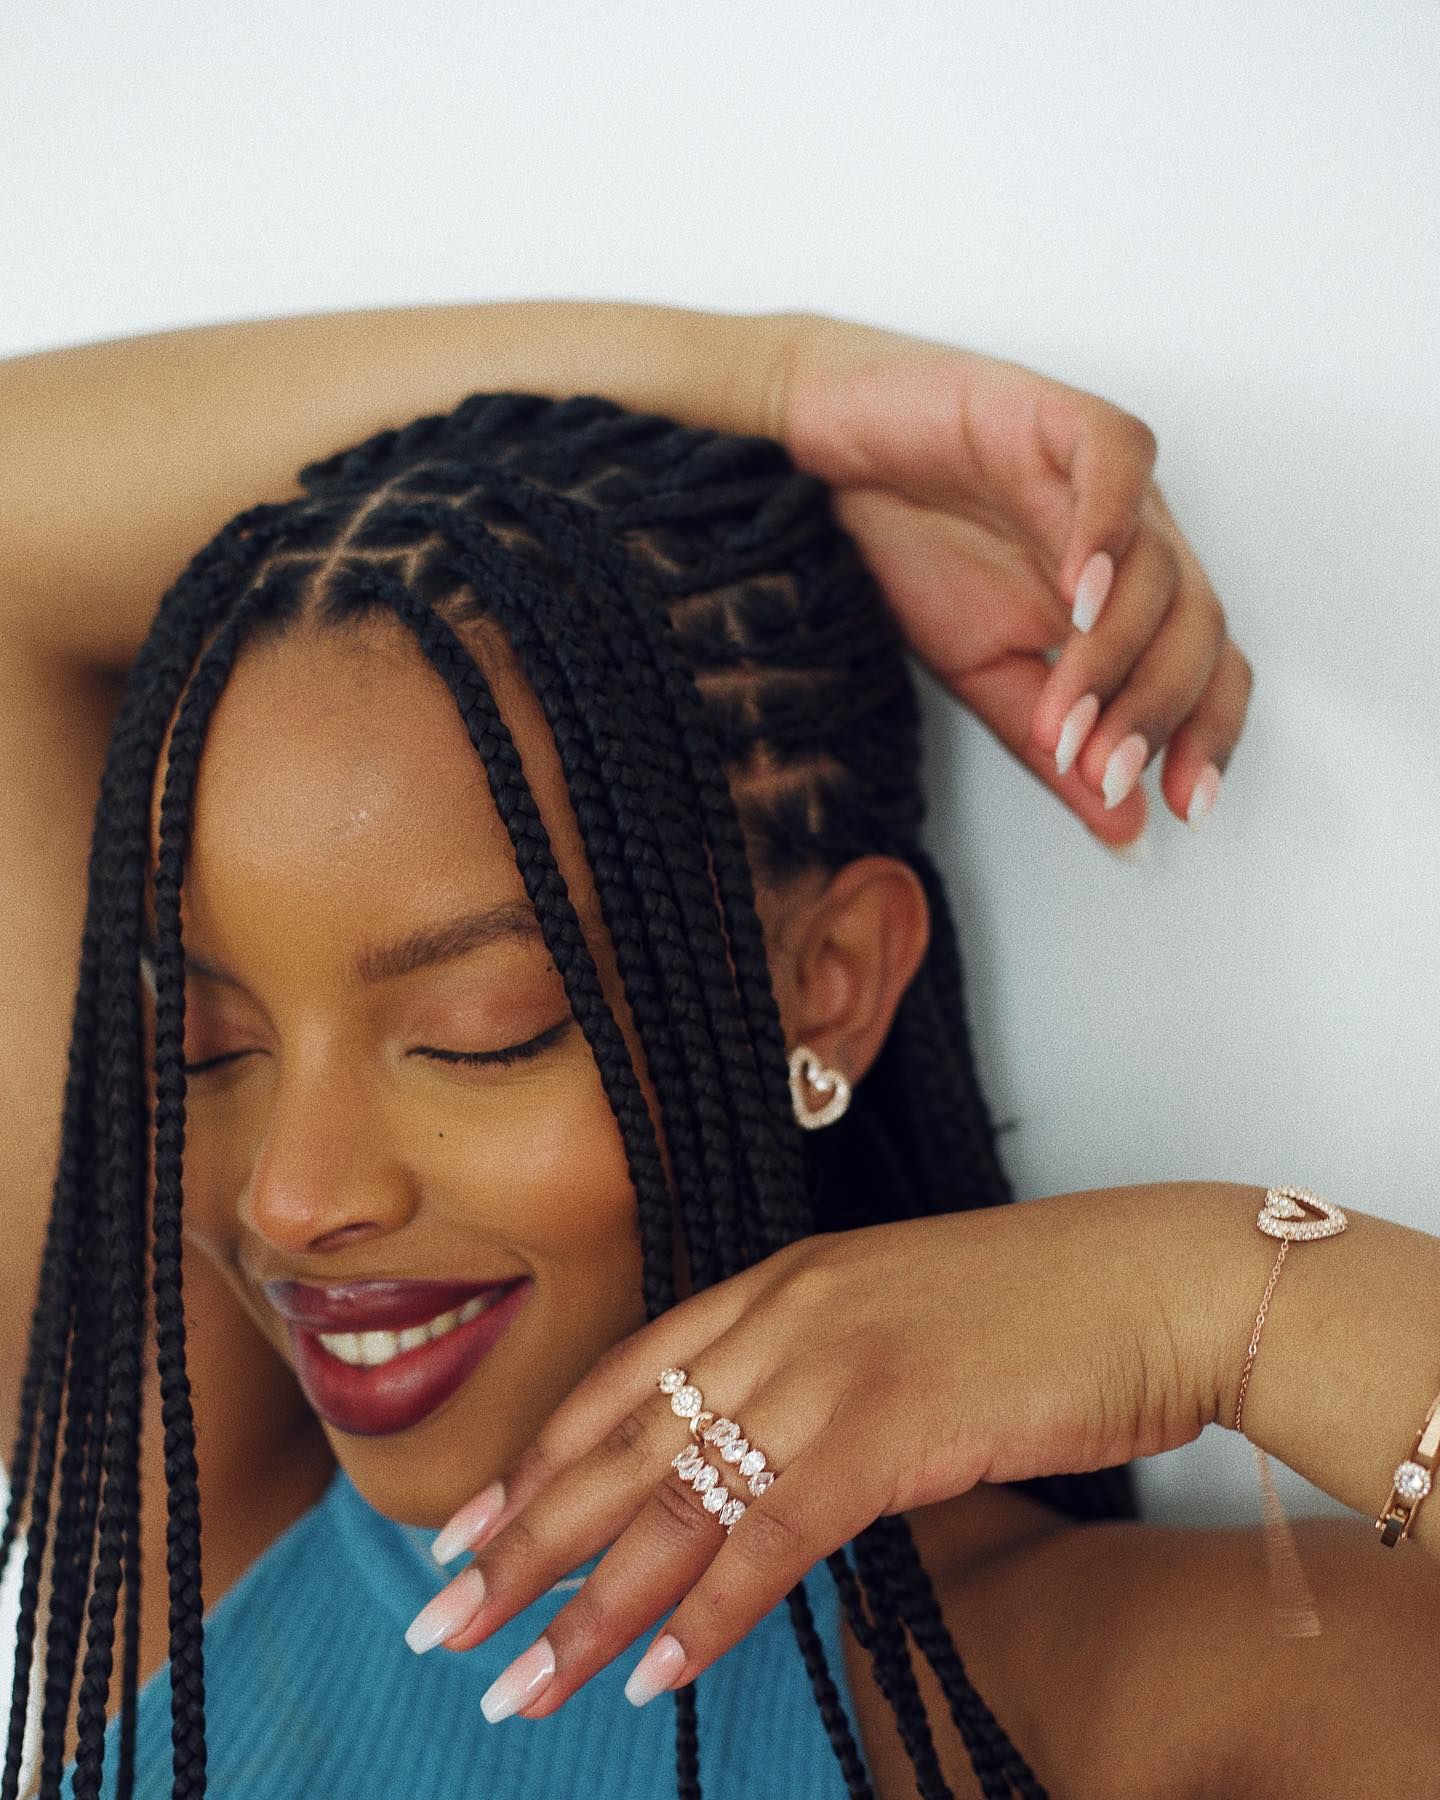
- Color Pop: Add a few colored curly strands (purple, blonde, red) for a hidden surprise. Fans go wild for this peek-a-boo effect!
- Bead It: Slide wooden or gold beads onto the curly ends. It’s a subtle flex that screams “I’m extra.”
- Scalp Art: Part your braids into triangles or zigzags before curling. The pattern peeks through—total wow factor.
- Curl Refresh: Droopy curls? Twist them around your finger with a bit of water and gel. Instant bounce-back!
Hairstylist Larry Sims spilled this gem: “Mixing textures—like straight braids with wild curls—gives you that undone, cool-girl edge.” He’s styled celebs like Gabrielle Union, so he knows what’s up!
How Long Do Curly Box Braids Last?
With proper care, expect 6-8 weeks of fabulousness. Here’s the breakdown:
- Weeks 1-2: Fresh and flawless. Curls are tight, roots are sleek.
- Weeks 3-4: Curls soften, slight frizz might creep in. Refresh with cream.
- Weeks 5-6: Roots grow out, curls may droop. Time to plan removal.
- Week 8: Take ‘em out—your hair needs a breather.
Pro Tip: Don’t push past 8 weeks. Tension on your scalp can lead to thinning, says a 2024 hair health report from Trichology Today.
Taking Them Out: The Gentle Way
Removal’s just as important as installation. Here’s how to say goodbye without damage:
- Soften: Spray warm water and a detangler (like Auntie Jackie’s Knot On My Watch) on each braid.
- Snip Smart: Cut synthetic hair below your natural ends—leave a buffer to avoid chopping your own hair.
- Unravel: Start at the bottom, gently undo with your fingers. Work up slowly.
- Detangle: Use a wide-tooth comb and conditioner to free shed hair.
- Wash: Deep clean with a moisturizing shampoo post-removal.
Fan Hack: “I blast music and sip tea while taking mine out—makes it a vibe!”—overheard at a braid party.
Curly Box Braids for Every Hair Type
Think curly box braids are just for coily hair? Nope! Here’s how they work for everyone:
- Type 3 (Curly): Natural curls blend seamlessly with curly ends. Use medium rods for harmony.
- Type 4 (Coily): Thick texture grips extensions tight. Go bold with big, loose waves.
- Type 2 (Wavy): Add more hair for volume—tight curls pop against softer waves.
Expert Insight: “Coarser hair holds styles longer, but any type can rock curls with the right technique,” says braiding guru Stacey Ciceron.
Cost and Time: What to Expect
DIY Route
- Cost: $20-$50 (hair and tools).
- Time: 6-10 hours, depending on braid size and speed.
Salon Vibes
- Cost: $100-$300 (varies by location and braid size).
- Time: 4-8 hours with a pro.
Money-Saving Tip: Split the work with a friend—half the time, double the fun!
Curly Box Braids Through the Seasons
Your curls can adapt to any weather:
- Summer: Loose waves + a high pony = breezy and cool.
- Winter: Tight ringlets + a beaded scarf = cozy and chic.
- Spring: Boho mix + floral clips = fresh and flirty.
- Fall: Ombre curls (brown to blonde) = warm and trendy.
Seasonal Secret: Humidity can fluff your curls—embrace it for a fuller look!
FAQs: Your Burning Questions Answered
Q: Can I curl my braids after a month?
A: Yes! Re-dip ends in hot water or use rods to refresh. Just don’t overdo the heat.
Q: Will curls damage my hair?
A: Nope, if you prep and remove gently. It’s all about moisture and care.
Q: How do I stop frizz?
A: Silk at night, light gel during the day—frizz doesn’t stand a chance.
Q: Can kids rock curly box braids?
A: Totally! Use smaller sections and softer curls for comfort.
Let’s Get Personal: Your Curly Braid Journey
Curly box braids aren’t just hair—they’re a vibe, a story, a mood. Maybe you’re braiding to feel fierce for a big event, or maybe it’s your chill weekend project. Whatever it is, make it yours. Experiment with colors, lengths, and styles until you’re obsessed with the mirror.
Interactive Time:
- What’s your dream curly braid look? Drop it in the comments!
- Tried a tip from this guide? Share your pics—we’re dying to see!
- Got a braid hack? Spill the tea—we’re all ears!
Let’s keep the curly braid love going. Your next iconic look starts here—go slay it!
Leave your comment
Related posts