How to Do Box Braids with Extensions: Your Ultimate Guide to a Stunning Style
Hey there! If you’ve ever dreamed of rocking box braids with extensions—those gorgeous, neat little plaits that scream confidence and style—you’re in the right place. Box braids aren’t just a hairstyle; they’re a vibe, a statement, and a way to protect your natural hair while looking fabulous. Whether you’re a total newbie or someone who’s tried braiding before but wants to level up, this guide has got you covered. We’re diving deep into everything you need to know: from prep to finishing touches, plus some insider secrets and fan-favorite tips you won’t find everywhere. Ready to braid like a pro? Let’s get started!
Why Box Braids with Extensions Are a Game-Changer
Box braids have been around for thousands of years—yep, they date back to 3500 B.C. in African culture! They’re called “box” braids because your hair gets sectioned into little square (or box-shaped) parts before braiding. Adding extensions takes them to the next level by giving you extra length, volume, and endless styling options. Want braids down to your waist? Or a pop of color without dyeing your hair? Extensions make it happen.
But here’s the tea: box braids aren’t just about looks. They’re a protective style, meaning they shield your natural hair from breakage, heat, and everyday wear-and-tear. Plus, they’re low-maintenance—once they’re in, you’re good for weeks. Curious about how to make them your own? Let’s break it down step-by-step.
What You’ll Need Before You Start
Before you jump in, let’s gather your tools. Think of this like prepping for a fun art project—having everything ready makes it way easier.
Your Must-Have Supplies
- Braiding Hair (Extensions): Most people use synthetic Kanekalon hair because it’s affordable, lightweight, and comes in tons of colors. Want a natural vibe? Try human hair extensions (pricey but worth it for some).
- Rat-Tail Comb: For those perfect, even sections.
- Hair Clips: To keep unbraided hair out of the way.
- Edge Control or Gel: For smooth, sleek edges.
- Scissors: To trim ends if needed.
- Hot Water (Optional): For sealing the braid tips.
- Moisturizer or Leave-In Conditioner: Keeps your hair happy underneath.
- A Mirror: Especially one that shows the back of your head—trust me, it helps!
Insider Tip: Pick the Right Extensions
Did you know coarser or curlier extensions grip better and hold the style longer? A braider I know swears by pre-stretched Kanekalon because it’s less tangled and easier to work with. Bonus: it cuts braiding time by like 20 minutes!
Step-by-Step: How to Do Box Braids with Extensions
Ready to braid? This is where the magic happens. Follow these steps, and you’ll have a head full of gorgeous braids in no time. Don’t worry if it feels slow at first—practice makes perfect!
Step 1: Wash and Prep Your Hair
Start with clean, dry hair. Shampoo gets rid of dirt, and conditioner adds moisture so your hair doesn’t snap while braiding.
- ✔️ Do: Use a deep conditioner if your hair’s dry.
- ❌ Don’t: Braid wet hair—it can trap moisture and cause mildew (yuck!).
Dry it with a blow dryer on low heat after applying a heat protectant. Straightening it a bit makes parting easier, especially if your hair’s super curly.
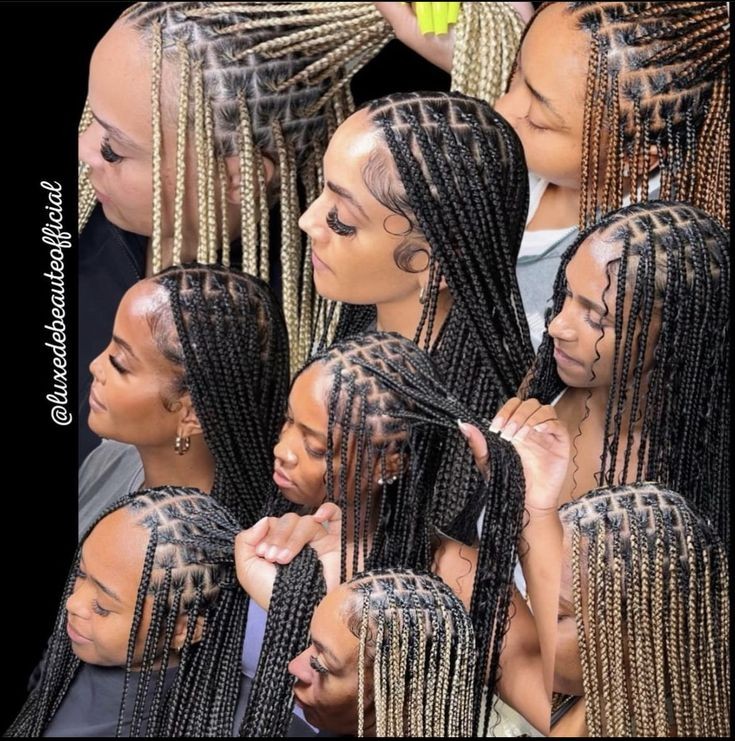
Step 2: Section Your Hair
Grab your rat-tail comb and divide your hair into four big sections (like a plus sign: front to back, ear to ear). Clip each section up. Then, within each section, make smaller, box-shaped parts—about ¼ to 1 inch wide, depending on if you want tiny or jumbo braids.
- Pro Trick: Smaller sections = more braids (think 100+!), bigger sections = fewer, chunkier ones.
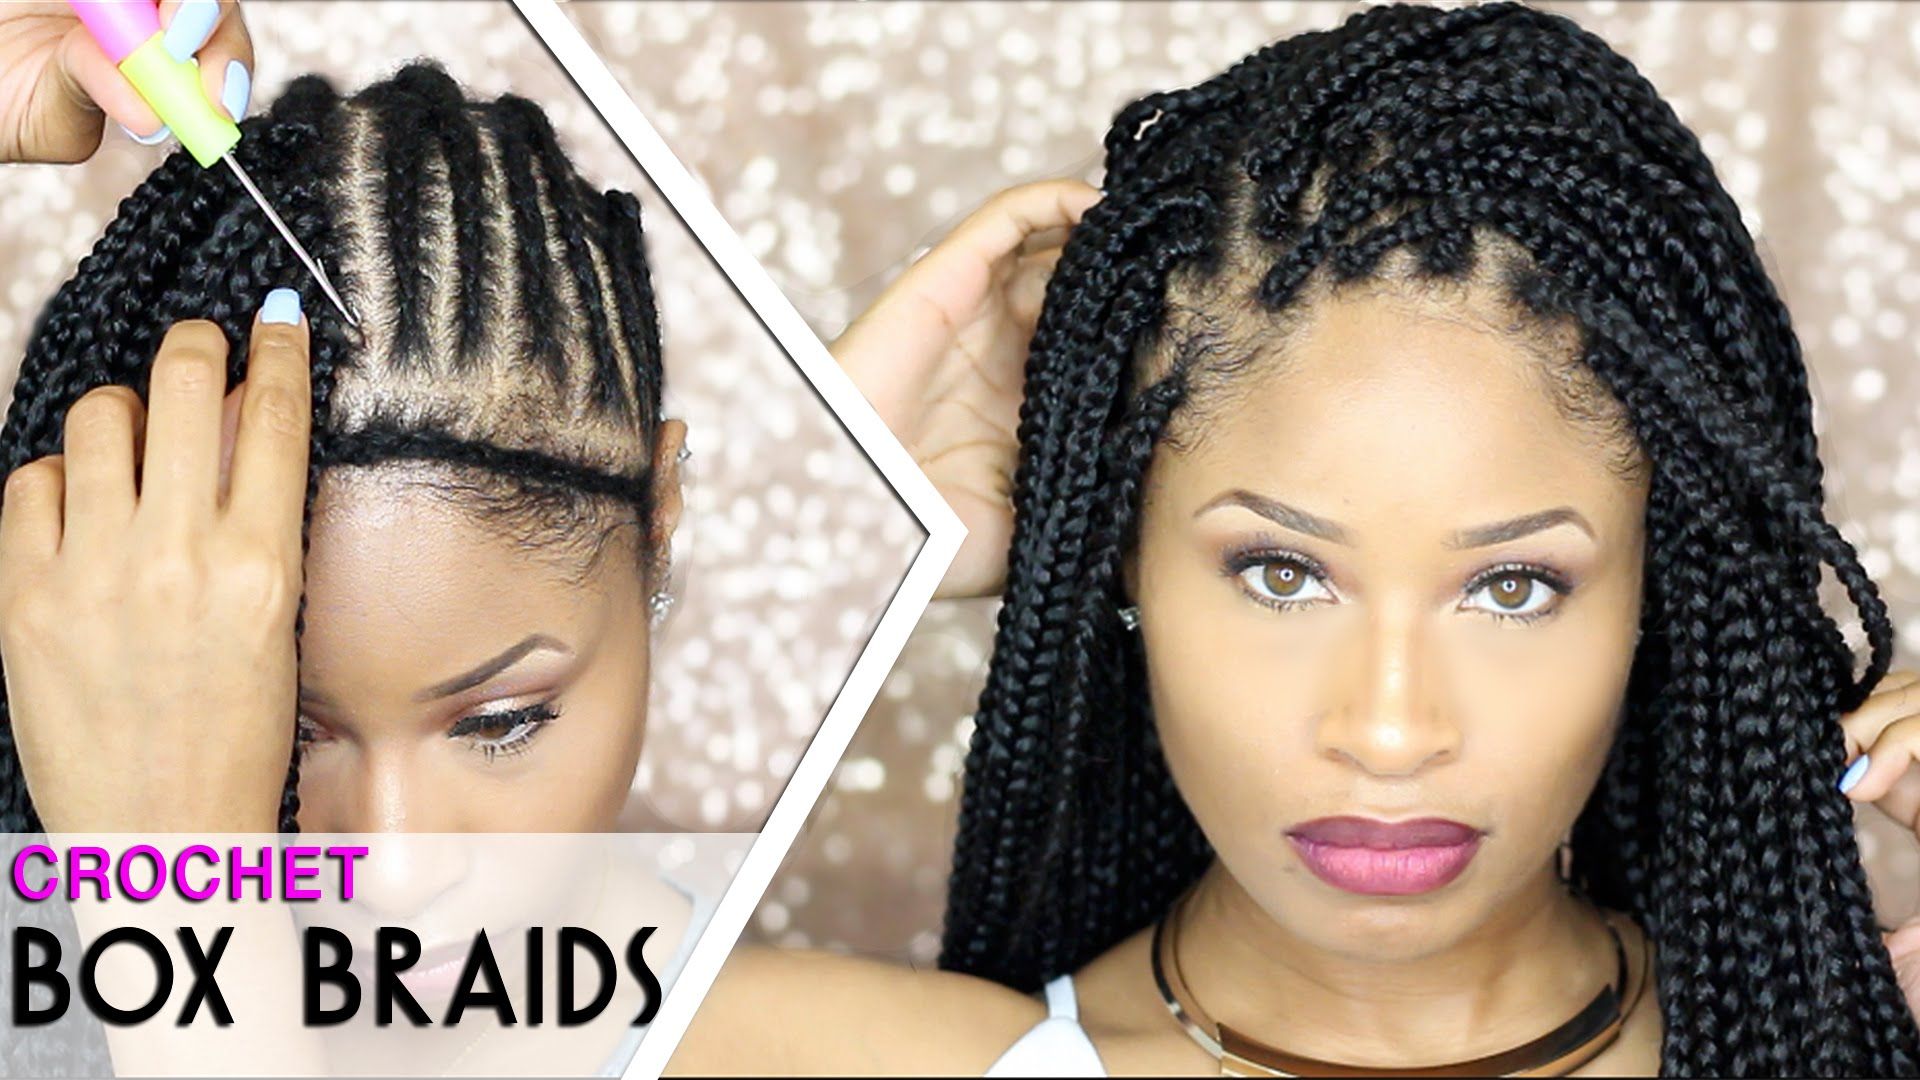
Step 3: Attach the Extension
Take a piece of extension hair and fold it in half like a candy cane. Hook it over your natural hair section so you’ve got three strands: two extension pieces (left and right) and your natural hair (middle). Keep it tight to your scalp but not so tight it hurts.
- Fan Secret: Some braiders fluff the extension ends a little before starting—it makes the braid look more natural, less blunt.
Step 4: Start Braiding
Now, braid those three strands together! Cross the left extension under the middle (your natural hair), then the right under the new middle. Keep going, adding your natural hair as you braid down. Once your natural hair runs out, just keep braiding the extensions.
- ✔️ Do: Pull snugly for a neat look.
- ❌ Don’t: Tug too hard—your scalp will thank you.
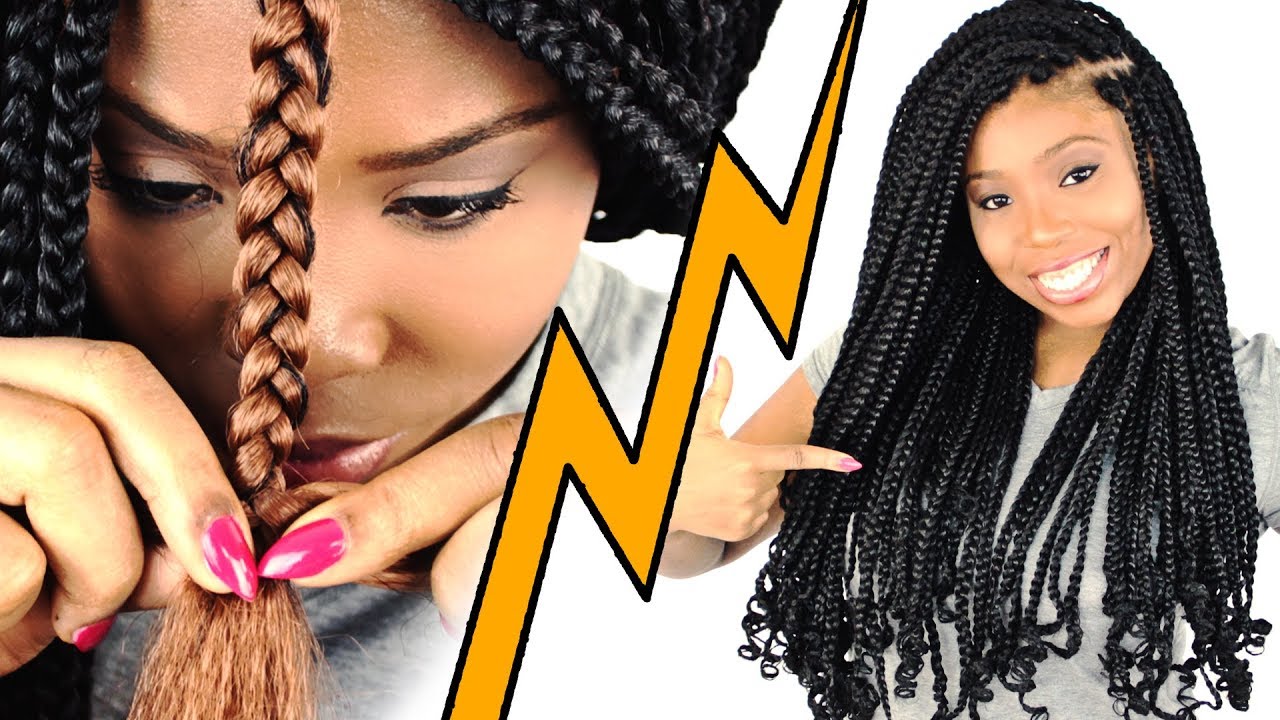
Step 5: Seal the Ends
When you’re near the end (leave about 2-3 inches), you’ve got options:
- Hot Water Dip: Dip the tips in hot (not boiling!) water to seal them. Use a towel to dab off excess water.
- Rubber Bands: Secure with tiny elastics—clear ones blend in best.
- Leave It: Skip bands for a looser, boho vibe (just make sure the braid’s tight enough).
Step 6: Repeat, Repeat, Repeat
Work section by section until your whole head’s done. It might take 5-8 hours (or more for tiny braids), so pop on a playlist or a movie.
How to Make Your Box Braids Pop: Insider Hacks
Here’s where we get juicy—stuff you won’t find in every tutorial. These tips come from real braiders and fans obsessed with the style.
Hack #1: Mix Colors Without Commitment
Love a bold look? Add colorful extensions—purple, blonde, even ombre—without dyeing your real hair. A friend of mine did half black, half teal, and it was chef’s kiss.
Hack #2: Sleep Like a Queen
Wrap your braids in a silk scarf at night. Why? It cuts down on frizz and keeps them neat. Cotton pillowcases? They’re the enemy—they suck moisture out and mess up your style.
Hack #3: Oil Up Smart
“Lightweight oils are key,” says Marlisha Lofton, a braiding expert. She recommends almond or shea oil to keep your scalp hydrated without weighing down the braids. Dab it on with a cotton pad every few days.
Common Mistakes to Avoid (And How to Fix Them)
Even pros mess up sometimes. Here’s what to watch out for—and how to bounce back if it happens.
| Mistake | Why It’s Bad | Fix It! |
|---|---|---|
| Braiding Too Tight | Hurts your scalp, can cause breakage | Loosen up as you go; take breaks if it pulls too much |
| Uneven Sections | Braids look messy, sizes don’t match | Redo the wonky parts—consistency is key |
| Skipping Moisture | Dry hair snaps easier | Add leave-in conditioner before starting |
| Leaving Them in Too Long | Matting and buildup wreck your hair | Take them out after 6-8 weeks |
Real Talk: Tension Trouble
Ever heard of traction alopecia? It’s hair loss from too-tight braids. Studies show it’s a risk if you overdo the tension, especially around your edges. Keep it snug, not painful—your hairline deserves love too.
Caring for Your Box Braids: Keep Them Fresh
Your braids are in—yay! Now, let’s keep them looking fire for weeks. Maintenance is easier than you think.
Washing 101
Yes, you can wash box braids! Do it every 2-3 weeks:
- Mix shampoo with water in a spray bottle.
- Spritz your scalp and massage gently.
- Rinse with warm water (a showerhead works best).
- Pat dry with a towel—don’t rub!
Moisturizing Musts
Dry scalp = itchy scalp. Spritz a water-based leave-in conditioner on your roots, then seal with a light oil. Avoid heavy creams—they build up and make braids look greasy.
Nighttime Routine
- ✔️ Do: Sleep with a satin bonnet or on a satin pillowcase.
- ❌ Don’t: Let them flop around—they’ll frizz out fast.
How Long Should You Keep Them In?
Most people rock box braids for 4-8 weeks. Longer than that, and you risk matting or breakage—especially if your hair grows fast. A stylist once told me, “Six weeks is the sweet spot for most—long enough to enjoy, short enough to avoid trouble.” Listen to your hair: if it feels loose or fuzzy, it’s time to take them out.
Removal Tip
Snip the extensions close to your natural hair, then unravel gently. Comb out any tangles with a wide-tooth comb and give your hair a break for a week or two before re-braiding.
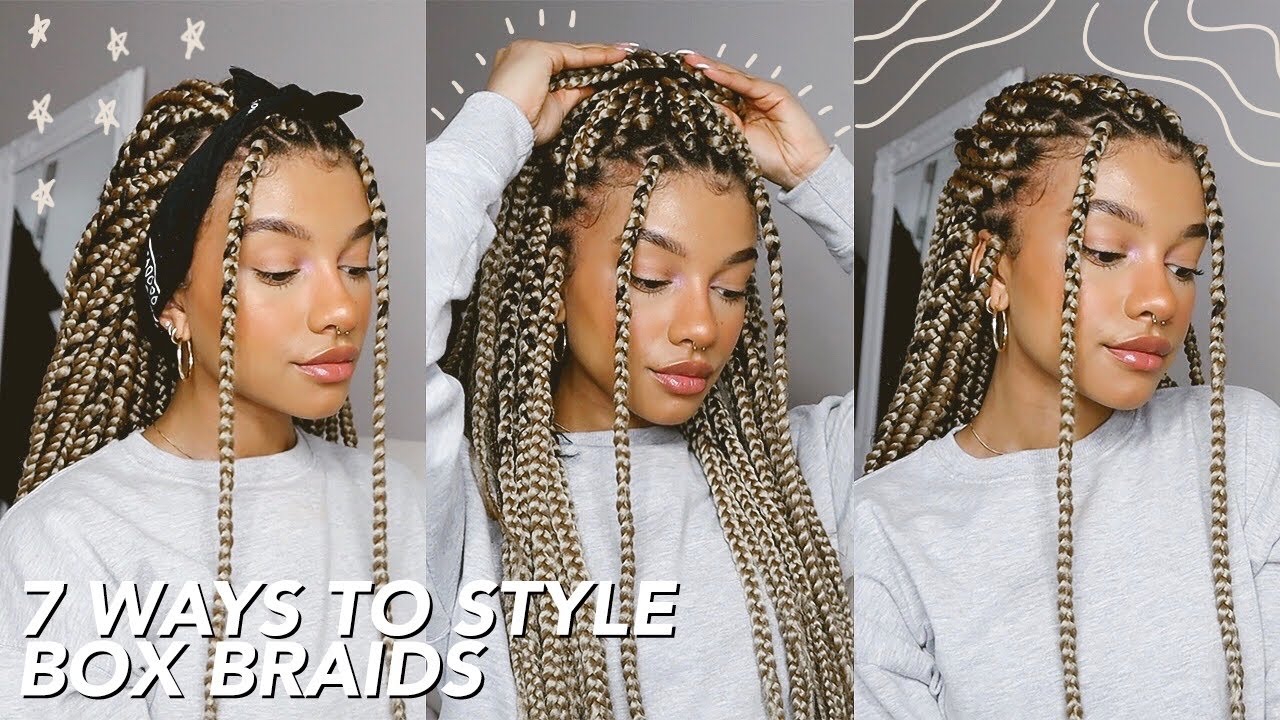
Styling Ideas to Show Off Your Braids
Box braids are like a blank canvas—style them however you want! Here are some fan-fave looks:
- High Ponytail: Sweep them up for a sleek, sporty vibe.
- Half-Up, Half-Down: Cute and casual—perfect for school or a date.
- Beads and Accessories: Add wooden beads or gold cuffs for a boho twist.
- Buns: Twist them into a top knot or space buns for fun.
Fan Story Time
A girl on my Instagram once shared how she braided little hearts into her edges with colored extensions—total showstopper! It’s those personal touches that make box braids yours.
The Science Behind Healthy Braids
Let’s nerd out for a sec. Research from the International Journal of Cosmetic Science (2021) found that braiding can reduce hair breakage by limiting friction—if done right. But if your braids are too tight or left in too long, the tension can weaken your strands. Balance is everything: protect your hair, don’t punish it.
Box Braids for Every Hair Type
Think box braids are just for curly hair? Nope! They work for everyone.
- Straight Hair: Extensions blend seamlessly—just prep with a little texture spray.
- Wavy Hair: Adds volume and grip naturally.
- Kinky/Coily Hair: Perfect match—extensions lock in like they’re meant to be.
Slippery Hair Hack
If your hair’s super fine or silky, braider Ndeye Anta Niang suggests lightly roughing it up with a texturizing product before starting. It helps the extensions stay put.
Cost and Time: What to Expect
Doing box braids yourself? It’s free (minus supplies—expect $20-$50 for extensions). At a salon, you’re looking at $100-$250, depending on length and braid size. Time-wise:
- Tiny Braids: 8-12 hours.
- Jumbo Braids: 3-5 hours.
Save time by roping in a friend—split the work and chat while you braid!
Fun Facts Fans Love
- Celeb Connection: Janet Jackson made box braids iconic in Poetic Justice. Beyoncé and Zendaya keep the trend alive today.
- Hidden History: In ancient Africa, braid patterns showed your tribe or status—talk about wearing your story!
- Color Craze: Bright extensions are trending in 2025—think pastels and neons.
Troubleshooting Q&A: Your Questions, Answered
Q: My scalp itches like crazy—what do I do?
A: It’s normal at first, but if it’s nonstop, spritz with diluted apple cider vinegar (1 part vinegar, 3 parts water). It soothes and fights buildup.
Q: Why do my braids look uneven?
A: You might’ve rushed the sections. Take your time next round—use a mirror to check the back.
Q: Can I swim with them?
A: Yep! Tie them up so they don’t get heavy, and rinse with fresh water after to avoid chlorine damage.
Taking Your Braids to the Next Level
Want to stand out? Here’s some extra inspo:
- Knotless Braids: Start with your natural hair, then feed in extensions—less tension, more natural flow.
- Mix Textures: Combine curly and straight extensions for a funky twist.
- Edge Art: Use edge control to swirl your baby hairs into cool designs.
Let’s Talk: Your Turn!
Box braids are all about you—your style, your personality. What’s your favorite way to wear them? Got a trick I missed? Drop it in the comments—I’m dying to hear! And if you try this guide, snap a pic and tag me. Let’s keep the braid love going!
Leave your comment
Related posts