How to Put in Crochet Braids: Your Ultimate Guide to a Stunning Protective Style
Hey there! If you’ve been dreaming of a hairstyle that’s low-maintenance, protective, and totally customizable, crochet braids might just be your new go-to. This isn’t just another braiding tutorial—it’s your VIP pass to mastering crochet braids like a pro, with insider tips, step-by-step guidance, and some fun secrets most people don’t talk about. Whether you’re a newbie or someone who’s tried this style before, I’m here to spill the tea on everything you need to know: from prepping your hair to picking the perfect extensions, and even keeping your scalp happy for weeks. Let’s dive in and get those braids popping!
What Are Crochet Braids, Anyway?
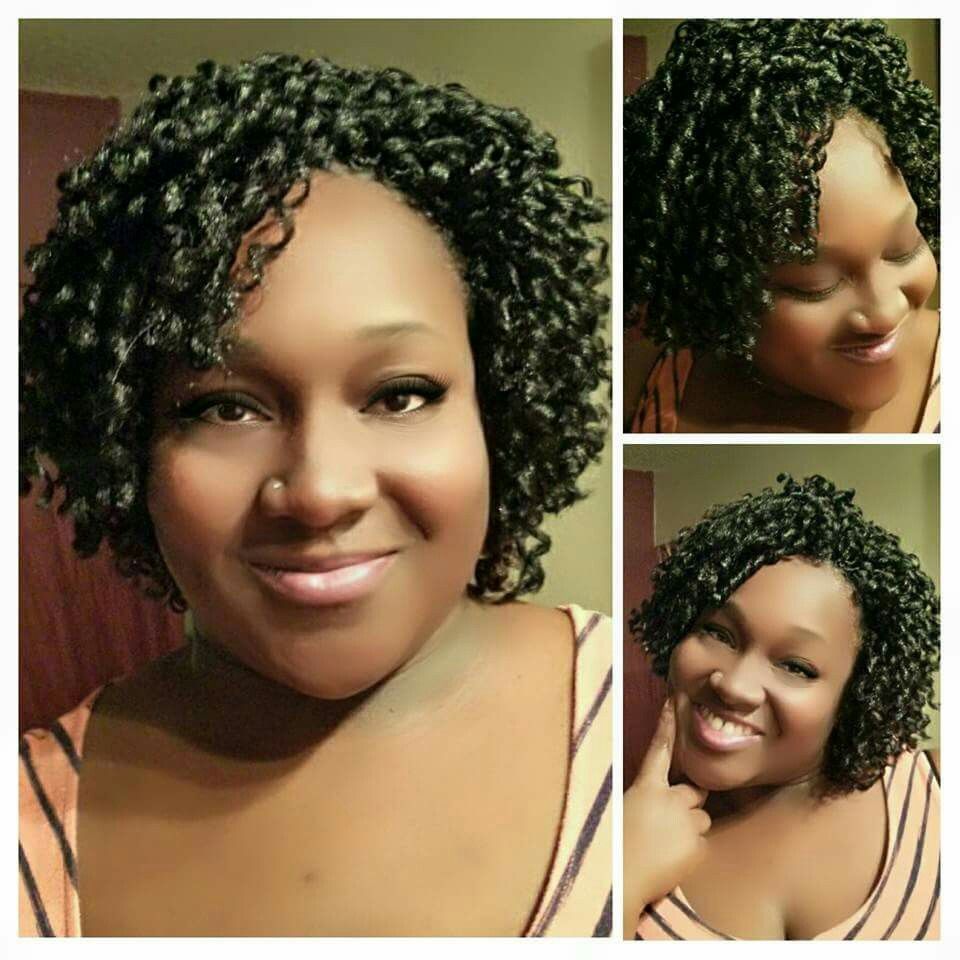
Crochet braids are a game-changer in the world of protective hairstyles. Unlike box braids or twists that take hours to install, crochet braids use a simple looping technique to attach synthetic or human hair extensions to your natural hair. Picture this: your hair gets cornrowed, and then a crochet hook (yep, like the one your grandma might use for blankets) loops the extensions right in. The result? A gorgeous, natural-looking style that can last 4-8 weeks with the right care.
What makes crochet braids special is their versatility. Want bouncy curls? Go for it. Craving long, sleek braids? You got it. You can even switch up colors without dyeing your real hair. Plus, they’re DIY-friendly, affordable, and way faster than traditional braiding methods. But here’s a little secret: the magic isn’t just in the look—it’s in how they let your natural hair chill and grow underneath while you slay on top.
Why Crochet Braids Are Worth Your Time
Before we get into the how-to, let’s talk about why crochet braids deserve a spot in your hair routine. Spoiler alert: they’re more than just a cute style.
- Time-Saver Alert: Most folks can install crochet braids in 2-4 hours, compared to 6-10 hours for box braids. That’s a whole Netflix binge you’re saving!
- Wallet-Friendly: Extensions cost as little as $3-$10 per pack, and you might only need 4-6 packs. No fancy salon bill required.
- Hair Growth Boost: Studies from the Journal of Cosmetic Dermatology show protective styles like crochet braids can reduce breakage and promote length retention when done right—up to 0.5 inches of growth per month if your hair’s happy!
- Custom Vibes: From short bobs to knee-length twists, you’re the artist here.
Fun fact: I once met a girl who used crochet braids to channel her inner mermaid with teal extensions. She said it was her secret confidence boost—nobody knew it was synthetic hair!
Prepping Your Hair: The Secret to Crochet Success
Okay, let’s get real—your crochet braids are only as good as the foundation you start with. Prepping your natural hair is like setting the stage for a flawless performance. Skip this, and you might end up with a hot mess (think itchy scalp or tangled extensions). Here’s how to nail it.
Wash and Condition Like a Boss
Start with clean, hydrated hair. Dirt and buildup can make your scalp itch like crazy once the braids are in, and dry hair is more prone to snapping.
- ✔️ Use a sulfate-free shampoo: It cleans without stripping your hair’s natural oils. Try something like SheaMoisture’s Manuka Honey & Mafura Oil shampoo.
- ✔️ Deep condition: Slather on a thick conditioner and let it sit for 15-20 minutes under a shower cap. This keeps your strands strong and slippery for braiding.
- ❌ Don’t skip the rinse: Leftover product can gunk up your cornrows.
Detangle with Patience
Tangled hair is a nightmare when cornrowing. Grab a wide-tooth comb and work from ends to roots—slowly. Pro tip: Detangle while your conditioner’s still in for extra slip.
Moisturize and Seal
Dry hair under crochet braids is a recipe for breakage. After washing, lock in moisture with a leave-in conditioner and seal it with an oil like jojoba or castor oil. Your hair will thank you later.
Why It Matters: A hairstylist I know swears that moisturized hair cuts breakage by 30%. She says, “Dry hair under extensions is like running a marathon with no water—it’s not gonna end well.”
Choosing the Right Hair: Your Style, Your Rules
Picking the perfect extensions is where the fun begins! But with so many options, it can feel overwhelming. Let’s break it down.
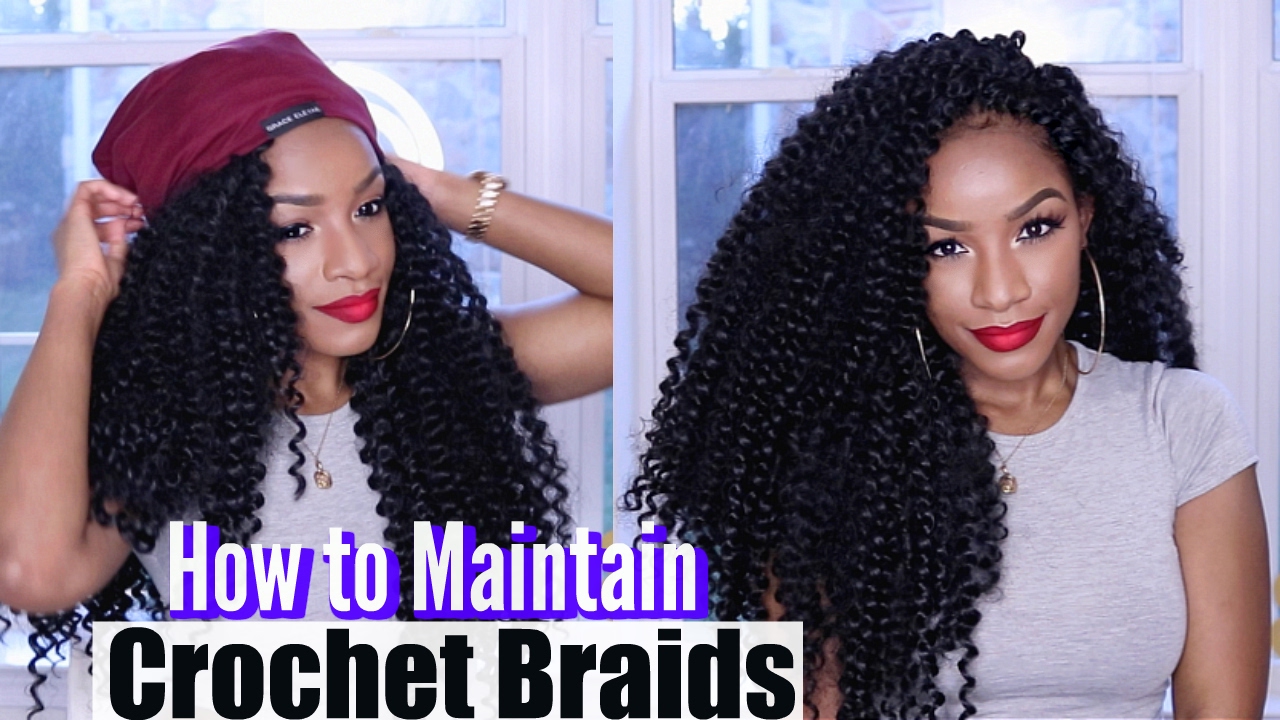
Synthetic vs. Human Hair
- Synthetic: Affordable (think $5 a pack), lightweight, and comes pre-styled (curls, twists, braids—you name it). Kanekalon or Marley hair are fan favorites.
- Human Hair: Pricier ($20+ per pack), blends better with your natural texture, and lasts longer if you’re keeping it in for 6+ weeks.
Insider Tip: Synthetic hair gets a bohemian, lived-in vibe the longer you wear it—perfect if you’re into that messy-chic look.
How Much Hair Do You Need?
It depends on your head size and desired fullness:
- Small head, short style: 4-5 packs
- Medium head, shoulder-length: 5-6 packs
- Big head, super long: 7-8 packs
Texture Talk
Match the texture to your vibe:
- Curly: Freetress Deep Twist or Water Wave for bouncy curls.
- Twists: Marley hair for chunky, natural twists.
- Straight: Kanekalon for sleek, polished vibes.
Fan Secret: Ever wonder what celebs use? A stylist who’s worked with Zendaya once told me, “Synthetic curly hair is her go-to for crochet—it’s low fuss and looks real.”
Tools You’ll Need: Your Crochet Kit
You don’t need a ton of stuff to get started, but having the right tools makes all the difference. Here’s your must-have list:
- Crochet Hook: A 1.5mm or 2mm latch hook is perfect—small enough to glide through cornrows but big enough to grab the hair.
- Hair Clips: To section your hair without chaos.
- Wide-Tooth Comb: For detangling and parting.
- Scissors: To trim extensions or flyaways.
- Spray Bottle: Keep your hair damp while braiding if it dries out.
- Mirror Setup: A handheld mirror plus a big one = your DIY salon.
Hack: No latch hook? A bobby pin can work in a pinch—just bend it open and use it like a hook!
Step-by-Step: How to Put in Crochet Braids
Ready to get those braids in? Follow this guide, and you’ll be rocking your new look in no time. I’ve broken it into bite-sized steps so you don’t miss a beat.
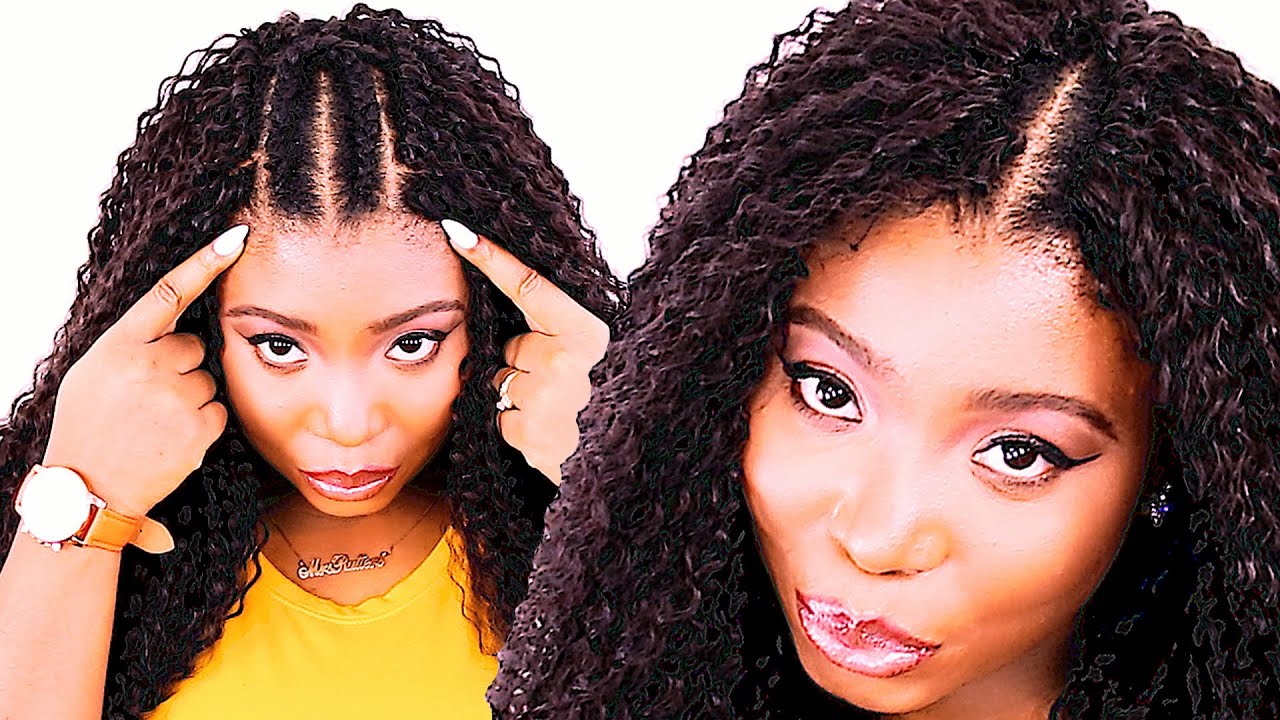
Step 1: Cornrow Your Base
Your cornrows are the anchor for your crochet braids, so let’s make them solid.
- Part Your Hair: Use your comb to create straight, even sections. Start with 8-10 rows going front to back or try a beehive pattern (circular rows) for a sleek updo vibe.
- Braid Tight, But Not Too Tight: Aim for snug cornrows that won’t budge, but don’t pull so hard your scalp screams. Leave a little slack to avoid tension headaches.
- Tuck the Ends: Fold the ends of each cornrow under and weave them into the next row for a flat finish.
Pro Move: If your hair’s short, add a bit of braiding hair to your cornrows for grip—about 1-2 inches does the trick.
Step 2: Loop in the Extensions
Here’s where the crochet magic happens!
- Prep the Hair: Take a small section of your extension hair (about ½ inch wide) and fold it in half to form a loop.
- Hook It: Slide your crochet hook under a cornrow, latch open. Hook the folded extension and close the latch.
- Pull Through: Gently pull the hook back, bringing the loop through the cornrow. Don’t yank—slow and steady wins here.
- Knot It: Feed the loose ends of the extension through the loop and pull tight to secure. Boom—one braid done!
Spacing Tip: For full coverage, place extensions ¼ inch apart. Want a lighter look? Space them ½ inch apart.
Step 3: Work Your Way Around
Start at the back and move forward. This keeps your hands out of the way and gives you a smooth flow. Take breaks if your arms get tired—crocheting’s a workout!
Step 4: Trim and Style
Once all the extensions are in, grab your scissors and trim any uneven ends. Fluff curls or twists with your fingers for that lived-in feel.
Reality Check: My first time, I messed up a whole row because I rushed the knots. Take your time—perfection beats speed.
Braiding Patterns: Mix It Up!
The way you cornrow your hair changes the game. Here are some popular patterns to try:
| Pattern | Best For | How It Looks |
|---|---|---|
| Straight Back | Beginners, long styles | Classic, easy to install |
| Beehive | Updos, sleek ponytails | Circular, polished |
| Zig-Zag | Half-up styles, volume | Playful, dynamic |
| Invisible Part | Side parts, natural hairlines | Seamless, realistic |
Try This: Zig-zag cornrows in the middle with straight-back rows on the sides—perfect for a high bun with loose curls cascading down.
Caring for Your Crochet Braids: Keep ‘Em Fresh
You’ve got your braids in—now what? Maintenance is key to making them last and keeping your scalp happy. Here’s the lowdown.
Scalp Love
- ✔️ Moisturize Every 3-4 Days: Mix water, leave-in conditioner, and oil in a spray bottle. Spritz your scalp lightly.
- ✔️ Massage It In: Use your fingertips to rub the moisture in—no scratching with nails!
- ❌ Don’t Overdo Products: Too much oil can attract dirt and weigh down your style.
Washing Hacks
Yes, you can wash crochet braids! Do it every 2-3 weeks:
- Dilute shampoo with water in a spray bottle.
- Spray your scalp and massage gently.
- Rinse with a damp cloth or under a low-pressure showerhead.
- Air dry—heat can frizz synthetic hair.
Nighttime Routine
- ✔️ Satin Bonnet: Keeps frizz at bay and protects your edges.
- ❌ No Cotton Pillowcases: They suck moisture out and cause breakage.
Science Bit: A study in the International Journal of Trichology found that consistent moisture reduces scalp irritation by 25% in protective styles. Keep that spray bottle handy!
Troubleshooting: Fixing Common Crochet Problems
Even pros hit snags. Here’s how to handle the top issues:
Itchy Scalp
- Why: Buildup or dryness.
- Fix: Spray with diluted apple cider vinegar (1:4 with water) to soothe and cleanse. Rinse after 5 minutes.
Slipping Extensions
- Why: Loose knots or slick cornrows.
- Fix: Double-knot the extensions or redo the slippery section with tighter cornrows.
Tangled Ends
- Why: Flyaways or rough handling.
- Fix: Trim with scissors and seal ends with a tiny dab of edge control gel.
Real Talk: My friend once had half her braids slip out because she didn’t knot them right. She laughed it off and called it her “punk rock phase.”
How Long Should You Keep Them In?
Crochet braids can last 4-8 weeks, but don’t push it past 8. Why? Your natural hair needs a breather—leaving them in too long can lead to matting and breakage. A pro braider I know says, “Six weeks is the sweet spot for most folks—long enough to enjoy, short enough to avoid drama.”
Signs It’s Time to Take Them Out:
- Excessive frizz or tangling.
- Scalp feels tight or sore.
- New growth makes cornrows look messy.
Taking Them Down: Gentle Is the Way
Ready to say goodbye? Here’s how to remove crochet braids without wrecking your hair:
- Cut Carefully: Snip the extensions close to the knot—don’t cut your cornrows!
- Unloop: Gently slide the leftover pieces out with your fingers or a comb.
- Unbraid: Take down your cornrows section by section, detangling as you go.
- Wash and Treat: Give your hair a deep conditioning session to bounce back.
Hack: Soak stubborn knots in conditioner for 10 minutes—they’ll slip right out.
Bonus Tips: Level Up Your Crochet Game
Want to stand out? Try these next-level ideas:
- Color Pop: Add a few strands of bright purple or gold for a subtle highlight.
- Mix Textures: Combine curls and twists in one style for a wild, unique vibe.
- Edge Art: Use edge control to lay your baby hairs in cool patterns.
Fan Fave: I’ve seen people crochet tiny beads into their braids for a boho touch—total crowd-pleaser!
The Emotional Side: Why Crochet Braids Feel Good
Here’s something you won’t find in most guides: crochet braids aren’t just about looks—they’re a mood-lifter. There’s something empowering about switching up your style in a few hours. For me, it’s like a mini-vacation from my usual routine. And the compliments? They don’t hurt either. One time, a stranger stopped me just to say my crochet curls looked “like a burst of sunshine.” Made my day!
Let’s Chat: Your Turn!
Whew, we’ve covered a lot—prepping, installing, caring, and even the feels of crochet braids. Now I want to hear from you! Have you tried crochet braids before? What’s your favorite style or trick? Drop a comment below, or tag me on social with pics of your braids—I’m dying to see your creations! Oh, and if you’ve got questions, hit me up. Let’s keep this braid party going!
Leave your comment
Related posts