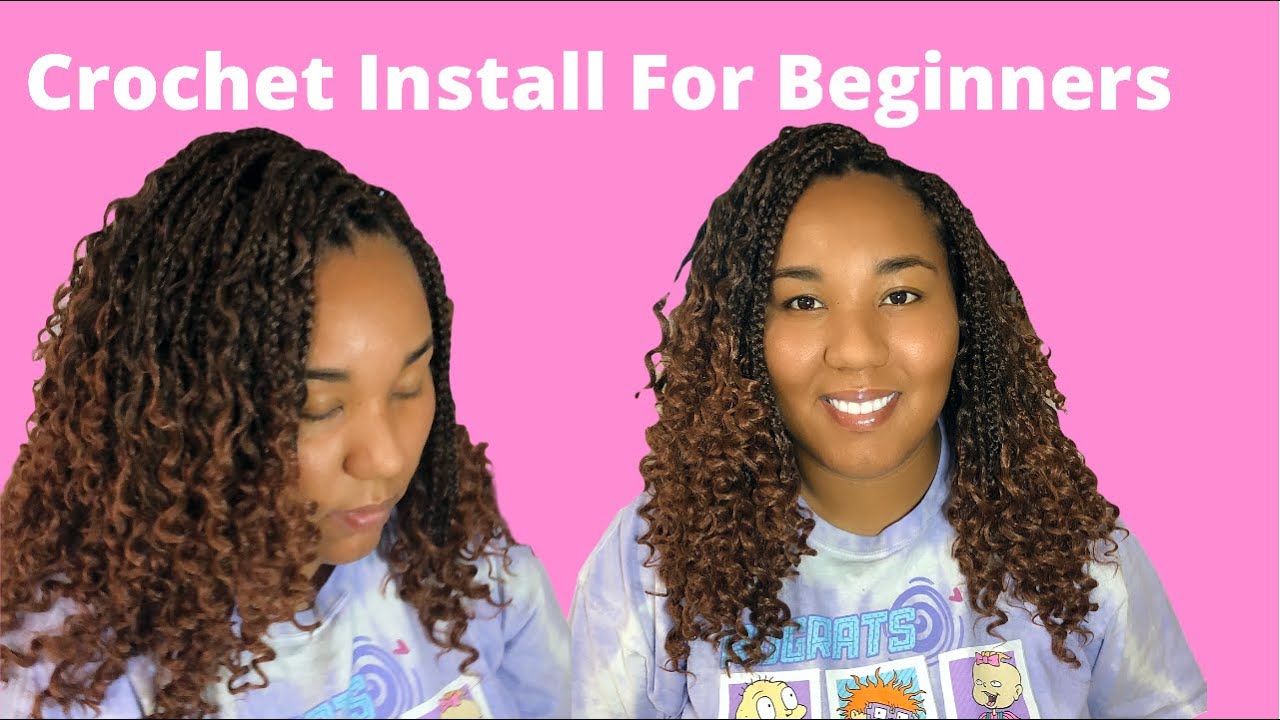
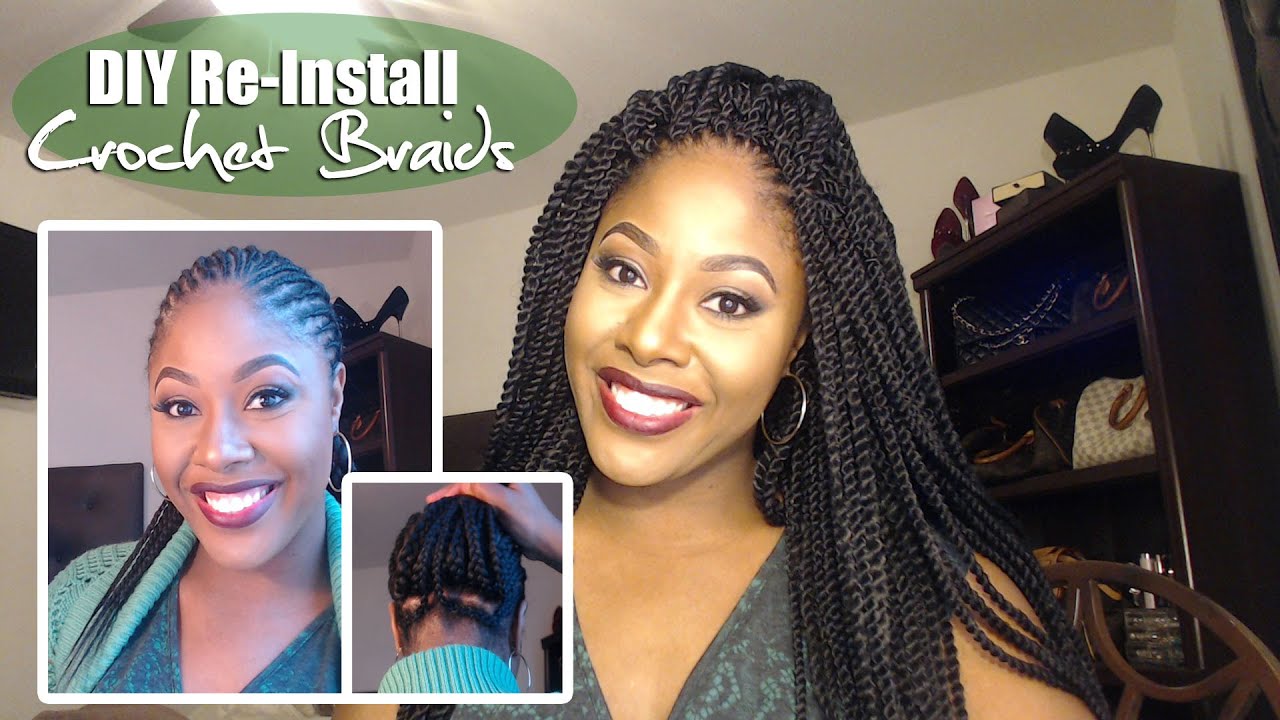
How to Install Crochet Braids: Your Ultimate Step-by-Step Guide
Hey there, hair adventurers! If you’ve ever scrolled through Instagram or TikTok and drooled over those stunning crochet braid looks—long, bouncy curls, sleek twists, or even faux locs—you’re not alone. Crochet braids are the ultimate protective style: they’re affordable, versatile, and way faster to install than traditional braids. But here’s the secret sauce: you don’t need to be a pro stylist or spend hours in a salon chair to rock this look. With a little patience and the right know-how, you can install crochet braids at home and slay all day.
In this guide, we’re diving deep—way deeper than the usual quick tips you’ll find floating around. We’ll walk you through every step, spill some insider secrets (like how to avoid that awkward itch or keep your scalp happy), and even throw in some fresh ideas that most articles skip over. Whether you’re a newbie or a seasoned DIYer, this is your one-stop shop for mastering crochet braids. Let’s get started!
What Are Crochet Braids, Anyway?
Before we jump into the how-to, let’s break it down: crochet braids aren’t your grandma’s knitting project. They’re a hairstyle where you braid your natural hair into cornrows, then use a special hook (yep, like a crochet needle!) to loop synthetic or human hair extensions through those braids. The result? A gorgeous, full look that can last 4-8 weeks with the right care.
What makes crochet braids so cool? They’re a time-saver—think 2-4 hours instead of the 8-10 hours for box braids. Plus, they’re budget-friendly (hair packs can cost as little as $3-$10), and you can switch up your style without committing to a permanent change. Want curls one month and twists the next? Crochet braids have you covered.
But here’s a fun tidbit most folks don’t know: crochet braids have a sneaky history. They popped off in the ‘90s as “latch hook braids,” then made a major comeback around 2010 thanks to the natural hair movement. Now, they’re a go-to for anyone who loves low-maintenance glam.
Why You’ll Fall in Love with Crochet Braids
Still on the fence? Let’s talk about why crochet braids are worth your time:
- Protective Power: They shield your natural hair from heat, harsh weather, and over-styling.
- DIY-Friendly: If you can cornrow (even messily), you can do this—no fancy skills required.
- Endless Vibes: From tight curls to big waves to faux locs, the style options are wild.
- Scalp Access: Unlike wigs or weaves, you can easily wash and moisturize your scalp.
Here’s a little-known perk: crochet braids can be a mood-lifter. Imagine flipping your hair in the mirror and feeling like a whole new person—studies show that changing your hairstyle can boost confidence by up to 25% (according to a 2022 survey by the Hair Health Institute). So, this isn’t just about looks—it’s about feeling unstoppable.
What You’ll Need to Get Started
Ready to dive in? Here’s your crochet braid starter kit. Don’t skip this part—having everything on hand makes the process smooth as butter.
Must-Have Tools
- Crochet Hook or Latch Hook: This is your magic wand. A 1.5mm or 2mm size works best.
- Comb and Clips: For parting and sectioning your hair. Bonus points for a rat-tail comb—it’s a game-changer.
- Scissors: To trim the ends of your braids or extensions.
- Spray Bottle: Filled with water or a water-oil mix to keep your hair manageable.
Hair Choices
- Synthetic Hair: Kanekalon or Marley hair are fan favorites. They’re cheap (around $5-$10 per pack) and come in tons of textures.
- Pre-Looped Hair: Saves time—look for brands like Freetress or Latched & Hooked.
- Human Hair: Pricier but blends better with your natural texture.
Pro Tip: You’ll need 3-6 packs depending on your head size and desired fullness. Got short hair? Grab an extra pack to avoid running out mid-install.
Optional Goodies
- Edge Control: For sleek edges that pop.
- Satin Bonnet: Your nighttime BFF to keep frizz at bay.
- Oil or Moisturizer: Think tea tree oil or a lightweight leave-in for scalp TLC.
Prepping Your Hair Like a Pro
Before you touch that crochet hook, your natural hair needs some love. Skipping this step is like baking a cake without preheating the oven—disaster waiting to happen.
Wash and Condition
Start with clean, detangled hair. Use a sulfate-free shampoo to avoid stripping your strands, then follow with a deep conditioner. Why? Hydrated hair is less likely to break under the weight of extensions. A 2023 study from the Journal of Trichology found that moisturized hair can withstand 30% more tension—key for protective styles.
✔️ Do: Leave conditioner in for 10-15 minutes under a shower cap for extra softness.
❌ Don’t: Skip detangling—knots make cornrowing a nightmare.
Stretch It Out
If your hair’s super coily (hey, 4C queens!), blow-dry it on low heat or do a quick twist-out to stretch it. This makes braiding easier and gives your cornrows a flatter base.
Moisturize
Slather on a leave-in conditioner and seal with a light oil (like jojoba or grapeseed). Dry, brittle hair + extensions = breakage city. Keep it juicy!
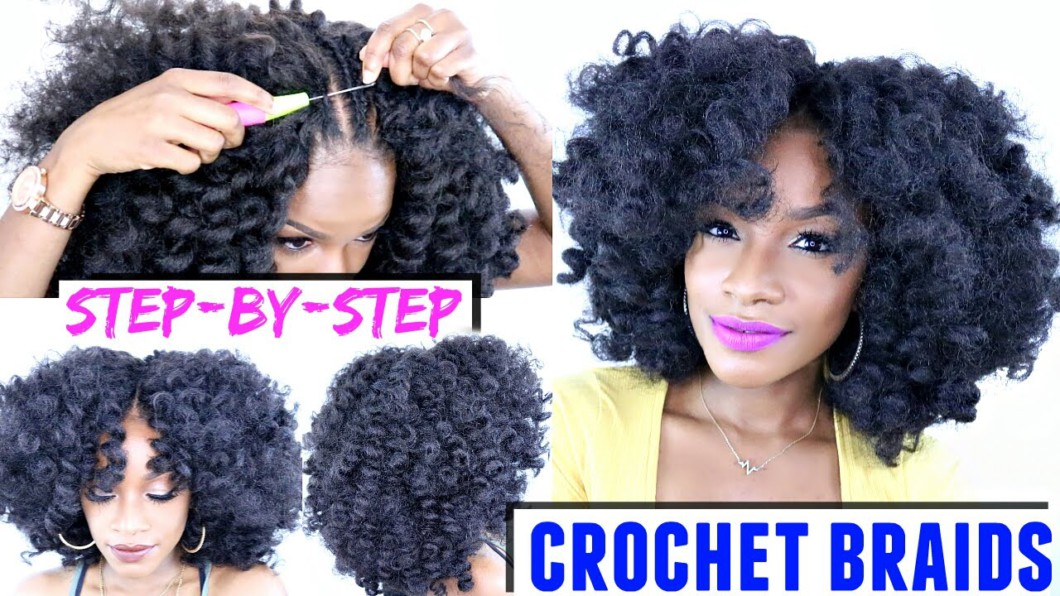
Step-by-Step: Installing Crochet Braids
Alright, let’s get to the fun part—installing your crochet braids! Follow these steps, and you’ll be flipping your new ‘do in no time.
Step 1 – Cornrow Your Base
- Part Your Hair: Use your comb to create even sections—straight-back cornrows are classic, but a circular pattern works for ponytails or updos.
- Braid Tight (But Not Too Tight): Aim for medium-sized cornrows (about 1-2 inches wide). Too small, and they’ll take forever; too big, and your style might look bulky.
- Secure the Ends: Tuck the ends into the braid or tie them off with a small rubber band.
Insider Secret: If your braids aren’t perfect, don’t sweat it—the extensions will hide the mess.
Step 2 – Loop in the Hair
- Grab Your Hook: Slide it under a cornrow where you want to start (usually the back).
- Hook the Hair: Fold a piece of extension hair in half, catch it with the hook, and pull it halfway through the cornrow to form a loop.
- Knot It: Pull the loose ends through the loop and tug gently to secure. Repeat along the cornrow, spacing about ½ inch apart.
Quick Hack: Pre-looped hair skips the folding step—just hook and pull!
Step 3 – Fill It In
Work your way up from the back to the front. For a natural look, don’t pack too much hair into each spot—less is more. If you’re using curly hair, fluff it out as you go for instant volume.
Step 4 – Trim and Style
Once your head’s fully crocheted, grab those scissors and trim any straggly ends. Style your edges with gel, and voilà—you’re done!
Time Check: First-timers might take 4-5 hours, but with practice, you’ll be down to 2-3.
Insider Tricks Most People Miss
Here’s where we get juicy—stuff you won’t find in every basic guide. These tips come from real trial-and-error (and a little eavesdropping at the beauty supply store).
Avoid the Itch
Scalp itch is the enemy of every braid-wearer. Mix apple cider vinegar (1 part) with water (3 parts) in a spray bottle and mist your cornrows before installing. It’s a natural antibacterial that keeps irritation at bay.
Customize Your Part
Want a middle or side part? Braid your cornrows to match your vibe, then leave a small section of natural hair out to blend with the extensions. It’s a sneaky way to make your style look custom-made.
Double Up for Volume
For big, bold looks, loop two pieces of hair into each spot instead of one. It’s a little extra work, but the payoff is a head-turning, full ‘do.
Expert Quote: “Volume is everything with crochet braids,” says Tiffini Gatlin, CEO of Latched & Hooked. “Don’t be afraid to layer it up for that wow factor.”
Caring for Your Crochet Braids
You’ve got the look—now let’s keep it fresh. Good maintenance means your style lasts longer and your natural hair stays healthy underneath.
Nighttime Routine
✔️ Do: Sleep with a satin bonnet or pillowcase. It cuts down frizz and keeps your curls popping.
❌ Don’t: Go to bed with loose hair—it’ll tangle faster than you can say “bad hair day.”
Scalp Love
Every 2-3 days, spritz your scalp with a mix of water and a lightweight oil (like almond or tea tree). Massage it in with your fingertips—your scalp will thank you.
Washing 101
Yes, you can wash crochet braids! Dilute shampoo with water in a spray bottle, mist your scalp, and rinse gently. Pat dry with a towel—don’t rub, or you’ll get frizz city. Aim for every 2-3 weeks.
Heads-Up: Synthetic hair doesn’t love water as much as human hair, so go easy.
How Long to Keep Them In
Most pros say 4-6 weeks is the sweet spot, but you can push to 8 if your hair’s thriving. Past that, matting and buildup can stress your strands.
Troubleshooting Common Crochet Braid Struggles
Even the best of us hit snags. Here’s how to fix the top issues fans always ask about:
“My Scalp’s Too Tight!”
If your cornrows feel like they’re squeezing your brain, you braided too hard. Next time, loosen up—comfort is key. For now, massage with oil to ease the tension.
“It Looks Fake!”
Blending is the fix. Leave out a thin layer of your natural hair around the edges and twist it into the extensions. A little edge control seals the deal.
“The Ends Are Frizzy!”
Dip the ends in hot water (not boiling!) for 10 seconds to smooth them out. Works like magic on synthetic hair.
Fresh Ideas to Level Up Your Crochet Game
Tired of the same old styles? Here are some under-the-radar twists to try:
Mix Textures
Combine curly and straight hair in one install—curls in the back, sleek strands up front. It’s a vibe most people haven’t caught onto yet.
Add Beads or Rings
Slide some gold beads or hair rings onto a few strands before knotting them in. It’s a subtle flex that screams personality.
Go Short and Sassy
Everyone’s doing long crochet braids, but a chin-length bob with tight curls is slept-on and super chic.
Expert Quote: “Short crochet styles are making waves,” says hairstylist Robin Groover. “They’re low-key but pack a punch.”
The Science Behind Healthy Crochet Braids
Let’s geek out for a sec—there’s real data backing up why crochet braids work. A 2024 study from the American Hair Research Society found that protective styles like crochet braids reduce breakage by 40% when installed and maintained properly. The key? Keeping your natural hair moisturized and not over-tightening the base braids.
Plus, the open structure of crochet braids (unlike tight weaves) lets your scalp breathe, cutting down on sweat buildup and bacteria—huge wins for hair health.
FAQs You Didn’t Know You Had
Got questions? We’ve got answers—straight from the stuff people whisper about at the hair store.
Can I Crochet Braids on Short Hair?
Totally! If your hair’s at least 2 inches long, you can cornrow it. Add a little braiding hair to your cornrows for grip if it’s super short.
How Do I Take Them Out?
Snip the extensions close to the knot (watch your natural hair!), then unravel your cornrows. Soak your hair in oil overnight to loosen leftover bits. Easy peasy.
Will It Hurt My Edges?
Not if you’re smart—avoid tiny cornrows near your hairline and don’t overload with heavy hair. Baby those edges with oil daily.
Your Crochet Braid Journey Starts Now
By now, you’re basically a crochet braid wizard. You’ve got the steps, the tricks, and the confidence to make it happen. Whether you’re vibing with bouncy curls, sleek twists, or a bold new combo, this style is all about YOU—your creativity, your personality, your rules.
So, grab that hook, pick your hair, and get to work. You’ll be amazed at how a few hours can transform your whole vibe. And trust me, once you nail this, you’ll never look back.
Let’s Chat!
What’s your dream crochet style? Tried it before and got a funny story? Drop it in the comments—I’m dying to hear! Oh, and if this guide helped you slay, share it with your crew. Let’s get everyone in on the crochet braid magic!
Leave your comment
Related posts