Have you ever gotten a new wig and just felt like it needed a bit of personal touch to make it truly yours? I’ve been there, and trust me, it’s a lot of fun to experiment with different styles. From shortening the length to adding chic layers or even trying out bangs, you can totally customize your wig at home. It might sound a bit intimidating at first, but with some patience and the right tools, you’ll be amazed at what you can achieve!
Getting Started: Tools and Setup
First things first, let’s talk about the essentials you’ll need. Grab a pair of high-quality hair-cutting scissors, a wig stand, T-pins, a comb, and some hair clips. Got everything? Great! Let’s dive in.
Step 1: Securing Your Wig
Place your wig on the wig stand and secure it with T-pins along the lace line and near the ears. This ensures the wig stays put while you work on it. Trust me, a wobbly wig stand can lead to some seriously uneven cuts, and nobody wants that!
Step 2: Comb It Out
Before you start snipping, take a few minutes to gently brush out your wig. This step is crucial to remove any tangles and ensure the hair falls naturally. Think of it as a blank canvas that’s all ready for your creative touch.
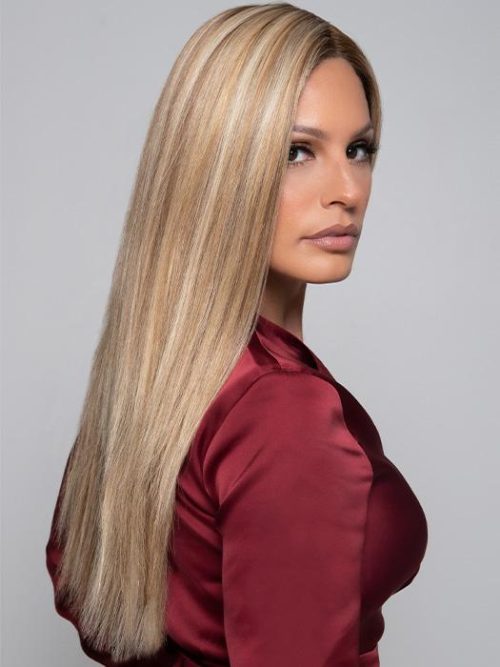
Trimming the Length
Alright, ready to take the plunge and trim that length? Here’s how I do it:
Step 1: Divide and Conquer
Start at the back of the wig and work in small sections. Hold the hair flat between your middle and index fingers, and decide on the length you want.
Step 2: Snip with Style
Cut the hair at a 45-degree angle. This might sound a bit technical, but it helps the hair look more natural. Make small, even cuts to avoid any mishaps. Remember, it’s always better to cut less than you think you need. You can always trim more, but you can’t add back what you’ve cut off!
Step 3: Check Your Work
Once you’ve trimmed the entire wig, take a step back and inspect your work. Snip off any stray long hairs you might have missed. It’s like adding those final touches to a masterpiece.
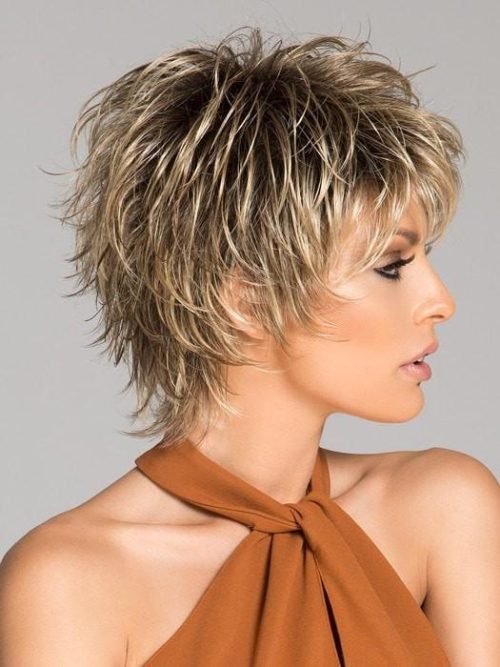
Adding Layers for Volume and Movement
Layers can add so much dimension to your wig, making it look fuller and more dynamic. Here’s how to get those perfect layers:
Step 1: Section It Out
Place your wig on the stand and secure it. Then, clip the front sections of hair in front of the ears to keep them out of the way. You’ll start layering from the back and work your way to the front.
Step 2: Decide on Your Layers
Decide how long or short you want your layers to be. You could have the middle section a couple of inches above the bottom layer and the top section a bit shorter than that. It’s all up to you and the look you’re going for.
Step 3: Snip in Sections
Work with small sections of hair, cutting them at a 45-degree angle. This angle helps the layers blend naturally. Be patient and take your time. Good things come to those who wait, right?
Step 4: Frame Your Face
Now, let’s move to the front sections. Think about how you want the layers to frame your face. Typically, the front layers are a bit shorter to nicely frame your features. Cut at a downward angle to create a soft, flattering outline around your face.
Creating Bangs for a Fresh Look
Bangs can totally transform your look. Whether you want full bangs or a side-swept style, here’s how to cut them:
Step 1: Try It On
Before cutting, try the wig on and use a bobby pin to mark where you want the bangs to fall. This ensures they’ll be just the right length for your face shape.
Step 2: Pin It Down
Secure the wig back on the stand with T-pins. Make sure it’s straight and steady.
Step 3: Section the Hair
Brush forward the section of hair you want to use for the bangs. Depending on the style, you might want a thicker or thinner section. For full bangs, use more hair; for side-swept bangs, less is more.
Step 4: Start Snipping
Take a small section of hair, position it between your middle and index fingers, and cut upwards at a 45-degree angle. Be careful not to cut too much at once. It’s easier to trim more if needed than to fix bangs that are too short.
Step 5: Even It Out
Use a piece of the already-cut section to guide the rest of your cuts, ensuring the bangs are even. Comb the bangs down and make any final adjustments.
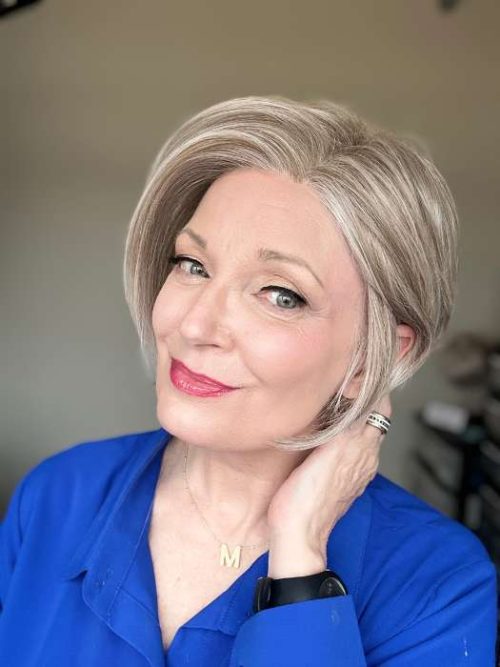
Final Touches and Styling
Once you’ve finished cutting, it’s time to style your wig! Put it on and see how it looks. You might want to make a few more tiny adjustments to perfect the look. And voila! You’ve got a beautifully styled wig that’s uniquely yours.
Personal Story: My Wig Transformation Journey
Let me share a little story with you. The first time I cut my own wig, I was terrified. I stood there, scissors in hand, heart pounding. But as I made the first snip, I felt a rush of excitement. By the time I was done, I couldn’t believe how amazing it looked. It wasn’t perfect, but it was mine. That feeling of accomplishment and creativity was worth every moment of doubt.
Conclusion: Embrace the Fun
Cutting your own wig can be a fun and rewarding experience. Don’t be afraid to experiment and make it your own. With a little patience and creativity, you can transform your wig into a style that’s uniquely you. So grab those scissors and go for it!
Leave your comment
Related posts