How to Put On a Lace Front Wig: A Step-by-Step Guide
Wearing a lace front wig can transform your look dramatically, offering a beautiful, natural hairline and versatile styling options. Whether you’re using it for aesthetic purposes, costume wear, or as a solution for hair loss, mastering the art of applying a lace front wig can enhance your confidence and ensure your wig looks as natural as possible. Here’s a comprehensive guide on how to properly put on a lace front wig, complete with step-by-step instructions.

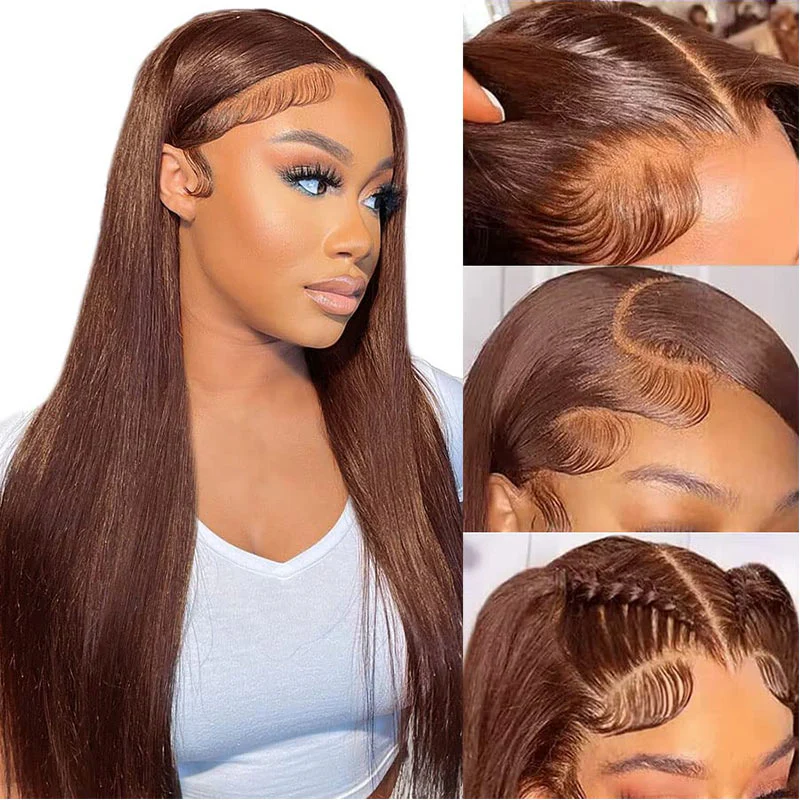
Lace front wigs are crafted with a sheer lace panel at the front, which sits along your forehead. This design mimics a natural hairline, allowing you to style the hair away from your face, unlike regular wigs which might look more artificial. Understanding how to apply your lace front wig correctly is crucial for achieving a seamless and natural appearance.
Materials Needed
Before you begin, make sure you have the following items:
- Lace front wig
- Wig cap or liner
- Wig adhesive or tape
- Small scissors
- Hair clips
- Rubbing alcohol
- Cotton balls or swabs
Step 1: Prepare Your Natural Hair
Substep 1: Clean and Flatten Your Hair
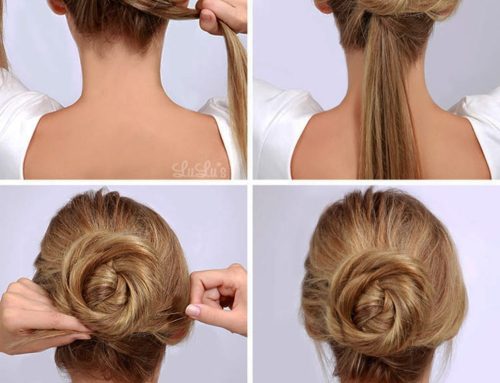
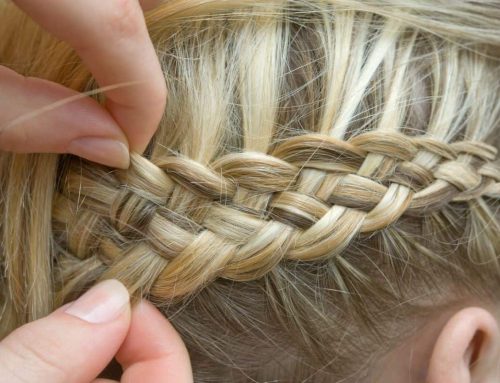
To ensure your wig fits snugly and flatly, your natural hair needs to be as flat as possible. Depending on your hair length and type, you can braid your hair into cornrows, tie it into a flat bun, or slick it back into a tight ponytail.
Substep 2: Protect Your Hair
Wear a wig cap to protect your hair from friction with the wig. Align the wig cap carefully along your hairline, ensuring it covers all your hair. This step also helps in providing a smooth surface for the wig to sit on.

Step 2: Prepare the Wig
Substep 1: Trim the Lace
Once your hair is prepared, take your lace front wig and gently trim the excess lace around the front and sides. It’s important to leave about a small margin (about 1-2 mm) of lace to blend it seamlessly with your skin later.
Substep 2: Test the Fit
Before applying any adhesive, place the wig on your head to ensure it fits properly. Adjust the straps at the back of the wig for a comfortable fit. The wig should align with your natural hairline.

Step 3: Apply Adhesive
Substep 1: Clean Your Skin
Using rubbing alcohol and a cotton ball, clean the skin around your hairline. This removes oils and makeup that could prevent the adhesive from bonding correctly.
Substep 2: Apply Adhesive
Apply a thin layer of wig adhesive or tape along your hairline where the lace will sit. If using adhesive, wait a few moments until it becomes tacky.

Step 4: Position the Wig
Carefully place the wig on your head, aligning the lace part with your hairline. Press the lace into the adhesive or onto the tape, starting from the center to the sides. Use a fine-tooth comb to gently press down the edges of the lace into the adhesive.
Step 5: Style as Desired
Once the wig is securely attached, you can style it as desired. Use hair clips to pull back sections, or experiment with partings to create different looks. Since the lace front mimics a real hairline, feel free to style the hair away from your face.
Maintaining Your Wig
To keep your lace front wig looking fresh and natural, maintain it by regularly washing and conditioning the hair, and storing it on a wig stand when not in use. Proper application and care will extend the life of your wig and keep it looking beautiful.
By following these detailed steps, you can confidently wear a lace front wig, enjoying a natural-looking hairline and stunning appearance. Whether for daily wear or special occasions, your lace front wig can provide versatility and style with ease.


